Page 18For technical questions, please call 1-800-444-3353.SKU 67255
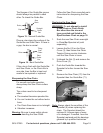
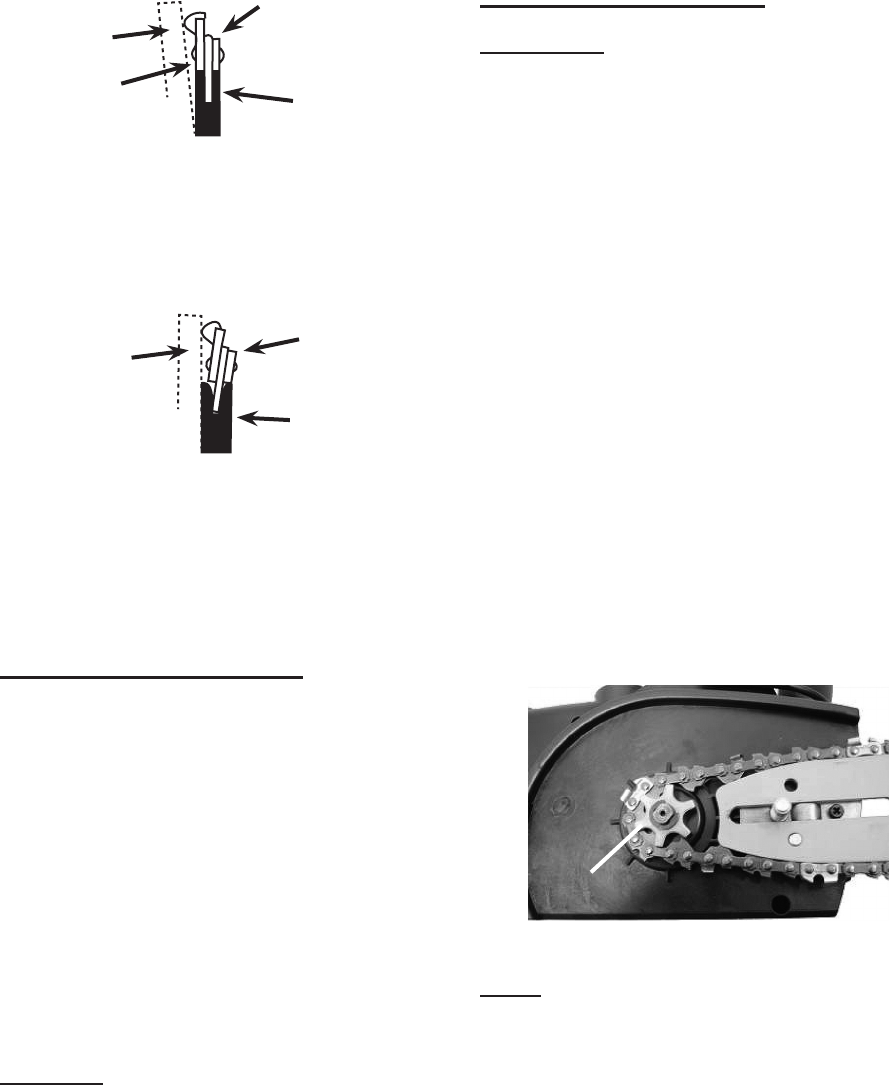
should always be parallel to each
other. To check the Guide Bar:
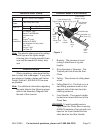
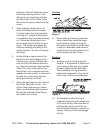
Straight
Guide
Bar
Ruler
Saw
Chain
Gap
Figure 13 - Normal Guide Bar
Place a ruler along the surface of the
Guide Bar and Saw Chain. If there is
a gap, the bar is normal.
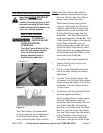
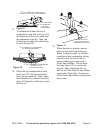
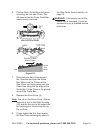
I
Ruler
Bent
Guide
Bar
Tilting
Saw
Chain
Figure 14 - Bent Guide Bar
and Saw Chain, or the Chain tilts to
one side, then the Bar is bent and
needs to be repaired or replaced.
Sharpening the Saw Chain
For smooth and safe operation,
always keep the Saw Chain cutters
sharp.
The cutters need to be sharpened
when:
The sawdust becomes powder-like.a.
You can’t make the cut without extra b.
force.
The Chain Saw does not cut straight.c.
Vibration increases.d.
Warning: Be sure to wear safety gloves
when handling the Saw Chain.
Follow the Saw Chain manufacturer’s
instructions for sharpening the Saw
Chain.
Replacing the Saw Chain
WARNING! Do not attempt to install
a Saw Chain or Chain Guide
Bar other than the size and
type provided and listed in the
Specications Chart on page 10.
Soak the new Saw Chain overnight 1.
in Chain/Bar/Sprocket oil (sold
separately).
2.
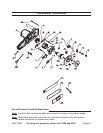
Cover (3), then loosen the Chain
Tension Screw counter clockwise
until the Saw Chain is loose.
Unthread the Nut (2) and remove the 3.
Drive Cover (3).
Push the Guide Bar towards the 4.
Sprocket to further loosen the Saw
Chain.
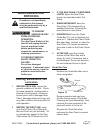
Remove the Saw Chain (72) from the 5.
Sprocket then the Guide Bar (71).
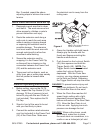
Note:
Sprocket
Figure 15
Always check the condition of the
Sprocket (6) when replacing the
chain. The Sprocket should be
replaced if it shows signs of wear
or is damaged. If needed, have the
Sprocket replaced and the bearings


