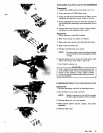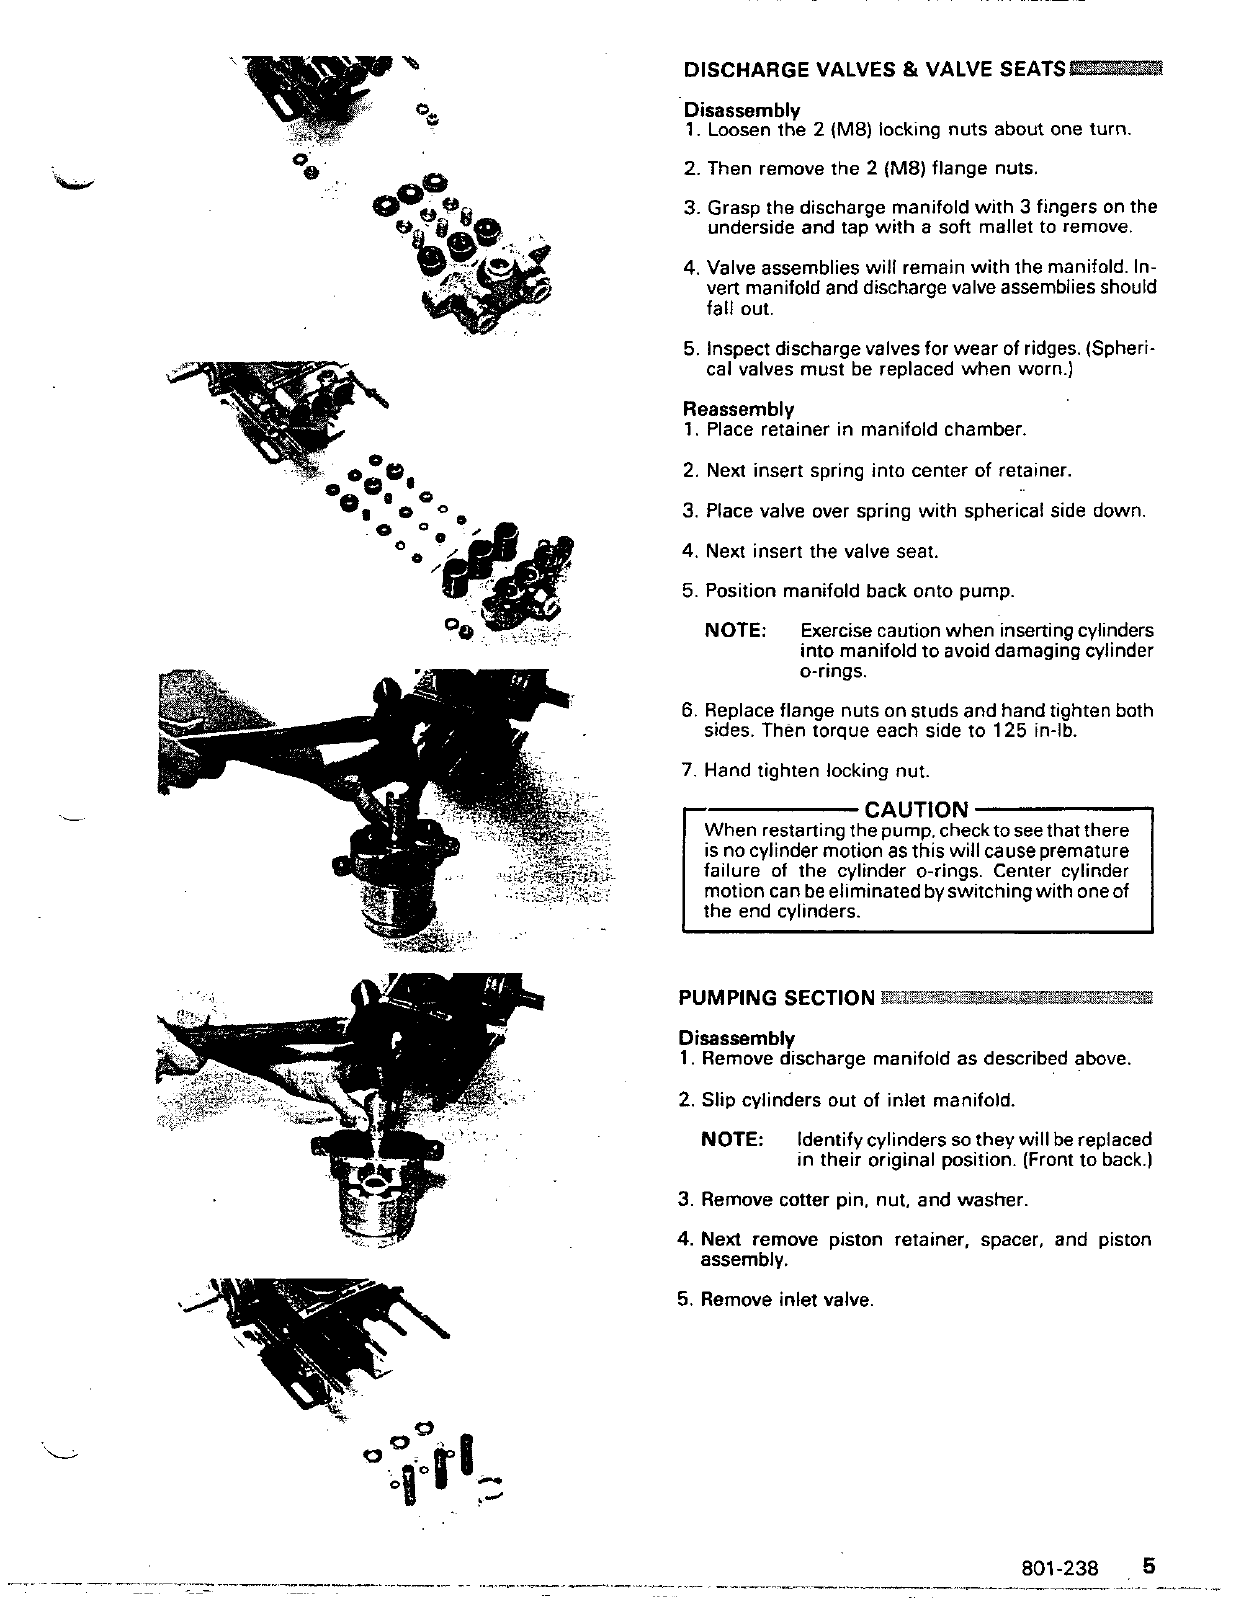
DISCHARGE VALVES
&
VALVE SEATS
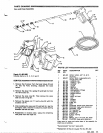
Disassembly
1.
Loosen the
2
(M8)
locking nuts about one turn.
2.
Then remove the
2
(M8)
flange nuts.
3.
Grasp the discharge manifold
with
3 fingers on the
underside and tap
with
a
soft
mallet to remove.
4.
Valve assemblies will remain with the manifold. In-
vert manifold and discharge valve assemblies should
fall out.
5.
Inspect discharge valves for wear of ridges. (Spheri-
cal valves must be replaced when worn.)
Reassembly
1.
Place retainer
in
manifold chamber.
2.
Next insert spring into center of retainer
3.
Place valve over spring
with
spherical side down.
4.
Next insert the valve seat
5.
Position manifold back onto pump.
NOTE: Exercise caution when inserting cylinders
O-rings.
into manifold to avoid damaging cylinder
6.
Replace flange nuts on studs and hand tighten both
sides. Then torque each side to
125
in-lb.
7.
Hand tighten locking nut.
-
When restarting the pump, checkto see that there
CAUTION
failure of the cylinder O-rings. Center cylinder
is no cylinder motion as this
will
cause premature
motion can beeliminated byswitchingwith oneof
the end cylinders.
1
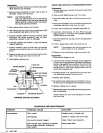
PUMPING SECTION
BE2
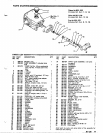
Disassembly
1.
Remove discharge manifold as described above.
2.
Slip cylinders out of inlet manifold.
NOTE: Identify cylinders
so
they
will
be replaced
in
their original position. (Front to back.)
3.
Remove cotter pin, nut, and washer.
4.
Next
remove piston retainer, spacer, and piston
assembly.
5.
Remove inlet valve


