


Planning the installation
The shower should be located in a position
where walls are protected from water and
sufficient drainage is provided.
1) Consideration should be given to the
location of the nearest cold mains
water supply and the routing of this
to the shower. The shower will accept
a mains supply from the bottom,
back or top of the unit. Remove the
appropriate plastic plate from the
back plate before commencing
installation.
2) Avoid connecting the shower unit
where it will be affected by water
drawn off by other appliances, e.g.
from the mains feed to the W.C. This
may cause a drop in pressure too low
for the shower unit to work correctly.
General
1) Fit an isolating valve to the mains
water supply so that the shower can
be serviced.
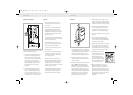
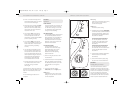
2) The shower unit is best placed to the
right hand side of the riser rail and
placed so that the top of the unit sits
alongside the middle to top of the riser
rail. This reduces the amount of water
falling on the unit.
The top of the riser rail should be sited
to coincide with the height of the tallest
person using the shower.
Before drilling any holes check that
there are no hidden cables or pipes
below the surface to be drilled.
To avoid loss of small parts cover any
drainage holes.
3) The shower unit should be positioned
so that the showerhead cannot be
immersed in the bath or shower tray
when hanging down.
Where holes are to be drilled into a
tiled surface a suitable tile or glass drill
bit should be used to make a hole
through the tile only. The hole made
through the tile should be 0.5mm larger
than the hole in the wall.
These installation instructions assume
mounting onto a solid masonry wall.
For other types of structure please
amend the procedure accordingly.
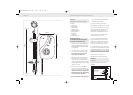
Plumbing
1) Remove the front cover of the shower
unit complete with the two control knobs
by removing the two screws securing it to
the back plate. Remove the ‘trim plate’ at
the bottom right-hand side of unit to
allow easy access for the plumbing work.
2) Position the shower unit on the wall in
the desired place and mark the location
of the fixing holes.
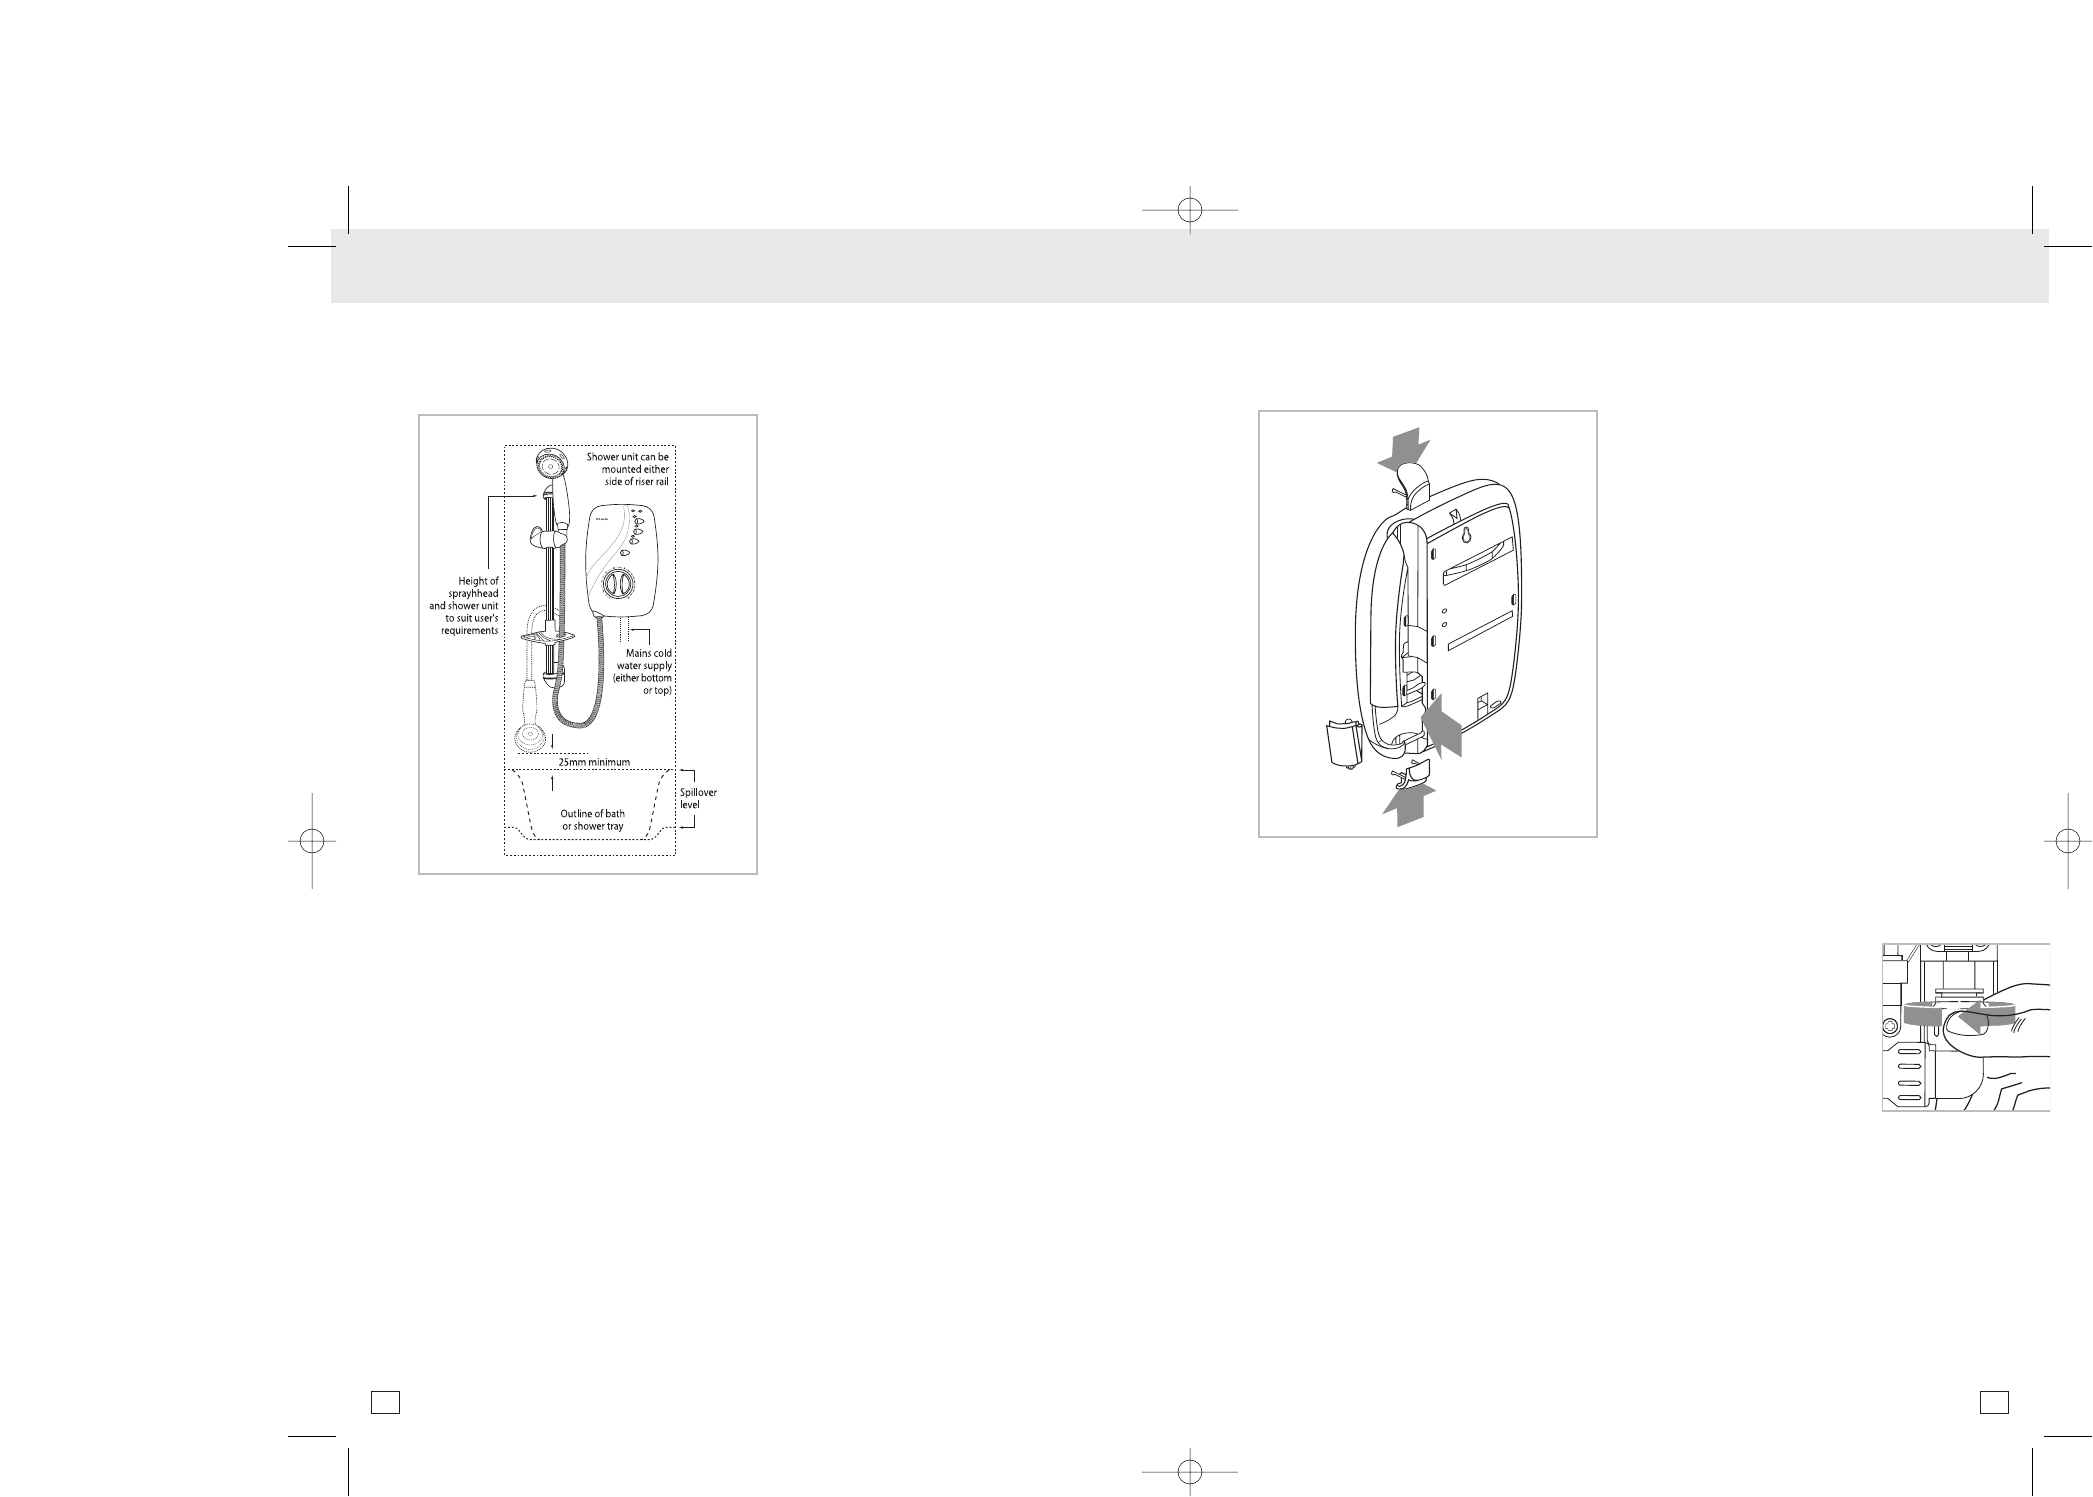
3) Determine the direction of the inlet water
supply: bottom (rising), top (falling) or
back inlet. The shower unit is supplied
with a swivelling push-fit inlet elbow. This
elbow should be rotated to match the
desired direction of water supply entry to
the unit.Carefully remove the appropriate
plastic break-out from the unit’s back
plate so that the mains water supply
pipe can be routed into the unit.
4) Carefully drill the holes using a 5.5mm
masonry drill (note when drilling though
tiles first use a glass or tile drill bit of 6mm
diameter to drill a hole through the tile).
5) Insert the plugs provided through the
hole in the tile and fix the unit to the
wall using the screws supplied. Do not
tighten the screws fully at this stage.
6) Turn off the water supply at the isolating
stop tap.
7) Bring the mains water supply using
15mm copper or stainless steel pipe to
the shower unit so that it enters through
the hole in the back plate.
8) Before connecting the shower unit, flush
out any debris in the new pipework by
connecting a hose to the end of the
mains supply pipe and running the mains
water until all the debris has cleared.
9) After flushing out, turn off the
water supply and connect
the pipe to the shower inlet.
Having inserted the inlet
pipe into the elbow, secure
the joint by finger tightening
the locking device, rotating
in a clockwise direction.
10)Make sure that the shower unit is
positioned squarely on the wall and
tighten the fixing screws. Tighten all
plumbing joints and turn on the water
supply to check for leaks. With the unit
firmly fixed to the wall and the pipework
free from leaks, dry the shower area in
preparation for the electrical
installation.
INSTALLATION INSTALLATION
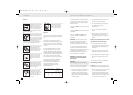
HIGH
LOW
COLD
LOW
PRESSURE
AUTO
RESET
TEMPERATURE
S
T
O
P
Product Positioning Guide
4 5
Dimp13292-Shower inst aX4 5/5/04 2:08 pm Page 5