


Rev: 8/2008
8 of 21
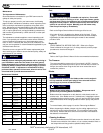
36B, 36BX, 36H, 36HX, 52H, 52HX
DEK
®
is exclusively distributed by GXi International, LLC
Heavy Duty Power Equipment
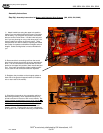
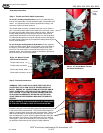
1) Attach handle bars using the upper hole position
setting if you are walking behind the mower (not using a
ride-on Sulky). By using this hole position, the handle
bars are several inches lower. Use the lower hole posi-
tion if you are planning on using a ride-along sulky, rais-
ing the handle bar location by several inches. These
hole positions can also be used for adjusting the handle
bar location for operators with different heights and arm
lengths. Select the height that is most comfortable for
you.
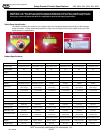
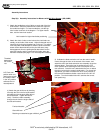
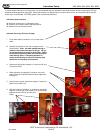
2) Reconnect the 4 connecting rods from the control
panel to the chassis pivot points as per the attached pic-
tures. The rod connections are secured with an initial
preset for the upper hole position (lower handle bar posi-
tion). If the lower hole position (upper handle bar posi-
tion) is used the rod connections must be adjusted.
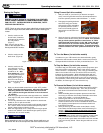
3) Retighten the pivot bolts on the triangular plates on
each side of the gas tank support bracket (2 locations,
one on each side of the mower).
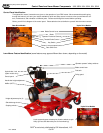
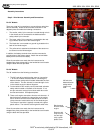
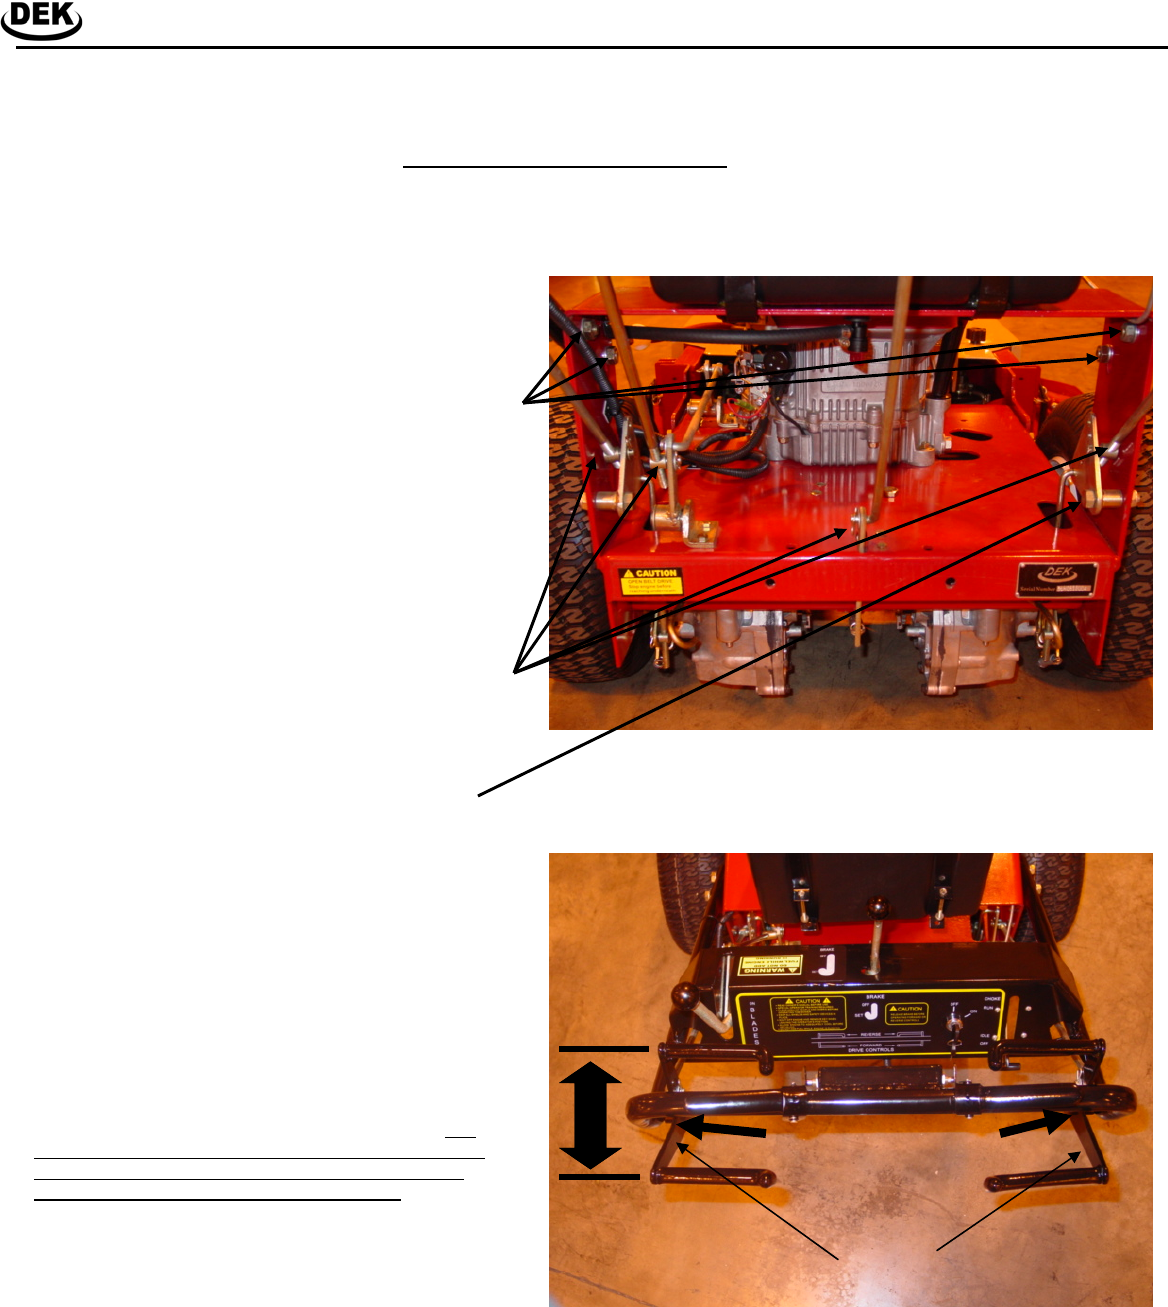
4) Should the pivot ends on the connecting rods be ro-
tated during assembly, minor adjustments may be re-
quired to achieve full travel on each control handle. The
control handles located directly on top of the handle bars
should have full travel forward and stop approximately
1/8” before the “V plate” strikes the handle bar. This will
provide full forward speed and the correct restricted
speed in reverse. Please make any minor adjustments
to the position of the threaded connecting rod attachment
Assembly Instructions
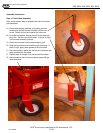
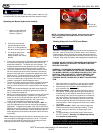
Step 2(a):
Assembly Instructions for Mowers with Hydraulic Drive Systems (36H, 36HX, 52H, 52HX)
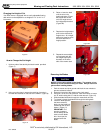
V-Plates
1/8” gap in full forward
position