17
6
Maintaining
Your Snow
Thrower
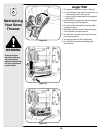
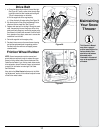
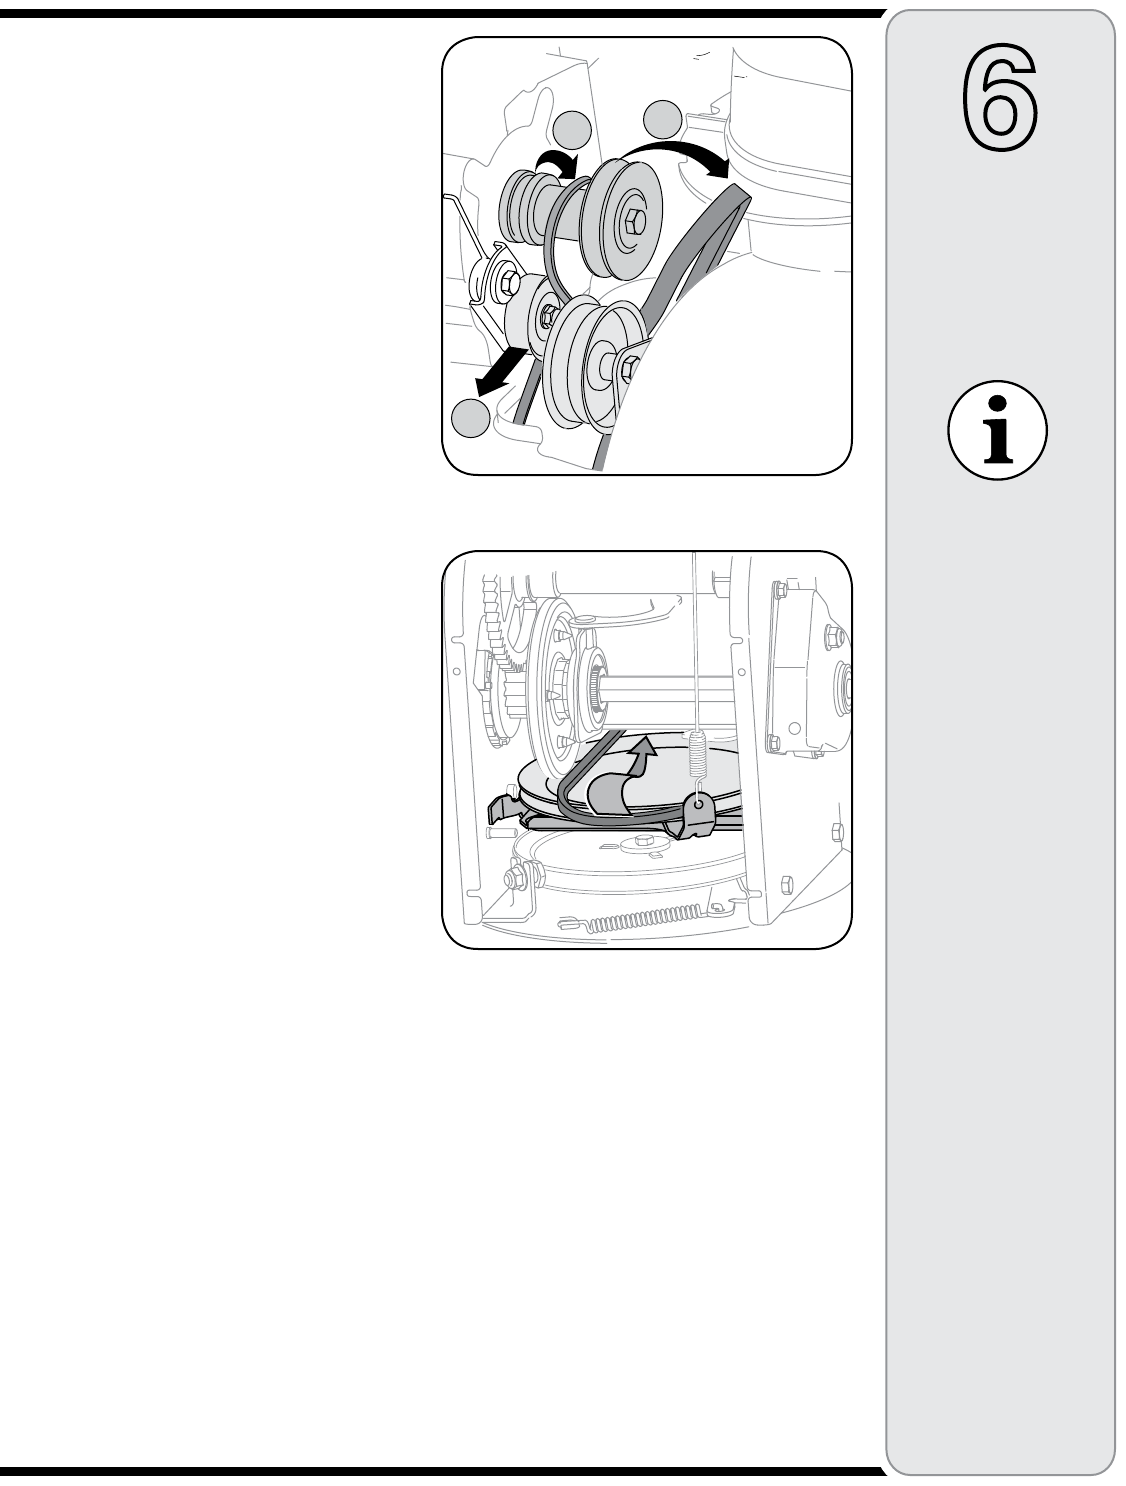
Figure 27
Figure 26
Drive Belt
1. a. Grasp the idler pulley and pivot it toward the right.
See Figure 26. Insert a screw driver through align-
ing holes in both the idler bracket and the engine.
This will release tension on drive belt.
b. Roll the auger belt off the engine pulley.
c. Lift the drive belt off engine pulley. See Figure 26.
2. Slip the drive belt off the pulley and between friction
wheel and friction wheel disc. See Figure 27.
3. Replace with new belt, first sliding it through the crank
shaft, then working it around the groove of the drive
pulley and finally wrapping it around the engine pulley
from where the old belt was removed. Once the belt is
firmly placed on the pulleys, make sure to remove the
screwdriver from the idler.
4. Re-install auger belt on the engine pulley.
5. Re-attach frame cover on the snow thrower housing
and put the equipment back to operating position.
Re-attach belt cover with two self-tapping screws
removed earlier.
Friction Wheel Rubber
NOTE: Several components must be removed and
special tools are required in order to replace this snow
thrower’s friction wheel rubber. See an authorized Cub
Cadet Service Dealer if your friction wheel rubber needs
to be replaced or phone Customer Support as instructed
on page 2 for information on ordering a Cub Cadet
Service Manual.
Also, refer to the Drive Control adjustment in the “Mak-
ing Adjustments” section of this manual to adjust for wear
on the friction wheel rubber.
"
#
!
This Operator’s Manual
may cover a range of
product specifications for
various models. Char-
acteristics and features
discussed and/or
illustrated in this manual
may not be applicable to
all models.


