


12
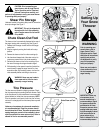
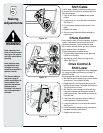
Shift Cable
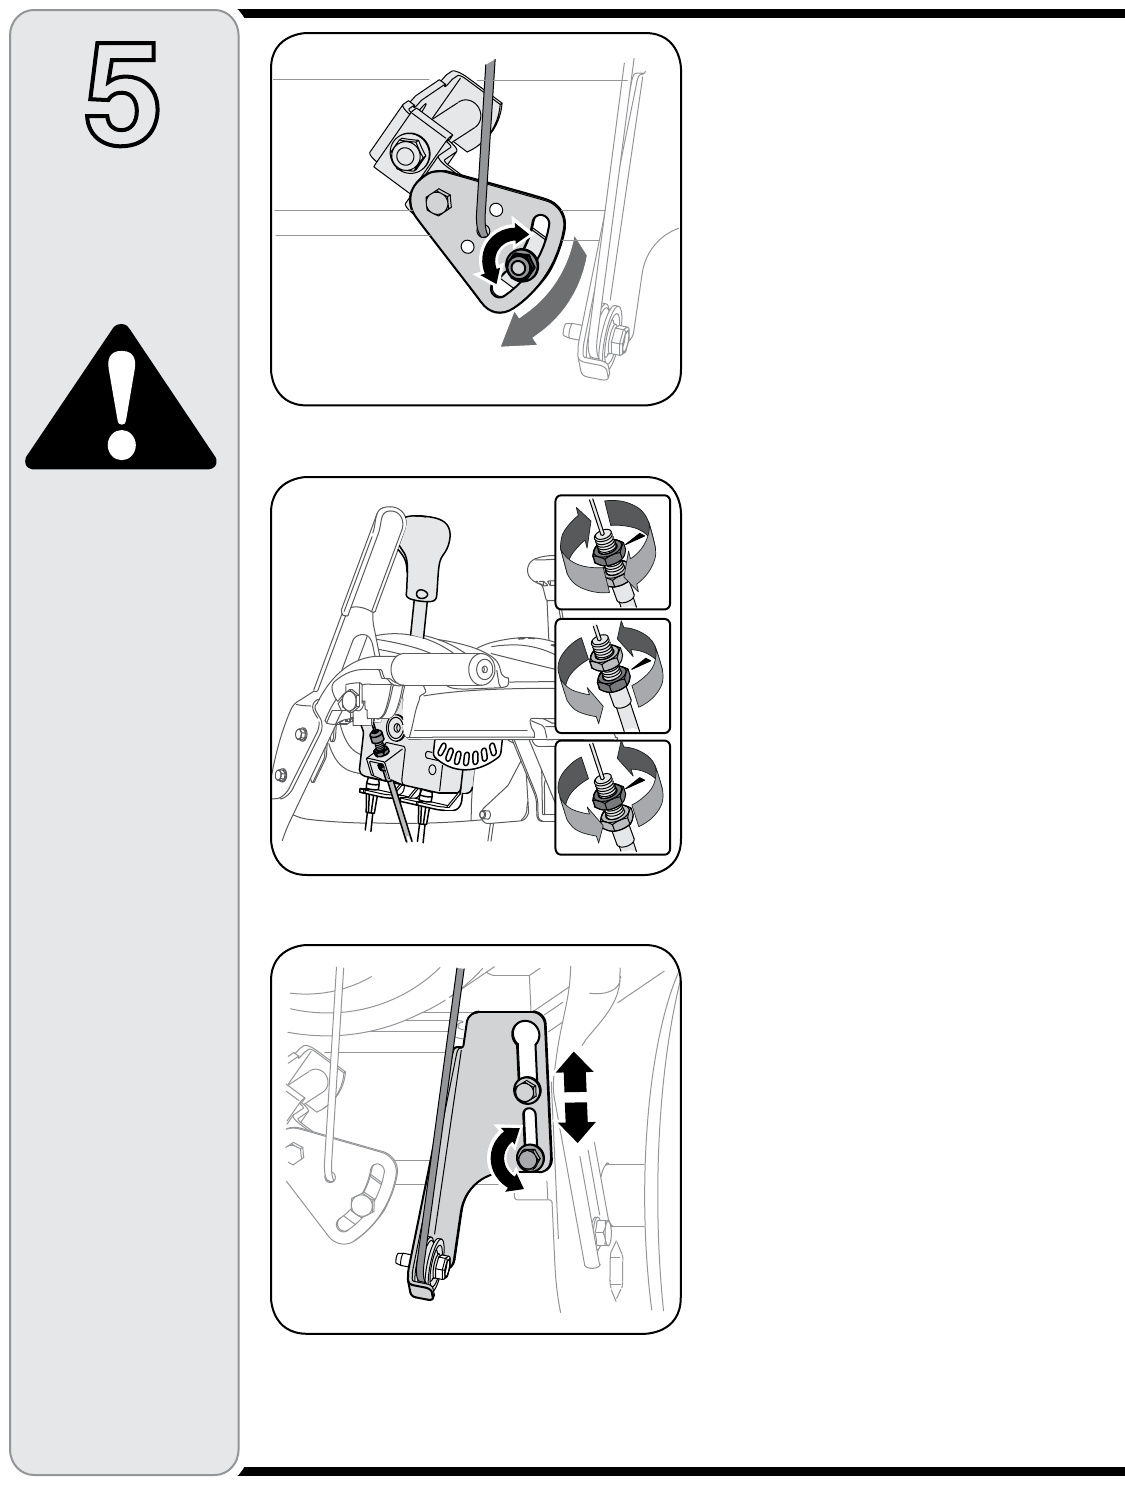
If the full range of speeds (forward and reverse) cannot
be achieved, refer to the figure to the left and adjust the
shift cable as follows:
1. Place the shift lever in the fastest forward speed
position.
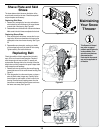
2. Loosen the hex nut on the shift cable index bracket.
See Figure 14.
3. Pivot the bracket downward to take up slack in the
cable.
4. Retighten the hex nut.
5. Check for correct adjustment before operating the
snow thrower.
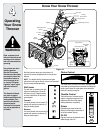
Chute Control
Once a season or every 25 hours of operation, whichever
is earlier, check whether the four-way chute control™
cables have slackened. If the chute does not rotate
fully or its pitch cannot be moved up or down, the chute
control cables will have to be adjusted.
To adjust these cables, proceed as follows:
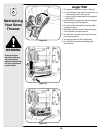
1. To tighten cable, loosen the top nut and tighten the
bottom nut on the cable.
2. Adjust equally on both sides by working on both
cables. See Figure 15.
Drive Control &
Shift Lever
When the drive control is released and in the disengaged
“up” position, the cable should have very little slack. It
should NOT be tight.
Check the adjustment of the drive control as follows:
1. With the drive control released, push the snow thrower
gently forward. The unit should roll freely.
2. Engage the drive control and gently attempt to push
the snow thrower forward. The wheels should not turn.
The unit should not roll freely.
3. With the drive control released, move the shift lever
back and forth between the R2 position and the F6
position several times. There should be no resistance
in the shift lever.
4. If any of the above tests failed, the drive cable is in
need of adjustment. Proceed as follows:
5. Loosen the lower hex nut on the drive cable bracket.
See Figure 16.
6. Position the bracket upward to provide more slack (or
downward to increase cable tension).
7. Retighten the lower hex nut.
5
Making
Adjustments
Figure 14
Figure 15
Figure 16
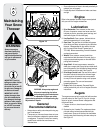
WARNING
Read, understand, and
follow all instructions and
warnings on the machine
and in this manual before
operating.
Never attempt to make
any adjustments while
the engine is running,
except where specified in
operator’s manual.
This Operator’s Manual
may cover a range of
product specifications for
various models. Char-
acteristics and features
discussed and/or
illustrated in this manual
may not be applicable to
all models.