10
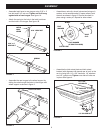
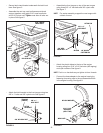
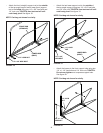
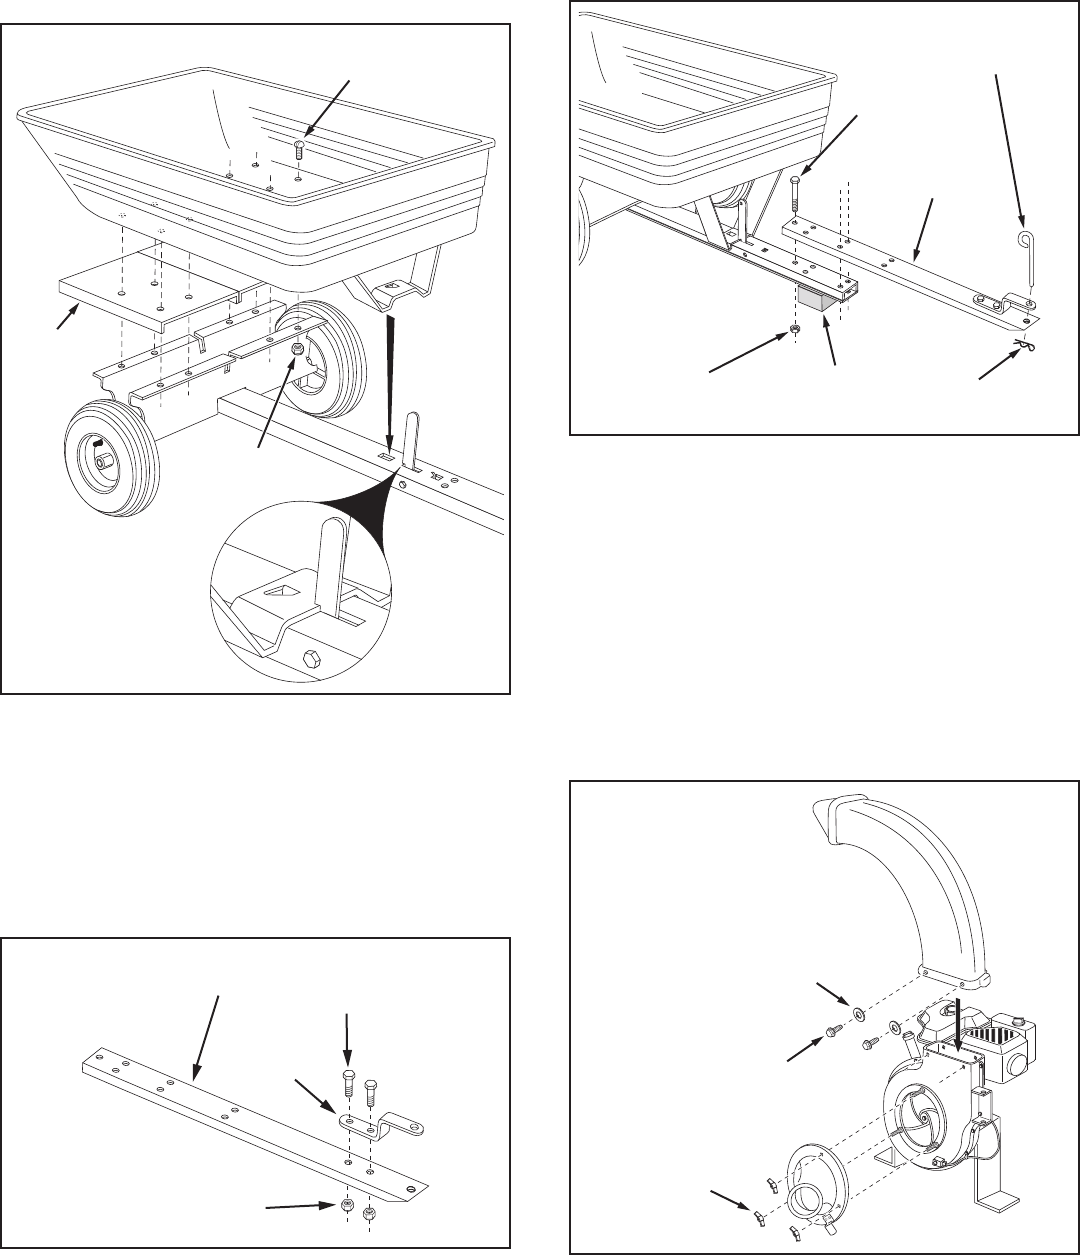
Secure latch stand bracket underneath the latch lock •
lever. See gure 5.
Assemble the cart tray, cart bed braces and wheel •
support together using eight 5/16" truss head bolts
and 5/16" nylock nuts. Tighten nuts after all bolts are
in place. See gure 5.
5/16"
NYLOCK NUT
CART
BED
BRACE
5/16" TRUSS
HEAD BOLT
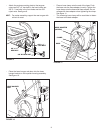
Attach the hitch bracket to the front tongue using two •
3/8" x 1" bolts and 3/8" nylock nuts. See gure 6.
TONGUE
(FRONT)
3/8" NYLOCK NUT
3/8" x 1"
HEX BOLT
HITCH
BRACKET
FIGURE 5
FIGURE 6
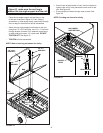
Assemble the front tongue on top of the rear tongue •
using three 3/8" x 3" hex bolts and 3/8" nylock nuts.
See gure 7.
HINT: For easier assembly, support the rear tongue with
a block of wood.
TONGUE
(FRONT)
3/8" x 3"
HEX BOLT
BLOCK
3/8" HEX
LOCK NUT
1/8" HAIR
COTTER PIN
HITCH PIN
NYLON WASHER
WING NUT
5/16" X 3/4"
HEX BOLT
(SELF TAP)
FIGURE 7
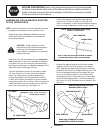
FIGURE 8
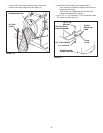
Attach the plastic elbow to the top of the engine •
housing using four 5/16" x 3/4" hex bolts (self tapping)
and nylon washers. See gure 8.
HINT: Push in on hex bolts as you tighten to form threads.
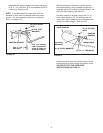
Connect the hose adapter to the engine housing by •
fastening three wing nuts to the pre-assembled bolts
in the engine housing. See gure 8.


