10
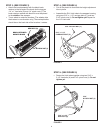
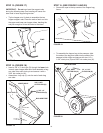
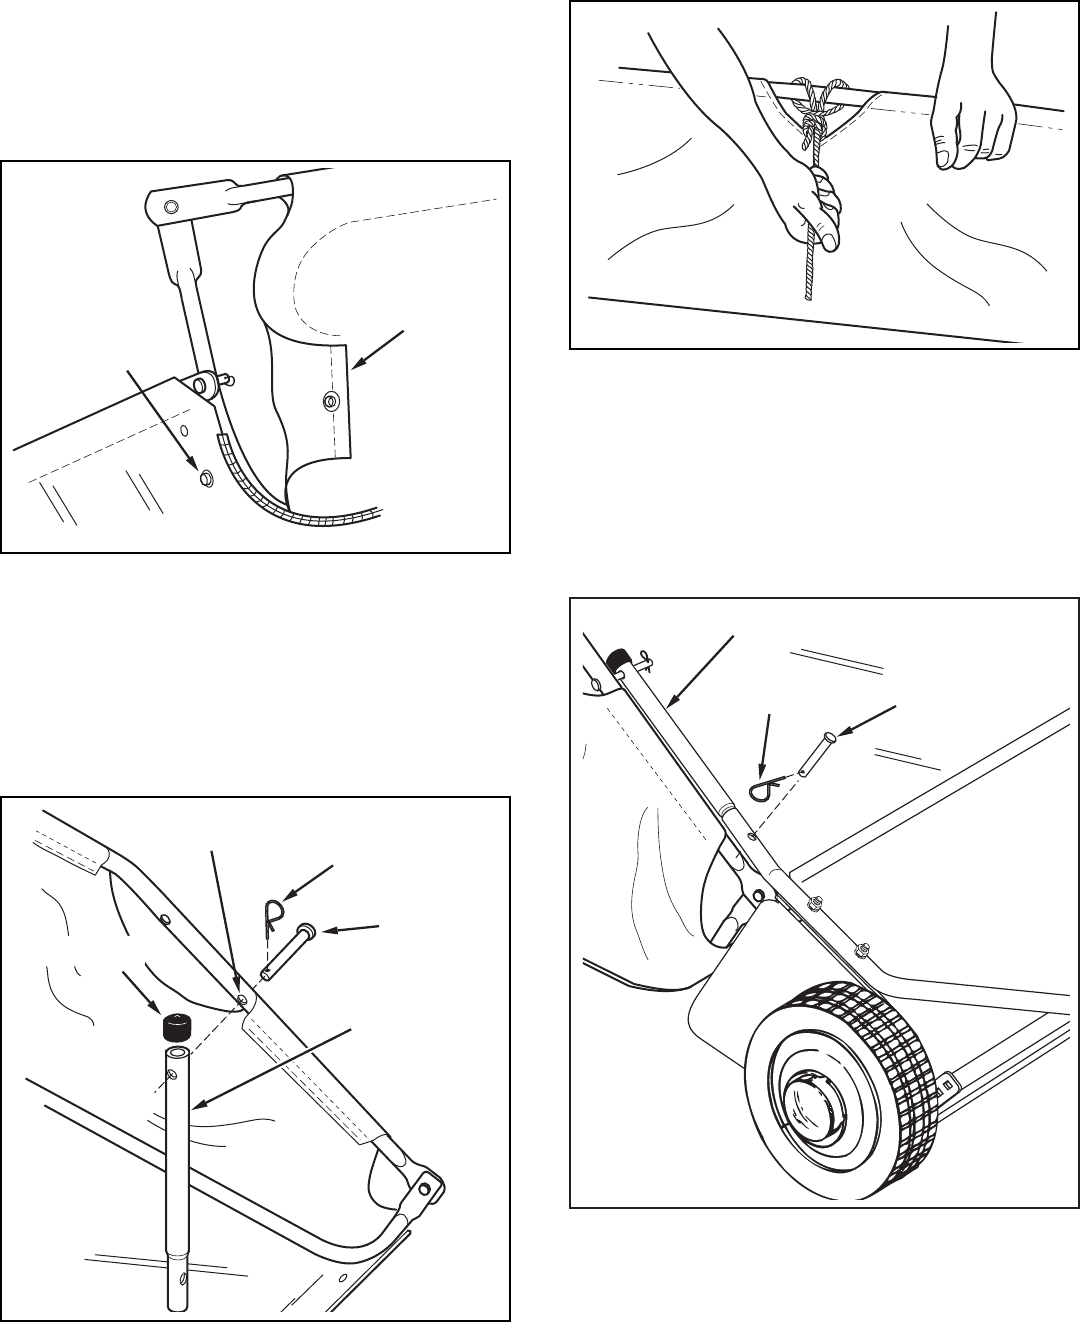
STEP 13: (FIGURE 17)
IMPORTANT: Do notoverbendthesupportrods
duringthefollowingstep.Overbendingwillcausethe
steel rods to loose supporting tension.
• Tipthehopperontoit'sbacktoassemblethetwo
hoppersupportrods.Placetheendsofeachrodinto
theupperandlowerrearhoppertubes,bendingthe
rodjustenoughtotintotheholesinthetubes.
SNAP
FLAP
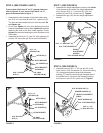
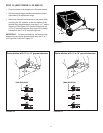
STEP 14: (FIGURE 18)
• Inserta3/8"x3"clevispin(R)throughthelower hole
ineachupperhoppersidetube.Nextassembleabag
armtubeontoeachclevispinandsecureitwitha
3/32"haircotterpin(N).
• Assembleavinylcap(V)ontotheendofeachbag
armtube.
LOWER HOLE
3/32" HAIR
COTTER PIN (N)
3/8" x 3"
CLEVIS PIN (R)
BAG ARM TUBE
VINYL CAP (V)
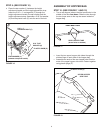
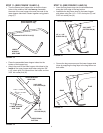
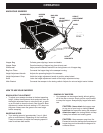
STEP 15: (SEE FIGURE 19 AND 20)
• Securetheropetothetopcenterofthehopperbag
frame.
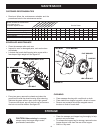
• Toassemblethehopperbagtothesweeper,slide
theendsofthebagarmtubesintotheendsofthe
sweeper'shitchtubesandsecurewithtwo1/4"x
1-3/4"clevispins(Q)and3/32"haircotterpins(N).
BAG ARM TUBE
1/4" x 1-3/4"
CLEVIS PIN (Q)
3/32" HAIR
COTTER PIN (N)
FIGURE 17
FIGURE 18
FIGURE 19
FIGURE 20


