


No
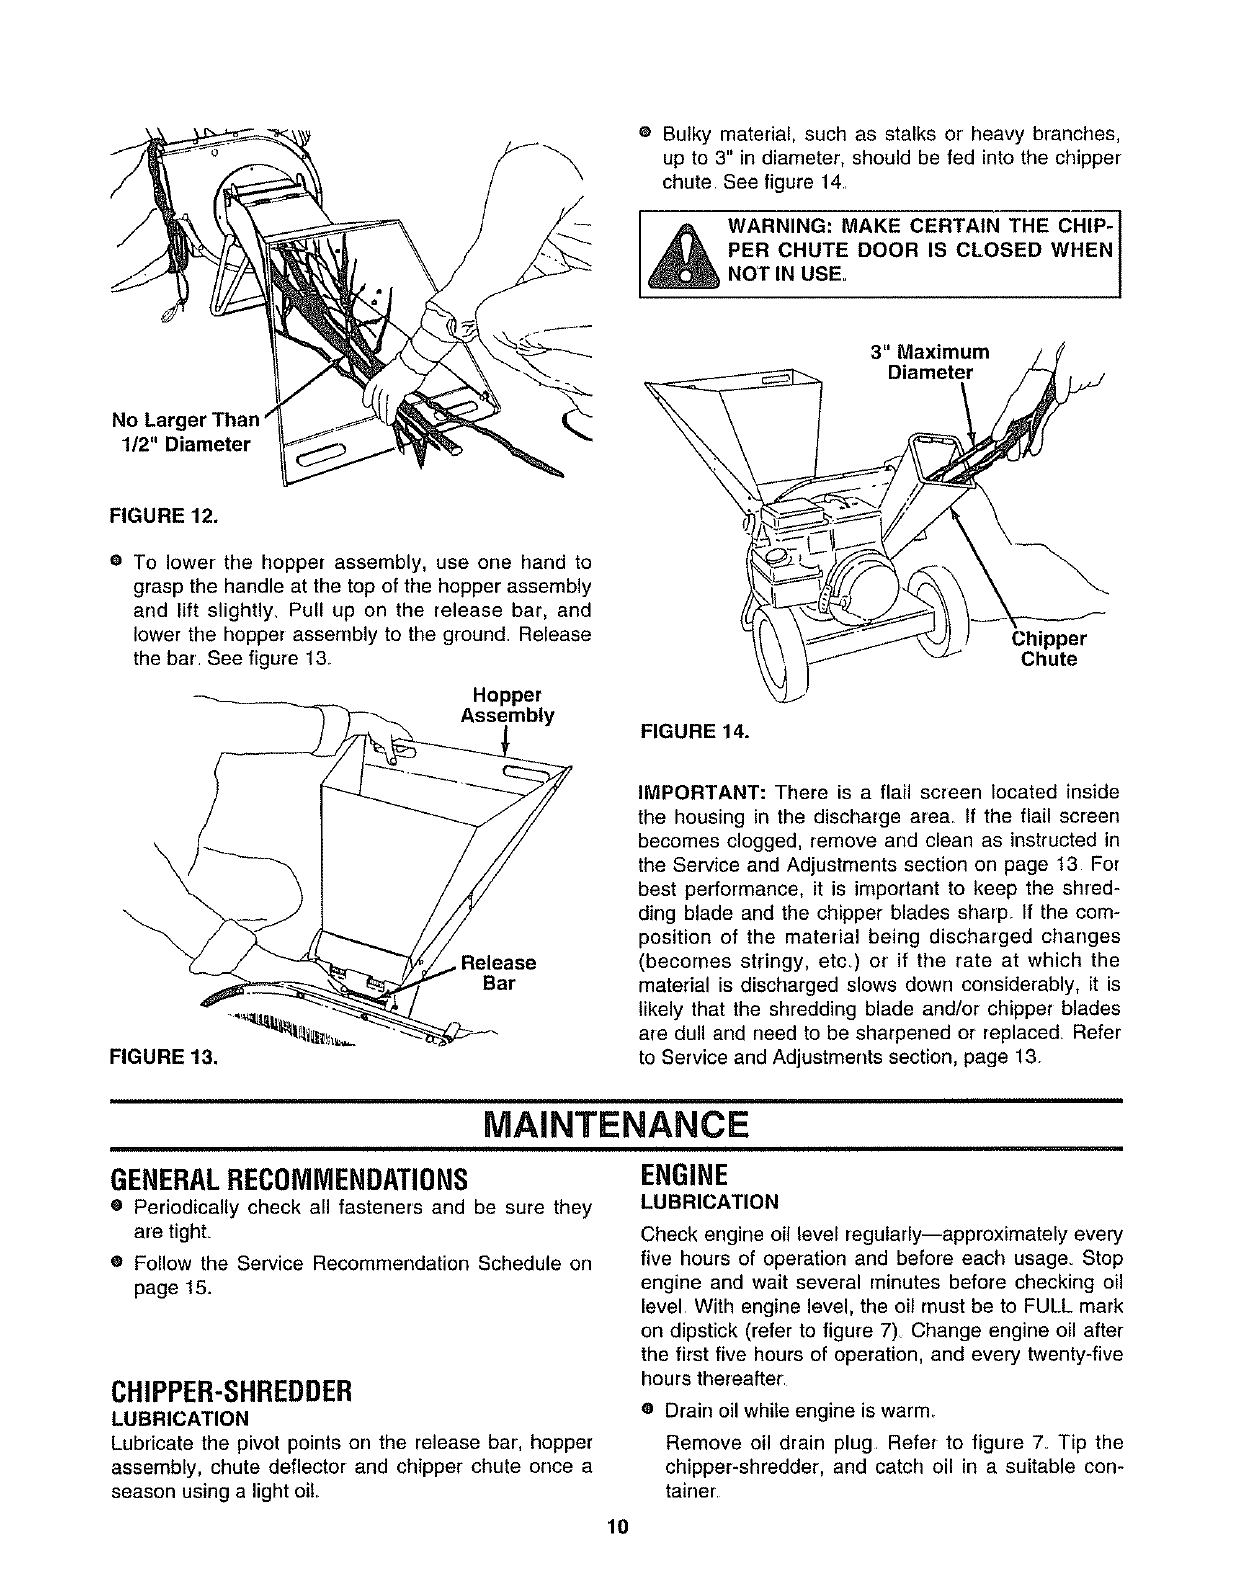
1/2" Diameter
FIGURE 12.
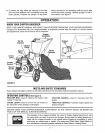
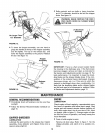
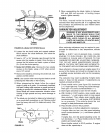
e To lower the hopper assembly, use one hand to
grasp the handle at the top of the hopper assembly
and lift slightly, Pull up on the release bar, and
lower the hopper assembly to the ground Release
the bar'. See figure 13.
Hopper
Assembly
e Bulky material, such as stalks or heavy branches,
up to 3" in diameter, should be fed into the chipper
chute See figure 14
WARNING: MAKE CERTAIN THE CHIP-
PER CHUTE DOOR IS CLOSED WHEN
NOTINUSE.
3"Maximum
Diame_r
Chipper
Chute
FIGURE 14.
FIGURE 13.
Release
Bar
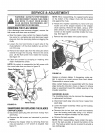
IMPORTANT: There is a flail screen located inside
the housing in the discharge area If the flail screen
becomes clogged, remove and clean as instructed in
the Service and Adjustments section on page 13 For
best performance, it is important to keep the shred-
ding blade and the chipper blades sharp If the com-
position of the material being discharged changes
(becomes stringy, etc) or if the rate at which the
material is discharged slows down considerably, it is
likely that the shredding blade and/or chipper blades
are dull and need to be sharpened or replaced, Refer
to Service and Adjustments section, page 13.
MAINTENANCE
GENERALRECOMMENDATIONS
• Periodically check all fastener's and be sure they
are tight.
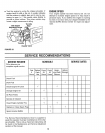
® Follow the Service Recommendation Schedule on
page 15.
CHIPPER-SHREDDER
LUBRICATION
Lubricate the pivot points on the release bar, hopper
assembly, chute deflector and chipper chute once a
season using a light off
ENGINE
LUBRICATION
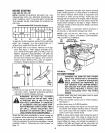
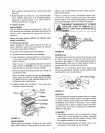
Check engine oil level regularly--approximately every
five hours of operation and before each usage. Stop
engine and wait several minutes before checking oil
level With engine level, the oil must be to FULL mark
on dipstick (refer to figure 7). Change engine oil after
the first five hours of operation, and every twenty-five
hours thereafter
• Drain oil while engine is warm.
Remove oil drain plug. Refer to figure 7_ Tip the
chipper-shredder, and catch oil ir} a suitable con-
tainer
10