


8
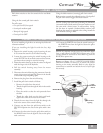
BLADE BADGE INSTALLATION
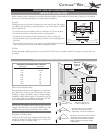
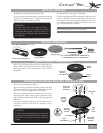
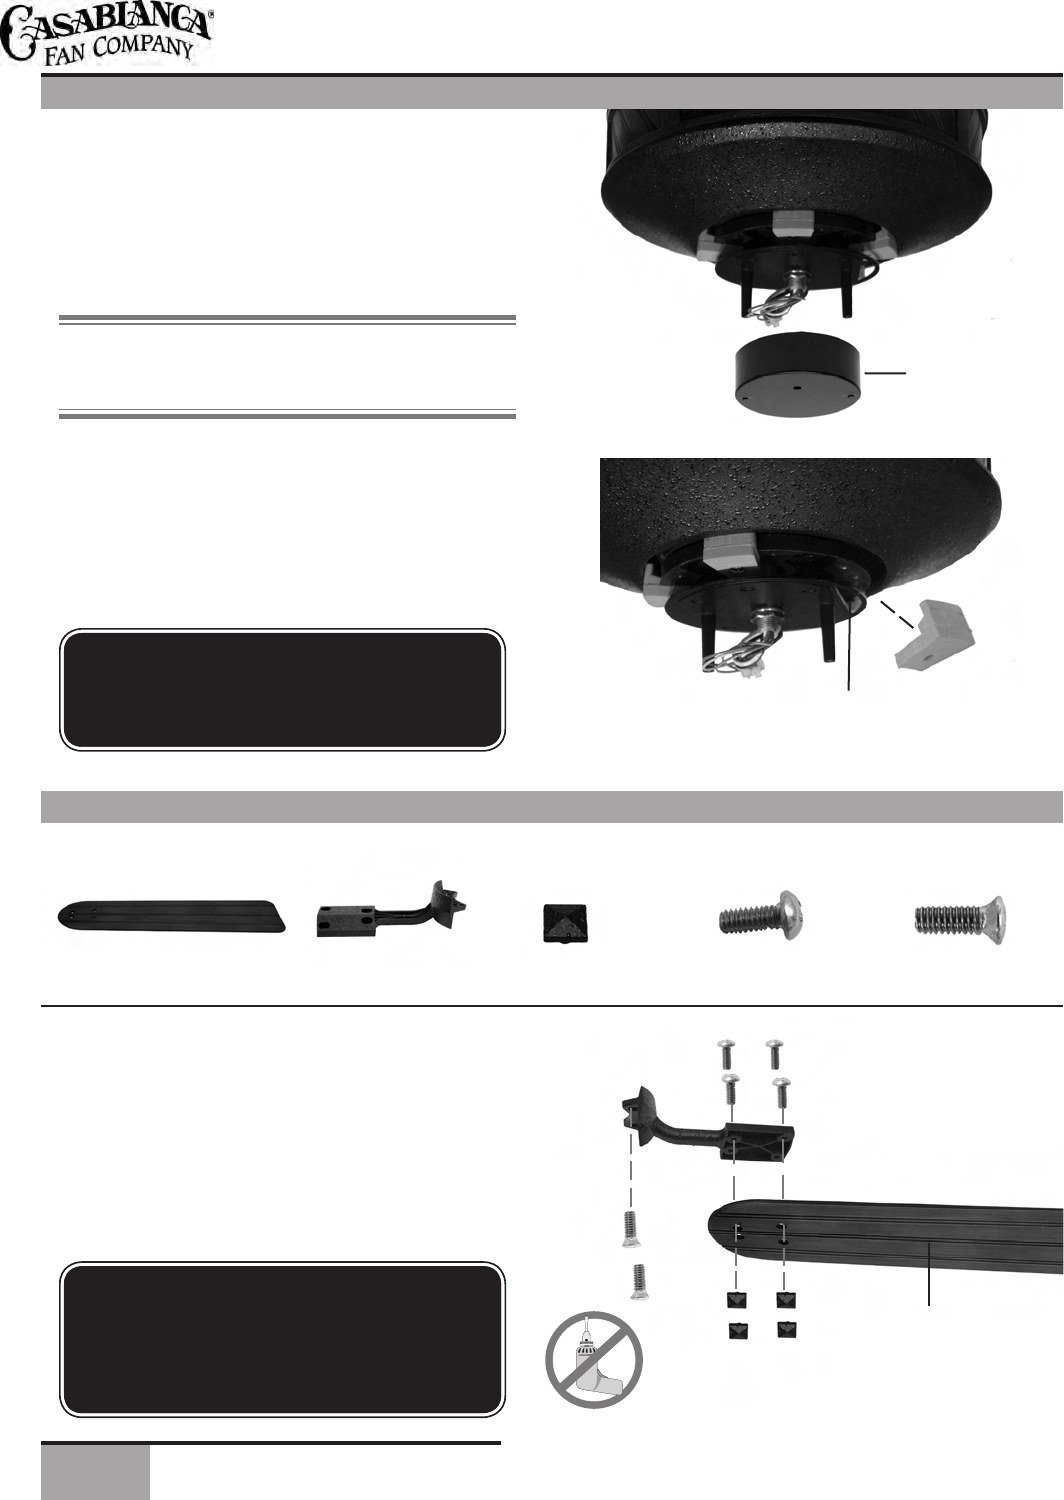
Screw Pack C:
Blade Badge Screws (21)
Screw Pack D:
Blade Holder Screws (6)
(not to scale)
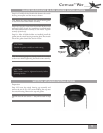
Attach Blade Holders
Step 10. Using Screw Pack C and the provided screwdriver,
carefully align the Medallion Nail on the front of the blade
badge and install the screw. NOTE: e front of the blade
badge is the side with the beadboard. Tighten securely by
hand. Repeat three more times per blade badge. And repeat
for each blade badge. (Check installation to make sure that
the Medallion Nails are aligned straight.)
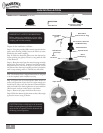
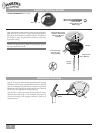
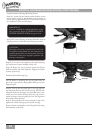
Step 8. To reach the blade holder mounting holes in the fan
motor, the dummy switch housing must be removed.
Take out the two 5/32-32 x 3/8” screws securing the
dummy switch housing as shown. Put the two screws aside
for the moment. ey will be used in Step 13a to install the
switch housing after the blades are installed. e dummy
switch housing is used only when shipping the fan.
TIP: Rotate the motor beneath the switch housing plate
to access the shipping block screws through the hole in the
switch housing plate.
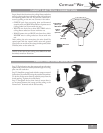
Step 9. Unscrew and remove the five shipping blocks.
Retain the five screws for use in Step 11b to install the
blade/blade holder assembly. You can discard the shipping
blocks. e shipping blocks are only used when shipping
the fan.
Medallion Nails (20)
WARNING!
Do not use electric screwdriver to tighten blade
screws. Hand tighten using a manual screwdriver
only.
Dummy Switch
Housing
Shipping
Block
Front of Blade
Hole in Switch
Housing Plate
IMPORTANT!
Retain the five screws removed in Step 9 for use
in Step 11b.