


10
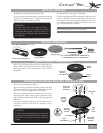
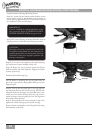
Install the Switch Housing Mounting Screws
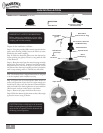
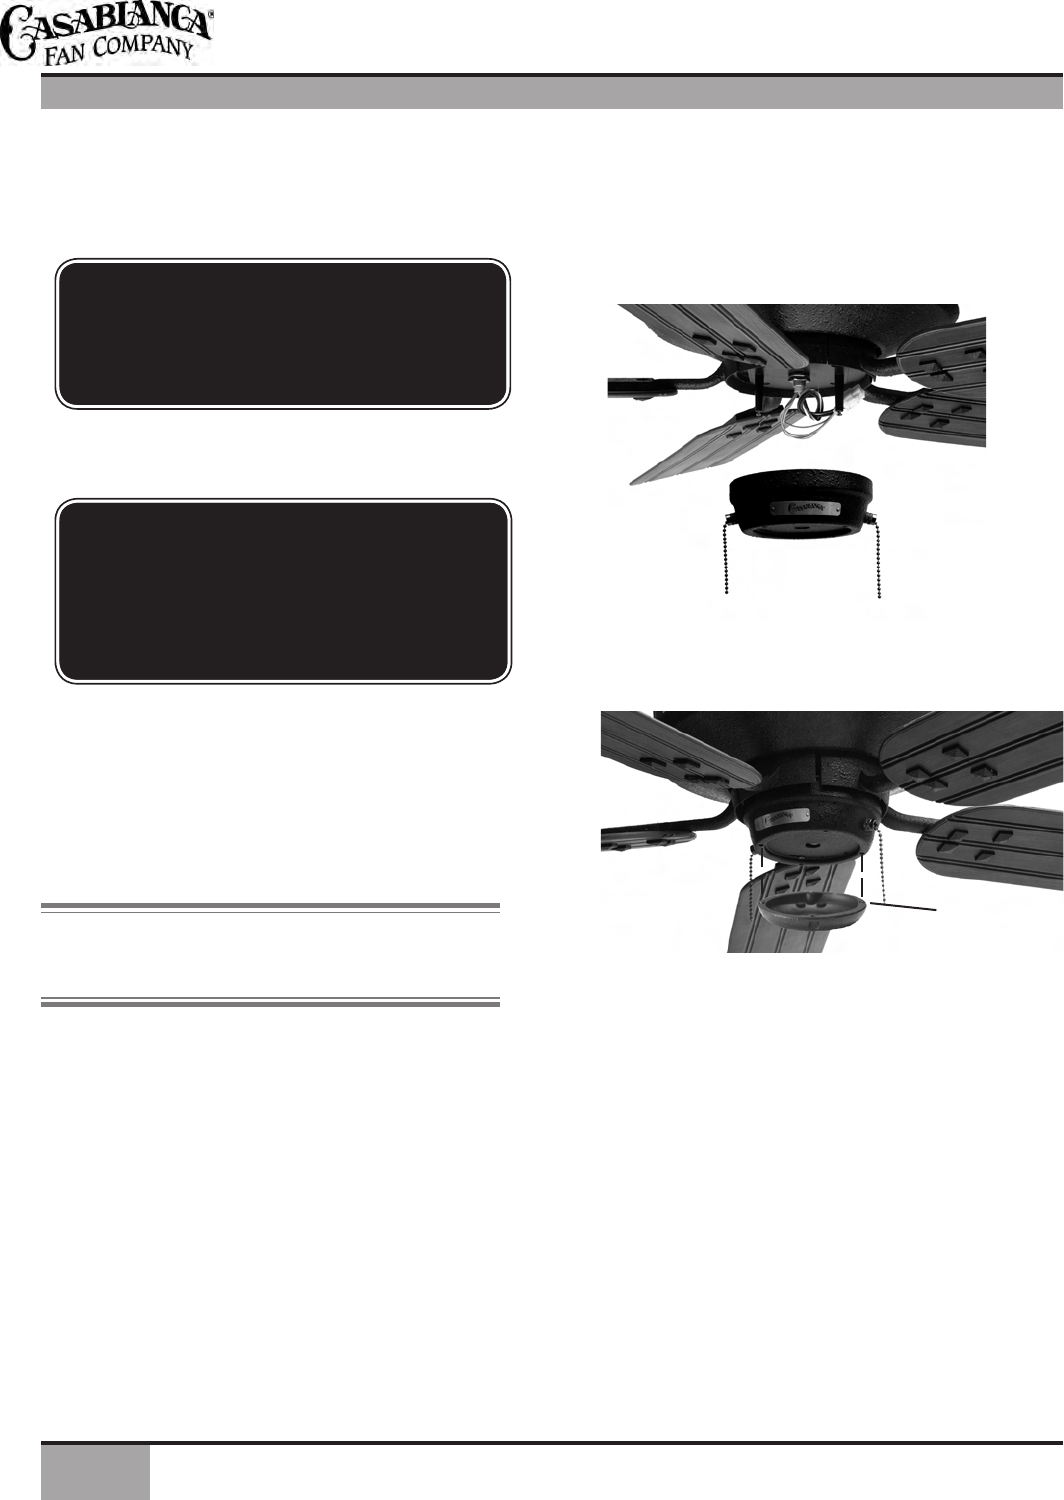
Step 13a. Locate the two dummy switch housing screws
you removed in Step 8. Install them onto the motor as
shown, leaving approximately 1/8” of the threads exposed
for installation of the switch housing.
Step 13b. Connect the plug connector from the motor to
the plug connector from the switch housing assembly.
IMPORTANT:
If you are installing an optional light fixture at this
time, proceed to Step 6 of OPTIONAL LIGHT
FIXTURE INSTALLATION on page 11 now.
CAUTION:
Both plug connectors are polarized and will only
fit together one way. Make sure the connectors are
properly aligned before connecting them. Incorrect
connections could cause improper operation and
damage to the product.
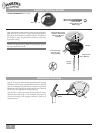
Step 13c. Line up the two keyholes in the switch housing
cup with the two screws installed in Step 13a.
Step 13d. Rotate the cup so that the screws are aligned
with the smaller side of the keyholes. Tighten the screws
securely by hand only.
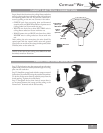
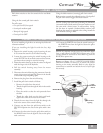
Install the Switch Housing Cap
NOTE: Before re-installing the cap, the gasket must be
put on the cap so that the larger gasket holes go over the
alignment pins.
Step 14. Line up the two guide pins in the cap with the
two alignment holes of the switch housing. NOTE: e
alignment holes are the larger, non-threaded holes in the
raised rim of the switch housing. Press the cap onto the
switch housing to seat the guide pins into the alignment
holes of the switch housing.
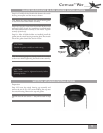
Step 15. Re-install the two screws removed in Step 12 to
tighten the switch housing cap and switch housing.
Step 16. Attach a fandangle to each of the pull chains using
the breakaway connectors.
Guide Pin
↑
↑