AFTER COMPLETING ANY ASSEMBLY STEP, THOROUGHLY READ THE NEXT STEP IN THE ASSEMBLY
INSTRUCTIONS BEFORE PROCEEDING WITH THAT STEP.
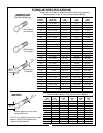
11. After completing assembly, thoroughly inspect the machine to be sure that all nuts, bolts, hydraulic fittings
or any other fastened assemblies have been thogoughtly tightened.
12. After completing assembly, be sure that all safety locking devices or guards are in place.
13. Before operating the machine, thoroughly read the operation section of this manual.
14. Before operating, read the maintenance section of this manual to be sure that any parts requiring
lubrication such as engines are full to avoid any possible damage.
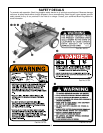
BEFORE OPERATING THE EQUIPMENT, IF YOU HAVE ANY QUESTIONS REGARDING THE PROPER
ASSEMBLY OR OPERATION, CONTACT YOUR AUTHORIZED BUSH HOG DEALER OR REPRESENTATIVE.
15
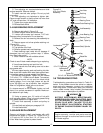
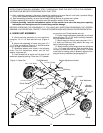
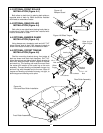
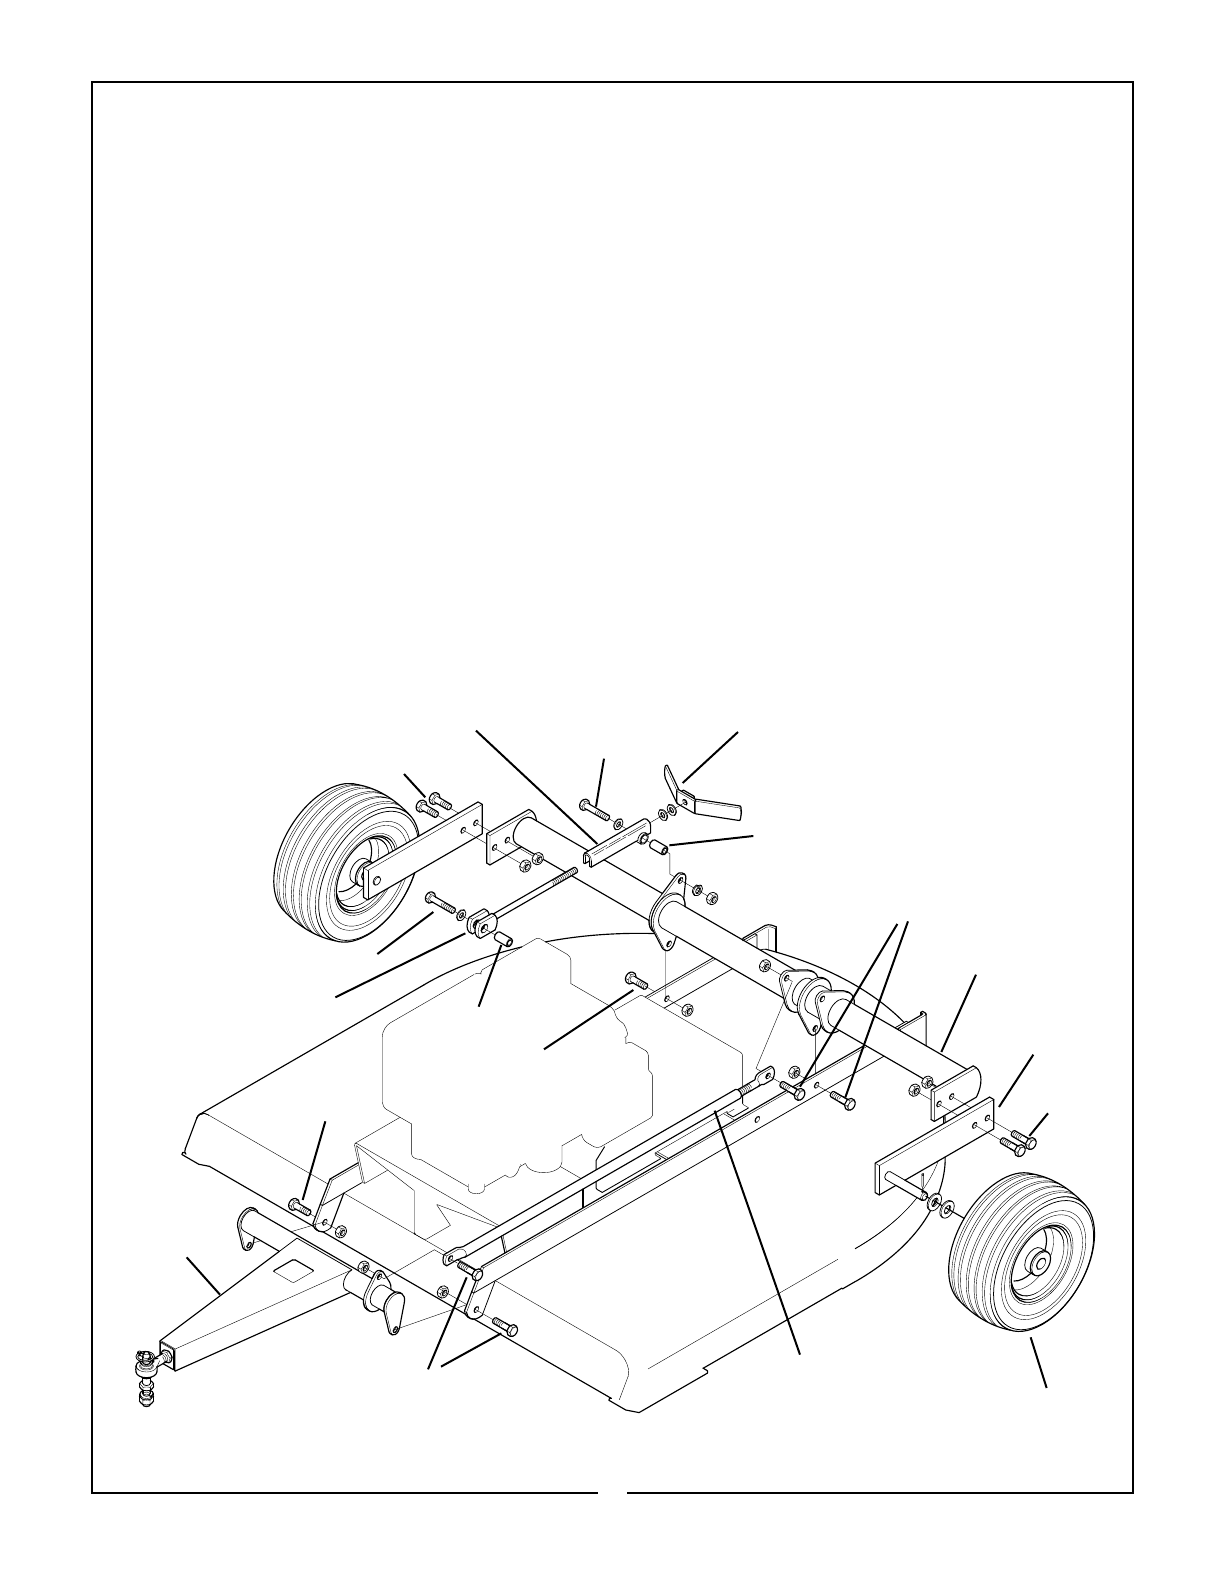
4-1 BASE UNIT ASSEMBLY
A. Mount spindle weldment to axle weldment
using four 1/2 x 1-1/2” bolts and lock nuts. (Figure 4-
1)
B. Mount axle assembly to frame using two 1/2 x
1-1/4” bolts and locknuts (Figure 4-1). Nuts should be
snug, not tight, to allow axle to pivot.
C. Assemble wheels onto axles in the following
order: Two 3/4” flatwashers, wheel, one 3/4” flat-
washer, and cotter pin.
D. Insert thread end of clevis rod into end of cuff
weldment opposite bushing. Place two 1/2” flatwash-
ers on clevis rod. Thread handle onto rod.
E. Fasten height adjustment assembly to axle and
deck using two 1/2 x 2-1/2” bolts, bushings, flatwash-
ers, lockwashers and nuts.
F. Mount tongue to front of deck using two 1/2 x 1-
1/4” bolts and locknuts. Nuts should be snug, not
tight, to allow tongue to pivot.
G. Attach leveling rod to tongue and axle using two
1/2 x 1-1/4” bolts and locknuts. Nuts should be snug,
not tight, to allow axle and tongue to pivot. If vehicle
to be used for towing cutter is present, adjust the lev-
eling bar during installation per paragraph 2-2.
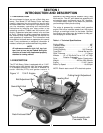
Figure 4-1 Base Unit
Axle Weldment
Spindle
Weldment
Wheel
Leveling Rod
Tongue
Cuff Weldment Height Adjustment Handle
Bushing
Clevis Rod
Bushing
1/2 x 1-1/2” Bolts
1/2 x 1-1/4” Bolt
1/2 x 1-1/4” Bolts
1/2 x 2-1/2” Bolt
1/2 x 2-1/2” Bolt
1/2 x 1-1/4” Bolt
1/2 x 1-1/4” Bolt
1/2 x 1-1/2”
Bolts


