78-8130-6151-8-E 15
Buried Cables And Pipes
Transmitter Connections
Perform a battery test. Use one of the following three methods to produce a trace signal
on the target pipe or cable.
Direct Connect Method
Plug the direct connect cable into the output jack [T-6] of the transmitter. Connect the
black clip to the ground rod. Place the ground rod in the earth perpendicular to the
suspected cable/pipe path. If necessary, extend the black lead with the Ground Extension
Cable (#9043 available separately).
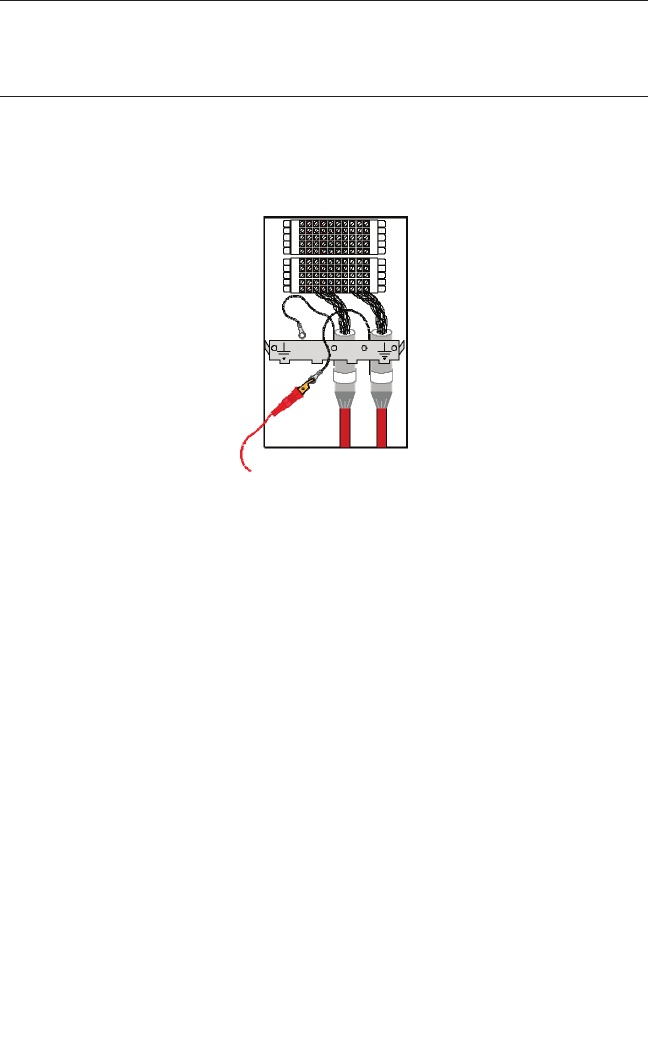
1. Remove the ground bonding and attach the red clip to the shield of the cable, pipe,
or target conductor. (If locating power cables, the red clip can be attached to the
transformer cabinet, or the meter box).
2. Turn the transmitter on by pressing Ohms [T-2]. The continuity of the circuit will be
measured. The results are displayed [T-4] in ohms and as a tone.
− If the continuity of the circuit is very good (the reading on the display is less
than 3K Ω. and a solid tone from the transmitter is heard) all frequencies can be
used to locate. Always use the lowest frequency available. Lower frequencies are
less likely to ‘bleed over’ to other cables in the same area, and are very good for
tracing over long distances.
− If the circuit reads more than 3K Ω., but less than lOK Ω (indicated by a beeping
tone from the transmitter) it will be necessary to use a higher frequency than 512
Hz or 577 Hz in order to locate the cable/pipe.
− If the circuit reads more than lOK Ω., it will be necessary to use an RF signal
such as 33 KHz or 133 KHz.
− If there is no tone and the transmitter indicates that there is an open circuit (OL
in the display) this could be an indication of a poor ground, or an open-ended
cable or pipe. Use one of the higher frequencies available, at high level. If it is
an open-ended cable or pipe, the receiver's response will decrease suddenly at
the site of the clear or severed end.


