


46 Removing and Replacing Parts zt1100/xz200 and xt1500 Series
Troubleshooting and Self-Repair Guide
Removing the Keyboard Cover
Table 5. Keyboard Cover Replacement Part Numbers
Description Part Number Exchange Part Number
Cover, keyboard (with LED lens) F3398-60917
Cover, keyboard, 15-in F3379-60913
Required Equipment
• #0 Phillips screwdriver.
• Small flat-blade screwdriver.
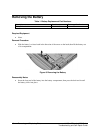
Removal Procedure
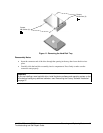
1. Unplug the AC adapter, if present, and remove the battery.
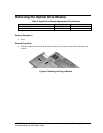
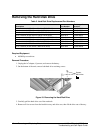
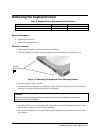
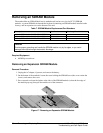
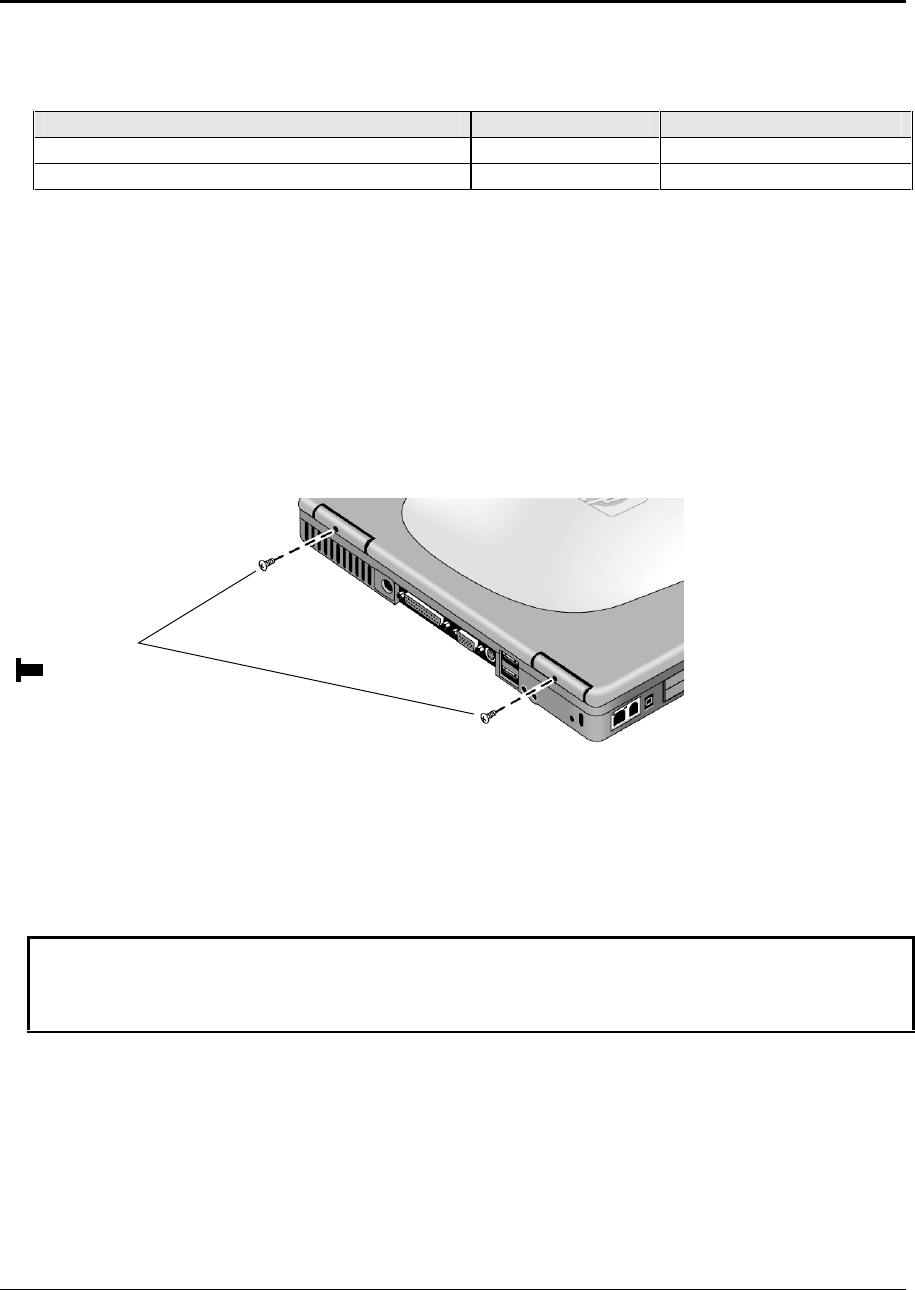
2. Close the notebook’s display, and remove both screws from the backs of the hinge covers.
Figure 13. Removing the Keyboard Cover Retaining Screws
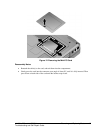
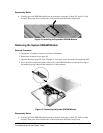
3. Open the display so that it lays flat.
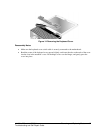
4. Use the flat-blade screwdriver to carefully pry up the right end of the keyboard cover just above
the Page Up key, then lift the end until the cover unsnaps.
Caution
When removing the keyboard cover, be careful not to pull on the cable that connects the
keyboard cover to the notebook.
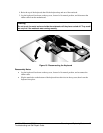
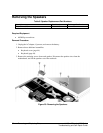
5. Carefully lift the cover to unsnap the latches above the center One-Touch button and the F1 key,
then lift the cover about an inch off of the notebook.
6. Disconnect the keyboard cover switch cable from the motherboard, and remove the cover from
the notebook.
Screws,
M2.5x4mm (2)