


23
16
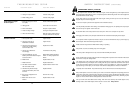
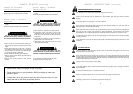
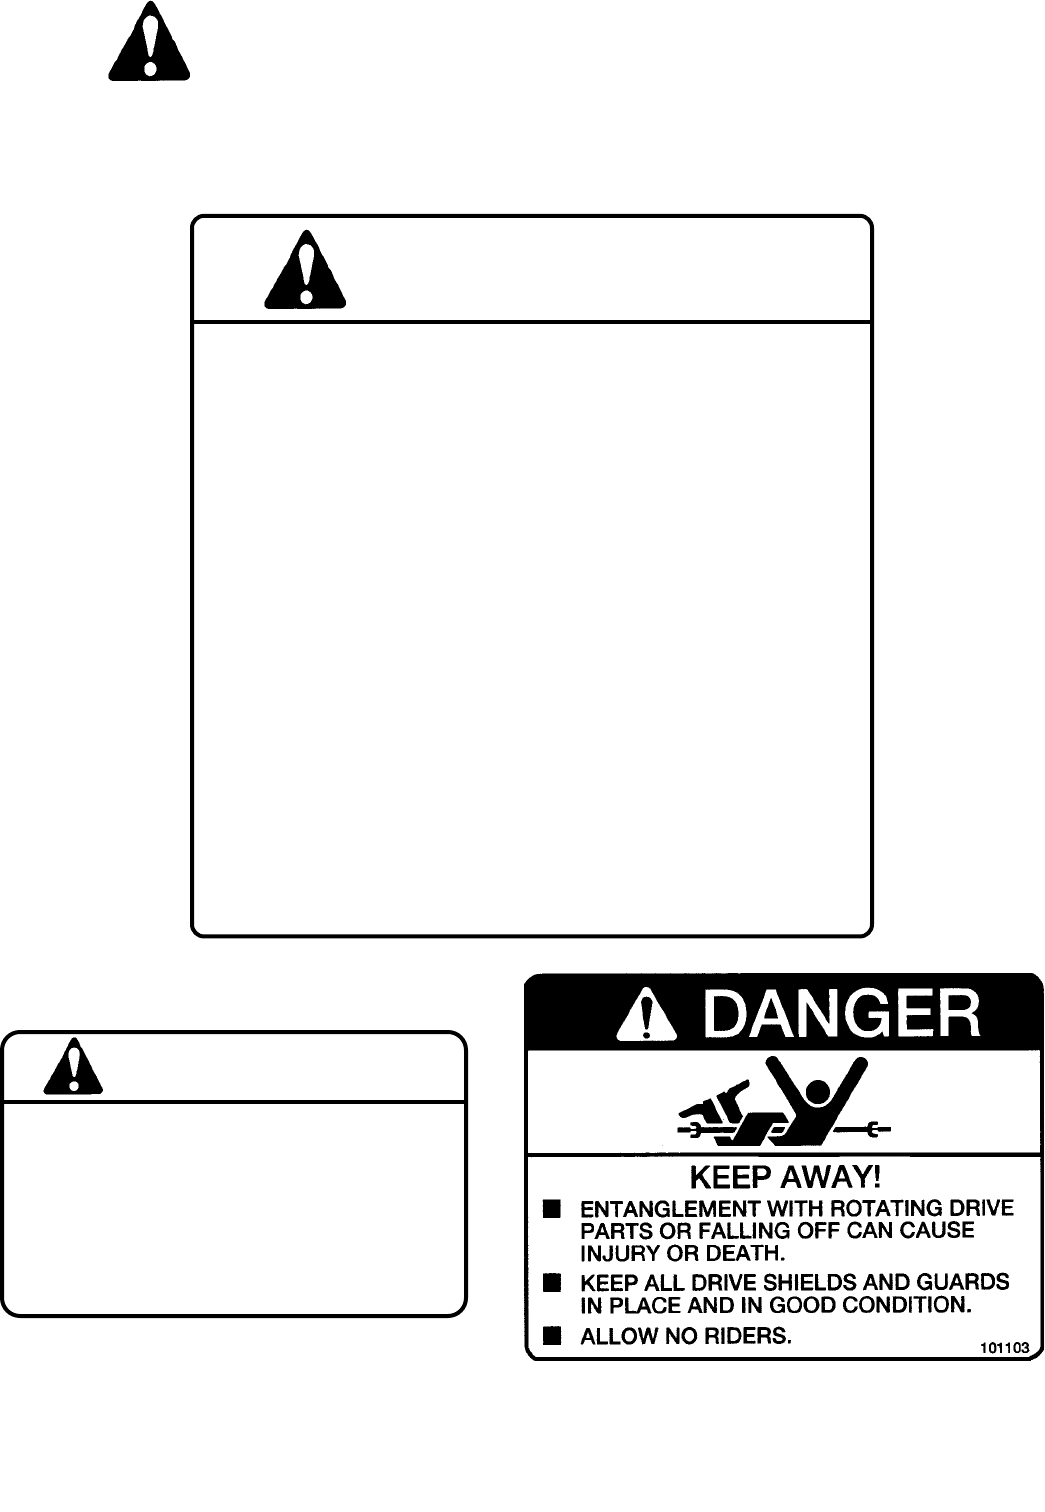
The types of Safety Sign and locations on the equipment are shown in the illustration below. Good safety requires
that you familiarize yourself with the various Safety Signs, the type of warning and the area, or particular function
related to that area, that requires your SAFETY AWARENESS.
REMEMBER: If Safety Signs have been damaged, removed, become illegible or parts replaced without Signs, new
Safety Signs must be applied. New Safety Signs are available from your authorized distributor or factory.
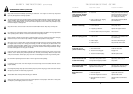
SAFETY SIGN LOCATIONS (continued)
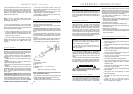
WARNING
540 RPM SPEED
RANGE ONLY
HIGHER PTO SPEEDS CAN CAUSE
PERSONAL INJURY AND
EQUIPMENT FAILURE
101101
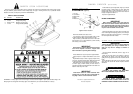
WARNING
To prevent serious injury or death:
Si no lee ingles, pida ayuda a alguien que si lo lea para
que le traduzca las medidas de seguridad.
• Read and understand Operator’s Manual before using.
Review annually.
• Do not permit riders on the tractor or cutter. Never
carry children on tractor seat.
• Do not allow children to operate cutter.
• Operate only with guards installed and in good condition.
• Keep away from moving parts.
• Operate only with tractor equipped with ROPS and
seatbelts.
• Before mowing, clear debris from mowing area.
• Do not operate in the raised position.
• Stop engine, set brake and wait for all moving parts to
stop before dismounting.
• Support cutter securely before working beneath unit.
• Transport with clean reflectors, SMV and working lights
as required by federal, state, and local laws.
M100
OWNER SERVICE
The information in this section is written for operators
who possess basic mechanical skills. Should you need
help, your dealer has trained service technicians
available. For your protection, read and follow all safety
information in this manual.
W ARNING!
▲ Lower cutter to ground or block securely, turn
tractor engine off, remove key and disconnect
cutter driveline from tractor PTO before perform-
ing any service or maintenance.
▲ Before working underneath, raise 3-pt. hitch to
highest position and block cutter securely.
Hydraulic system leakdown and failure of
mechanical or hydraulic system can cause equip-
ment to drop.
▲ Keep all persons away from operator control area
while performing adjustments, service or mainte-
nance.
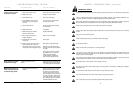
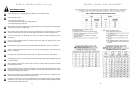
LUBRICATION INFORMATION
Figure 6 shows the lubrication points. The accompany-
ing chart gives the frequency of lubrication in operating
hours, based on normal conditions. Severe or unusual
conditions may require more frequent lubrication.
Do not let excess grease collect on or around parts,
particularly when operating in sandy areas.
Use an SAE 90W gear lube in gearbox.
Use a lithium grease of NO. 2 consistency with a MOLY
(molybdenum disulfide) additive for all locations. Be sure
to clean fittings thoroughly before attaching grease gun.
When applied according to the lubrication chart, one
good pump of most guns is sufficient. Do not over
grease.
Figure 6.
LUBRICATION CHART
REF NO. DESCRIPTION FREQUENCY
1 Front U-Joint 8 Hrs.
2 Rear U-Joint 8 Hrs.
3
Gearbox – Fill to proper level
Check Daily
4 Slip Joint 8 Hrs.
5 Tailwheel 8 Hrs.
Daily lubrication of the PTO slip joint is necessary.
Failure to maintain proper lubrication can result in
damage to U-joints, gearbox, tractor PTO and/or cutter
driveline.
ALWAYS OBEY ALL
SAFETY WARNINGS!!
ROUTINE MAINTENANCE
DAILY CHECKS:
1. Check that all bolts, nuts, and screws are tight.
Checking the bolts and nuts on the blade beam
assembly is particularly important.
2. Check daily the level of the gearbox oil and top up to
the correct level. Check for gearbox oil leaks. It should
be noted that no warranty claim can be submitted on
a gearbox that has run dry. It is essential that the
gearbox is kept correctly filled with gearbox oil.
3. Grease the PTO shaft daily.
4. Check the wear on the blades. Sharpen them
routinely with an angle grinder or replace when worn
down too far. You should keep at least two sets of
blades, bolts, and nuts as spares for your cutter.
AT THE END OF YOUR CUTTING SEASON:
1. Drain and change the oil in your gearbox.
2. Check and replace, where necessary, blades, bolts,
nuts, or bushings, on the machine.
3. Clean machine and touch up any rust spots that may
have appeared.
4. Replace any safety signs if damaged.
5. Store cutter in clean, dry location.