Dealer Service 25
MAN0875 (2/8/2011)
2. Attach clutch cable (16) to clutch (19) using
hardware previously removed. Make sure nut is in
side of loop of cable and between washers. Cable
must pivot freely, (see Figure 13).
3. Attach electrical wiring harness to clutch.
4. Replace counterweights if removed.
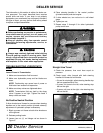
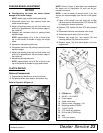
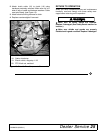
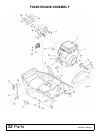
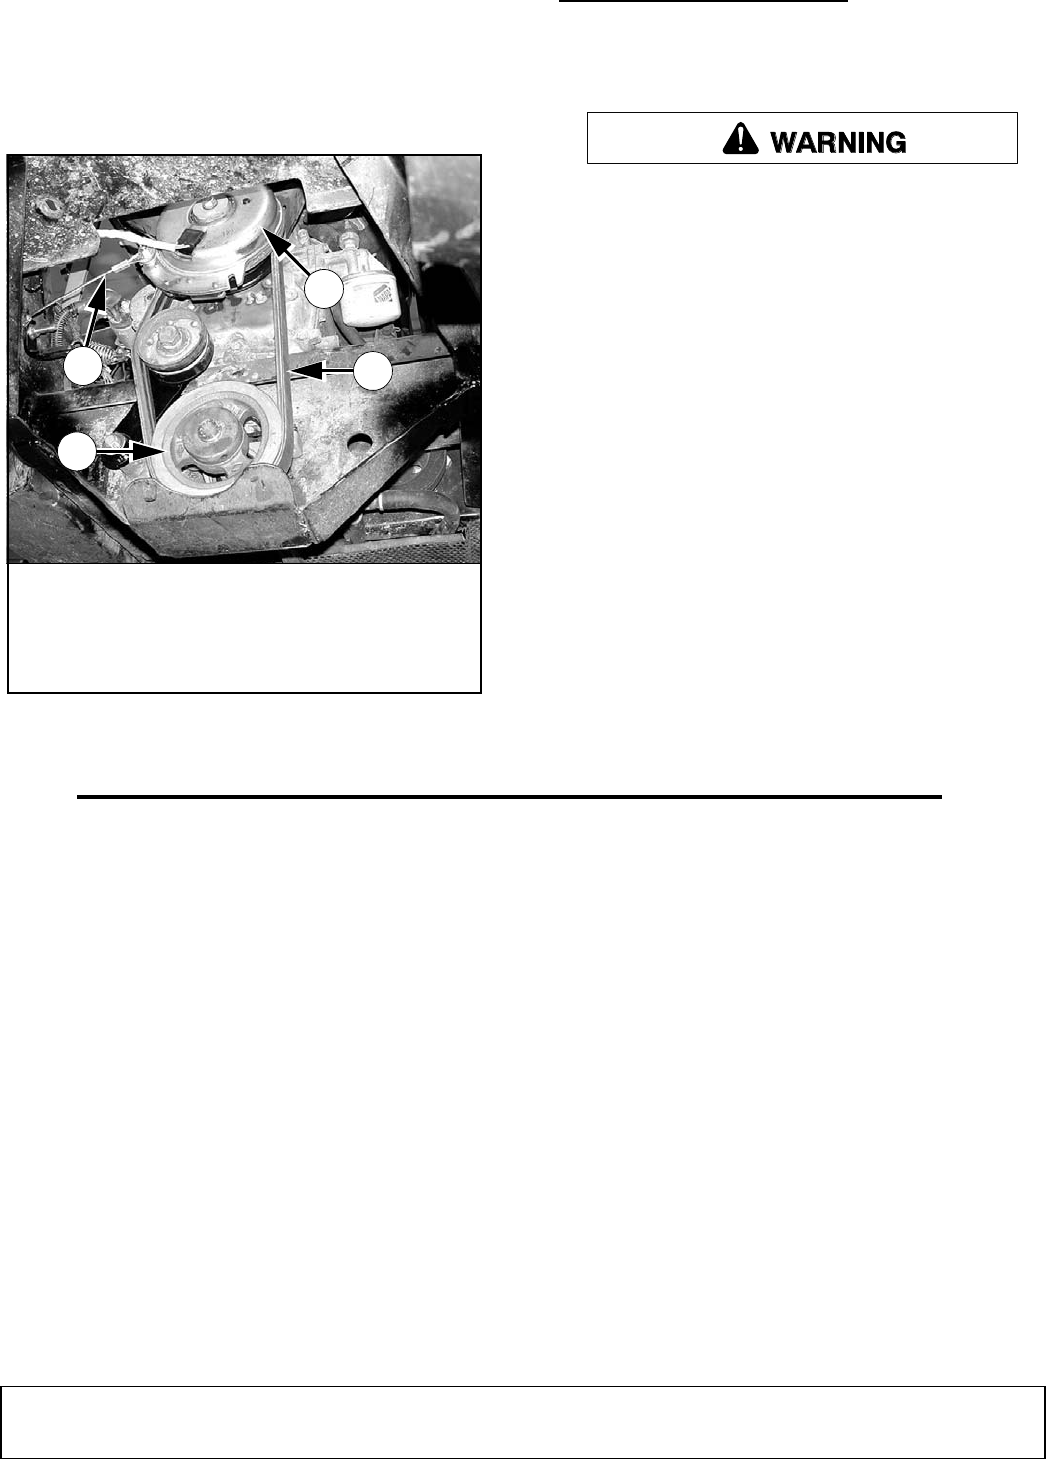
Figure 18. Clutch & Drive Components Reassembled
RETURN TO OPERATION
When you have completed service and maintenance
functions, read and comply with these safety mes-
sages before returning unit to operation.
Make sure all safety decals are installed.
Replace if damaged. (See Safety Decals section for
location.)
Make sure shields and guards are properly
installed and in good condition. Replace if damaged.
16
19
22
2
2. PTO sheave
16. Cable, clutch stop
19. Electric clutch, mag-stop 1-1/8
22. PTO V-belt set, matched
❖


