


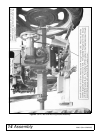

10 Assembly
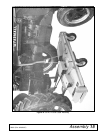
29931 (Rev. 6/29/2007)
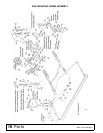
ASSEMBLY
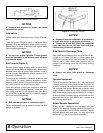
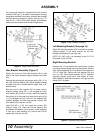
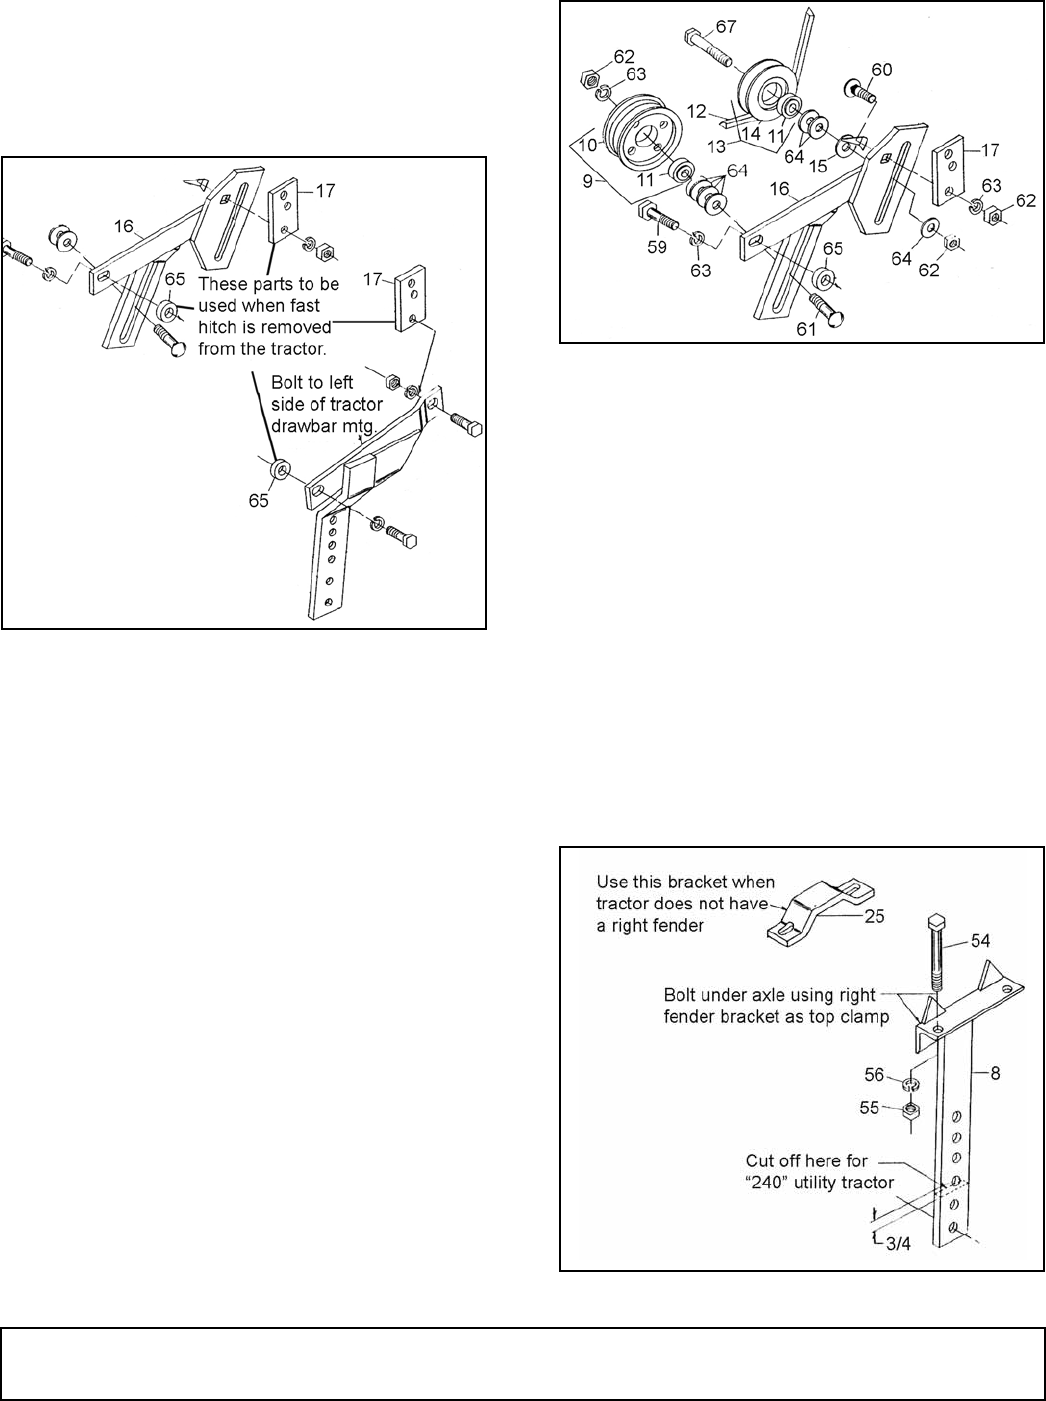
On tractors with fast hitch, complete fast hitch must be
removed. Bolt lug (17) to sides of transmission housing
using bolts removed from tractor, and bolt idler bracket
and left mounting bracket to bottom hole of lug (17).
Use 5/8 ID x 1-3/8 x 5/8 thick flat washer (65) between
tractor and idler bracket and left mounting bracket.
Figure 6. Tractors with Fast Hitch
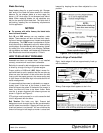
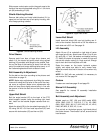
Idler Bracket Assembly (Figure 7)
Attach the front end of the idler bracket (16) to right
side of the tractor drawbar support bracket front pivot
hole.
Remove the existing bolt and replace with a 5/8 x 2-1/4
bolt (59), and lock washer (63). Adjust drawbar bracket
so upper rear hole in bracket bolts to upper hole in dif-
ferential case.
Bolt rear end of idler bracket (16) to center hole in
drawbar bracket using 5/8 x 1-1/2 carriage bolt (60),
lock washer (63), and hex nut (62). Install the large flat
idler pulley (9) to the long front vertical slot using a 5/8
x 2-1/2 carriage bolt (61), with four flat washers (64)
installed between the idler and bracket. Secure with
lock washer (63), and hex nut (62).
Install 5/8 NC x 3-1/2 hex head cap screws (67)
through V-idler (13). Place two 5/8 flat washers (64)
and special 5/8 washer (15) over bolt. Install assembly
in rear slot in idler bracket (16). Secure with 5/8 flat
washer (64) and hex nut (62).
Figure 7. Idler Bracket Assembly
Left Mounting Bracket (See page 16)
Attach left mounting bracket (23) to left side of drawbar
support bracket in the same manner as the idler
bracket was attached to the right side.
NOTE: On “240” utility, it is necessary to cut 3-1/2" off
the bottom of (8) and (23).
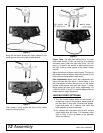
Right Mounting Bracket
Remove the “U” bolt holding the right fender in place
and using the right fender as a top clamp plate, bolt the
right mounting bracket (8) to the bottom of the axle with
1/2 x 5" bolts (54). Secure with lock washer (56) and
hex nut (55). Allow approximately 26-1/2" between
mounting bracket push arms, and tighten all bolts.
When fender is removed from tractor, use right top axle
clamp (25) in its place.
Figure 8. Right Mounting Bracket
LA5
LA6