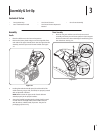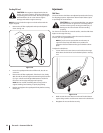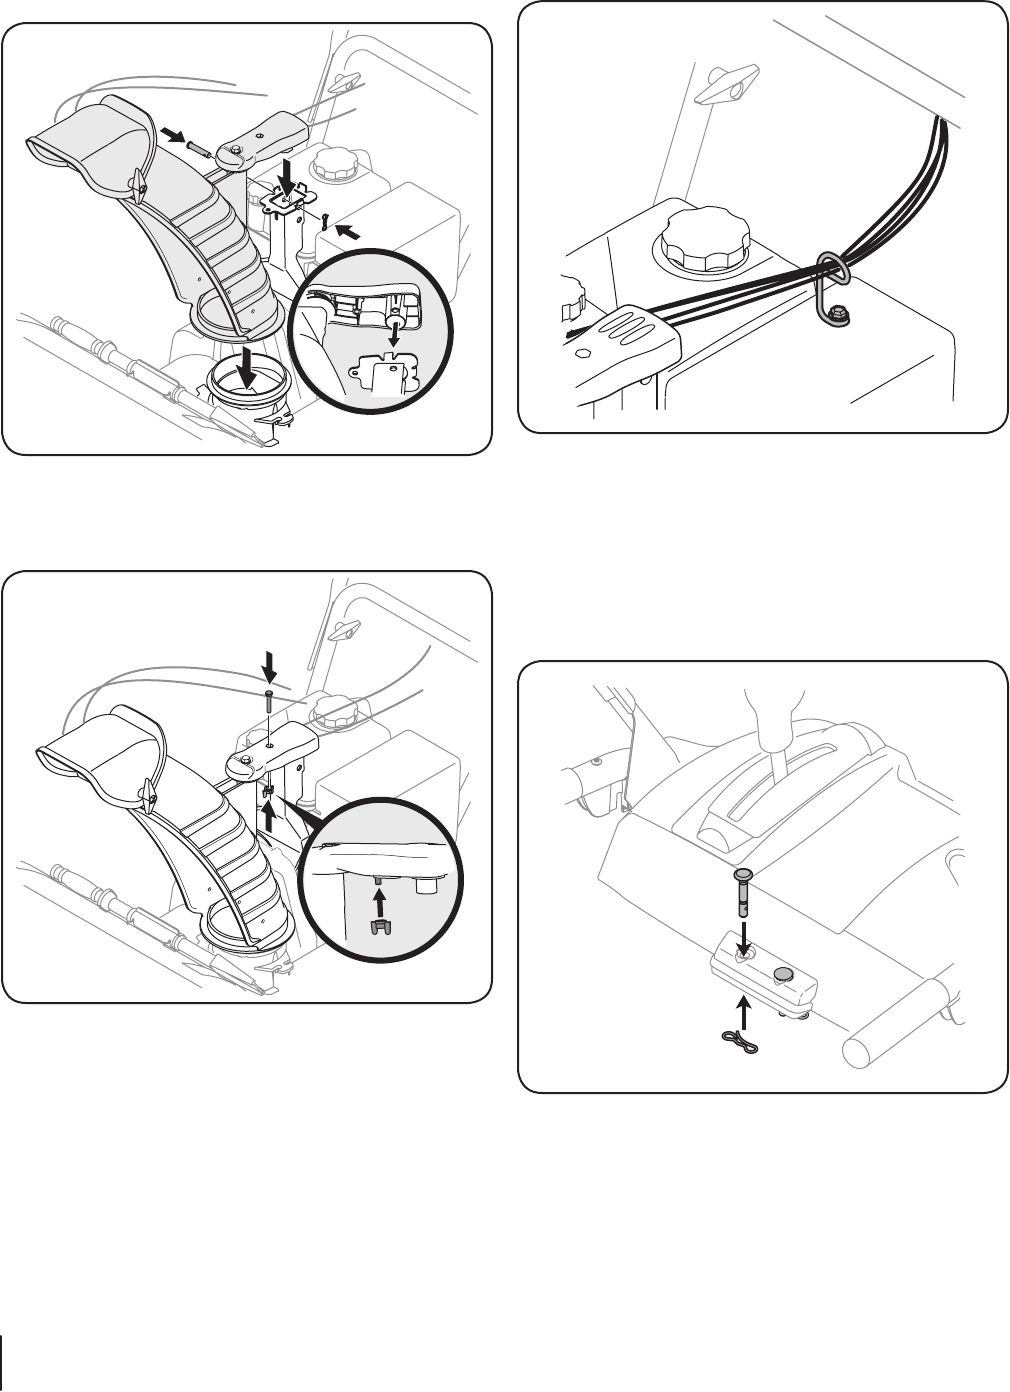
Place chute assembly onto chute base and secure chute 2.
control assembly to chute support bracket with clevis pin
and cotter pin removed earlier. See See Fig. 3-3.
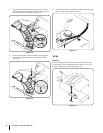
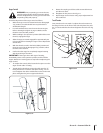
Finish securing chute control assembly to chute support 3.
bracket with wing nut and hex screw removed earlier.
See Fig. 3-4.
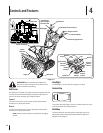
Check that all cables are properly routed through the cable 4.
guide on top of the engine. See Fig. 3-5.
Set-Up
Shear Pins
A pair of replacement auger shear pins and bow tie cotter pins
are included with your snow thrower. Store them in your snow
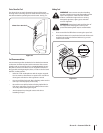
thrower’s dash panel until needed. See Fig. 3-6.
Figure 3-4
Figure 3-5
Figure 3-6
Figure 3-3
8 se c t i O n 2— as s e M b l y & se t-up


