


Recoil Starter
CAUTION! Do not pull the starter handle while the
engine running.
WARNING: To avoid unsupervised engine
operation, never leave the engine unattended while
running. Turn the engine off after use and remove
ignition key
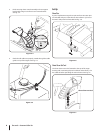
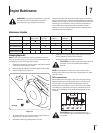
Insert ignition key fully into slot, Figure 5-5. Make sure it
cannot start unless the key is inserted into ignition switch.
Move throttle control to FAST (rabbit) position.2.
3.
vent hole when pushing. If engine is warm, push primer
only once. Always cover vent hole when pushing. Cool
weather may require priming to be repeated.
5.
resist, then pull quickly and forcefully to overcome the
compression. Do not release the handle and allow it to
required, repeat this step.
As the engine warms, slowly rotate the choke control to
with choke at half-choke position for a short period of time,
Stopping the Engine
WARNING: To avoid unsupervised engine
operation, never leave the machine unattended
with the engine running. Turn the engine off after
use and remove ignition key
Run engine for a few minutes before stopping to help dry off any
moisture on the engine.
Remove the ignition key. Removing the key will reduce the 2.
possibility of unauthorized starting of the engine while
equipment is not in use. Keep the key in a safe place. The
engine cannot start without the ignition key.
Wipe any moisture away from the controls on the engine.3.
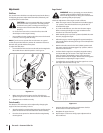
To Engage Drive
With the throttle control in the Fast (rabbit) position, move
shift lever into one of the six forward (F) positions or two
reverse (R) positions. Select a speed appropriate for the
snow conditions and a pace you’re comfortable with.
Squeeze the drive control against the handle the snow 2.
thrower will move. Release it and drive motion will stop.
To Engage Augers
To engage the augers and start throwing snow, squeeze
the auger control against the left handle. Release to stop
the augers.
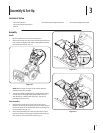
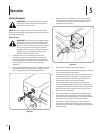
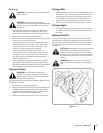
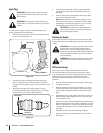
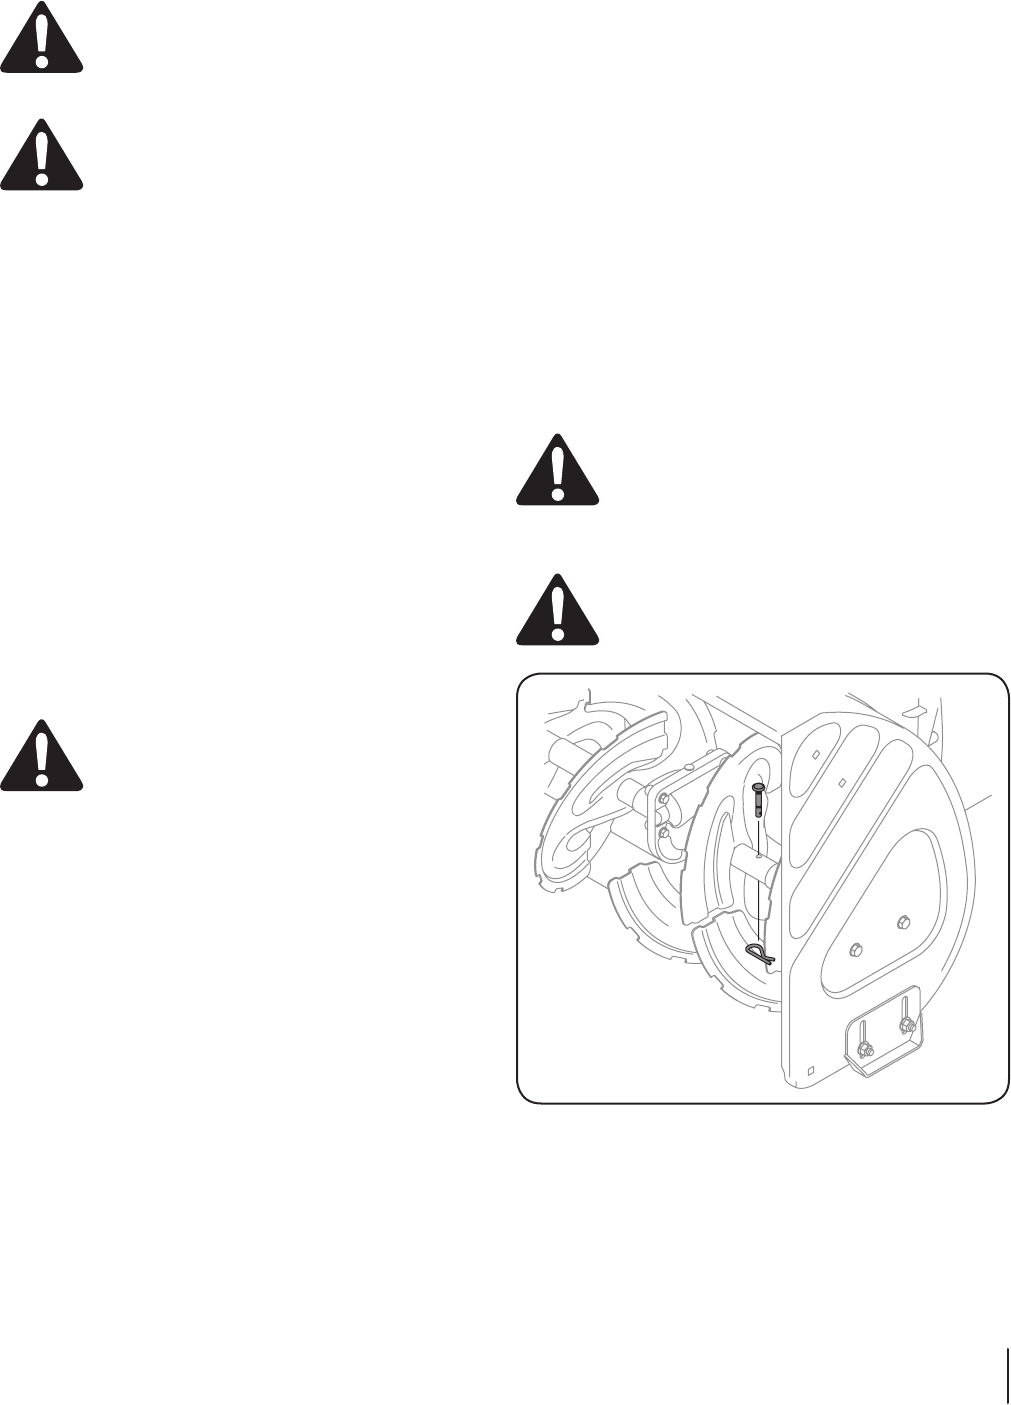
Replacing Shear Pins
The augers are secured to the spiral shaft with two shear pins
and cotter pins. If the auger should strike a foreign object or ice
jam, the snow thrower is designed so that the pins may shear. If
the augers will not turn, check to see if the pins have sheared.
See Fig. 5-3.
CAUTION: NEVER replace the auger shear pins with
replacement shear pins. Any damage to the auger
gearbox or other components as a result of failing to
warranty.
WARNING! Always turn off the snow thrower’s
engine and remove the key prior to replacing shear
pins.
Figure 5-3
15se c t i O n 5 — Op e r a t i O n