Maintenance Section 5-5
RBF-2C 07/04
MAINTENANCE
© 2004 Alamo Group Inc.
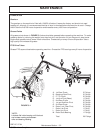
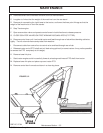
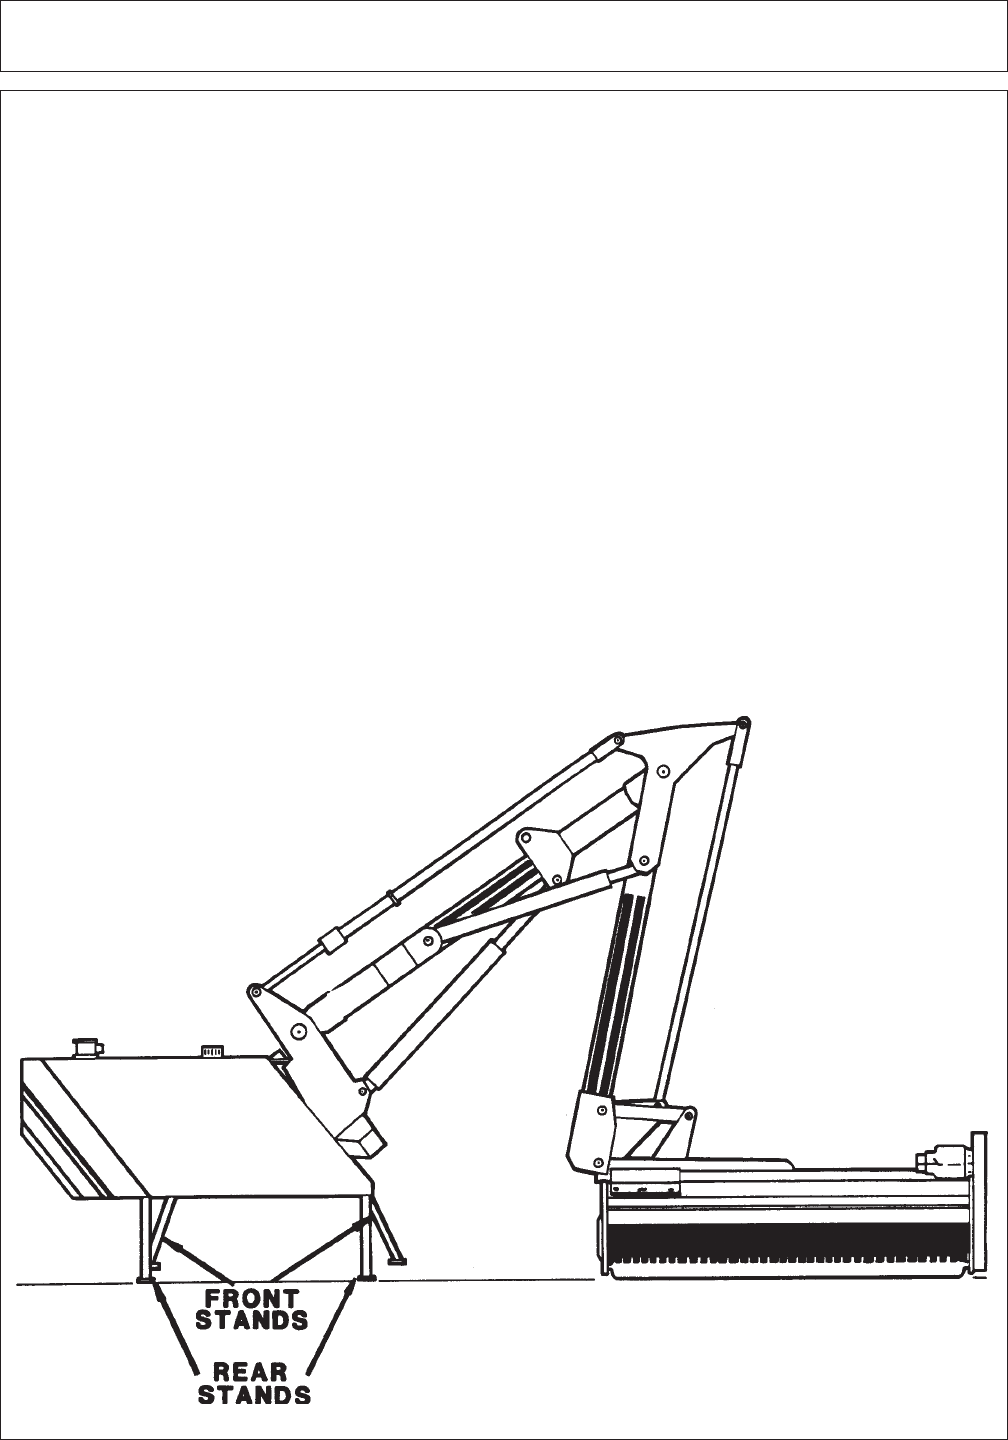
FIGURE 5-2
B. Remove stands from underneath the tank and fit to the mainframe.
C. Lengthen to link so that the weight of the machine is on the rear stand.
D. Remove pin connecting the right frame to the tractor, and lower the three point linkage so that the
weight of the machine is on the front stands.
E. Stop Tractor engine.
F. Open accumulator valve and operate control levers in both directions to release pressure.
G. CLOSE ISOLATOR VALVES ON FIRST ARM AND ACCUMULATOR (IF FITTED).
H. Remove control lever unit from inside tractor and feed through rear of cab without bending cable too
tightly. Tie unit onto mainframe and protect from weather.
I. Disconnect cable from control box to control valve and feed through rear of cab.
J. Release tractor end of PTO shaft and pull back along splined (on some tractors it may not be possible
to remove the PTO completely at this stage).
K. Remove lower link pins.
L. Start tractor engine and drive carefully forward, releasing machine and PTO shaft from tractor.
M. Replace lower link pins and place cap over tractor PTO.
N. Remove control box from cab and store in a clean dry place.


