Assembly Section 3-4
RBF-19C 07-04
ASSEMBLY
© 2004 Alamo Group Inc.
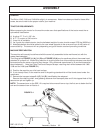
The RBF-12C is supported on the three point linkage of the tractor and its height set by chain tensioners.
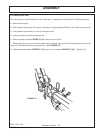
Refer to FIGURE 3-3
A. Carefully reverse the tractor so that the ball joint on the lower arm C lines up with the clevis D in the
stabilizer bracket/breakout link.
B. Adjust the height hydraulically until the left hand link arm can be positioned in the clevis (D) and
secured with hand pin (E).
C. Adjust the right hand lift arm leveling screw until this arm can be secured to the clevis of the stabi-
lizer bracket with the hand pin provided.
D. Attach top link bracket. Two types of chain bracket are supplied: a single bracket that locates in a
lower alternative top link position, or a pair of plates to fit either side of the top link on the same pin.
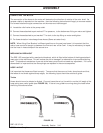
E. Fit whichever type is most suitable and thread the chain through the keyhole-shaped hole(s), so that
the two equal length of chain are suspended from the bracket(s).
F. Lift the machine until the tractor and machine PTO are in line. Adjust the right arm and top link until
the machine is square with the tractor.
G. Thread each end of the chain through the keyhole in the lower link stabilizer bracket.
H. Lock the chain in the slot of the stabilizer bracket, taking up the slack in the chain between the top
link and the bracket, and ensuring the lengths of the chain on each side are the same.
I. Lower the machine carefully, ensure that tension on each chain is taken up evenly. The chain attach-
ment brackets are designed to flex and to take up minor irregularities.
J. Clip the 'loose' ends of the chain G to the taut chain as far as possible to lock it positively in the
bracket keyholes.
K. Fit the tractor external check chains to the lift arms and adjust until there is no sideways movement.
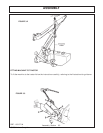
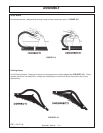
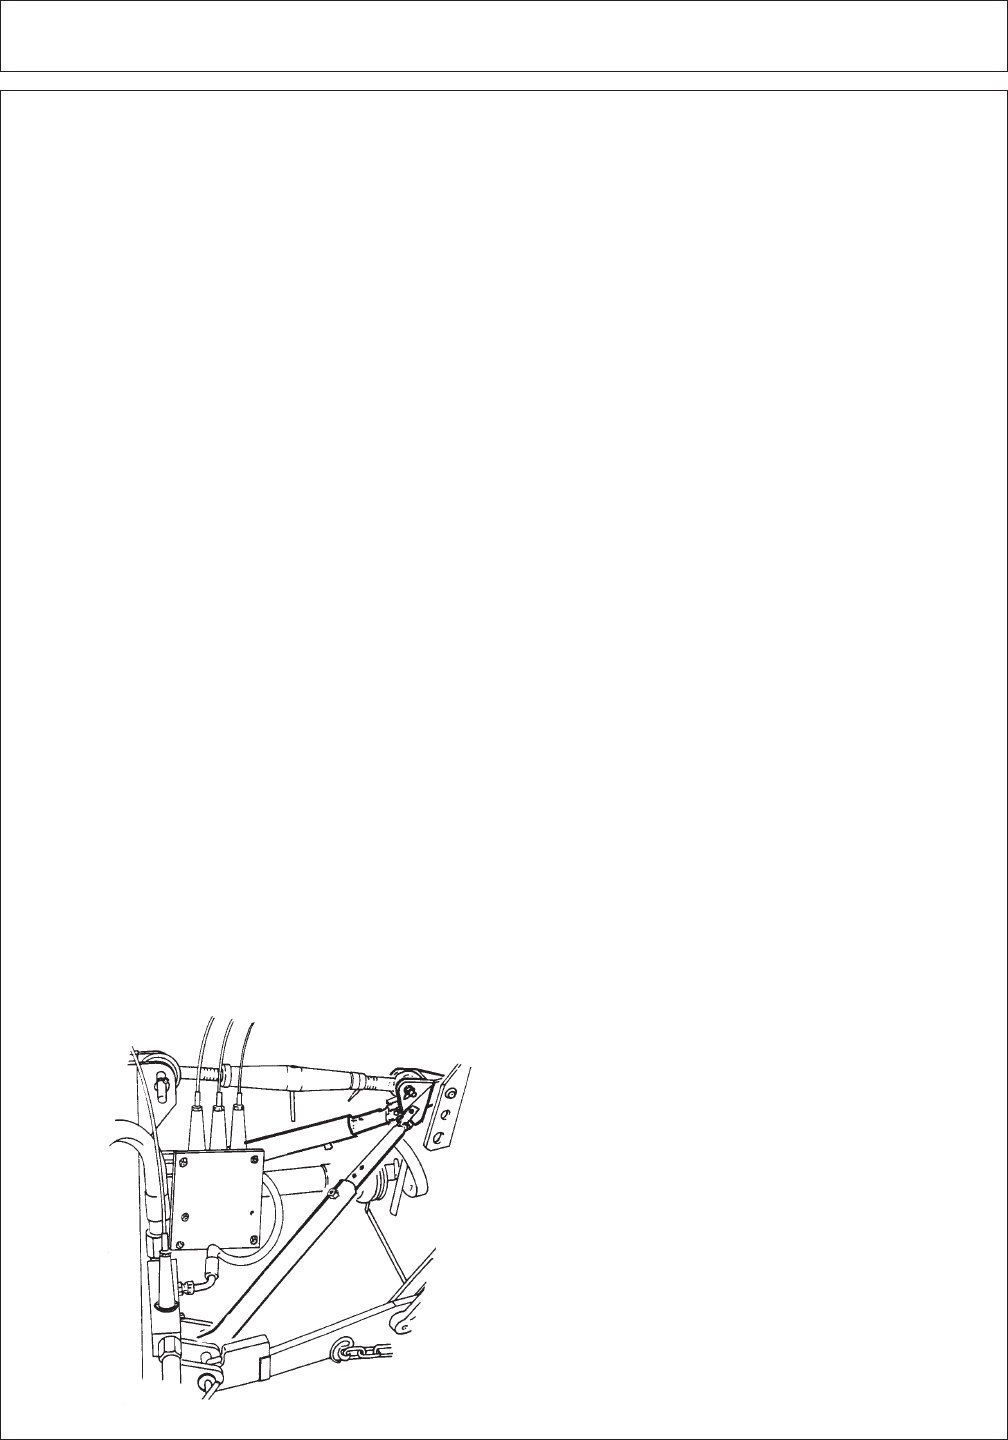
FIGURE 3-4
Three point for 1948
A. The machine is supported on the three-point linkage of the tractor, together with a rigid frame be-
tween the mainframe and top link attachment of the tractor . See FIGURE 3-4.


