


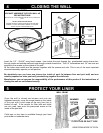
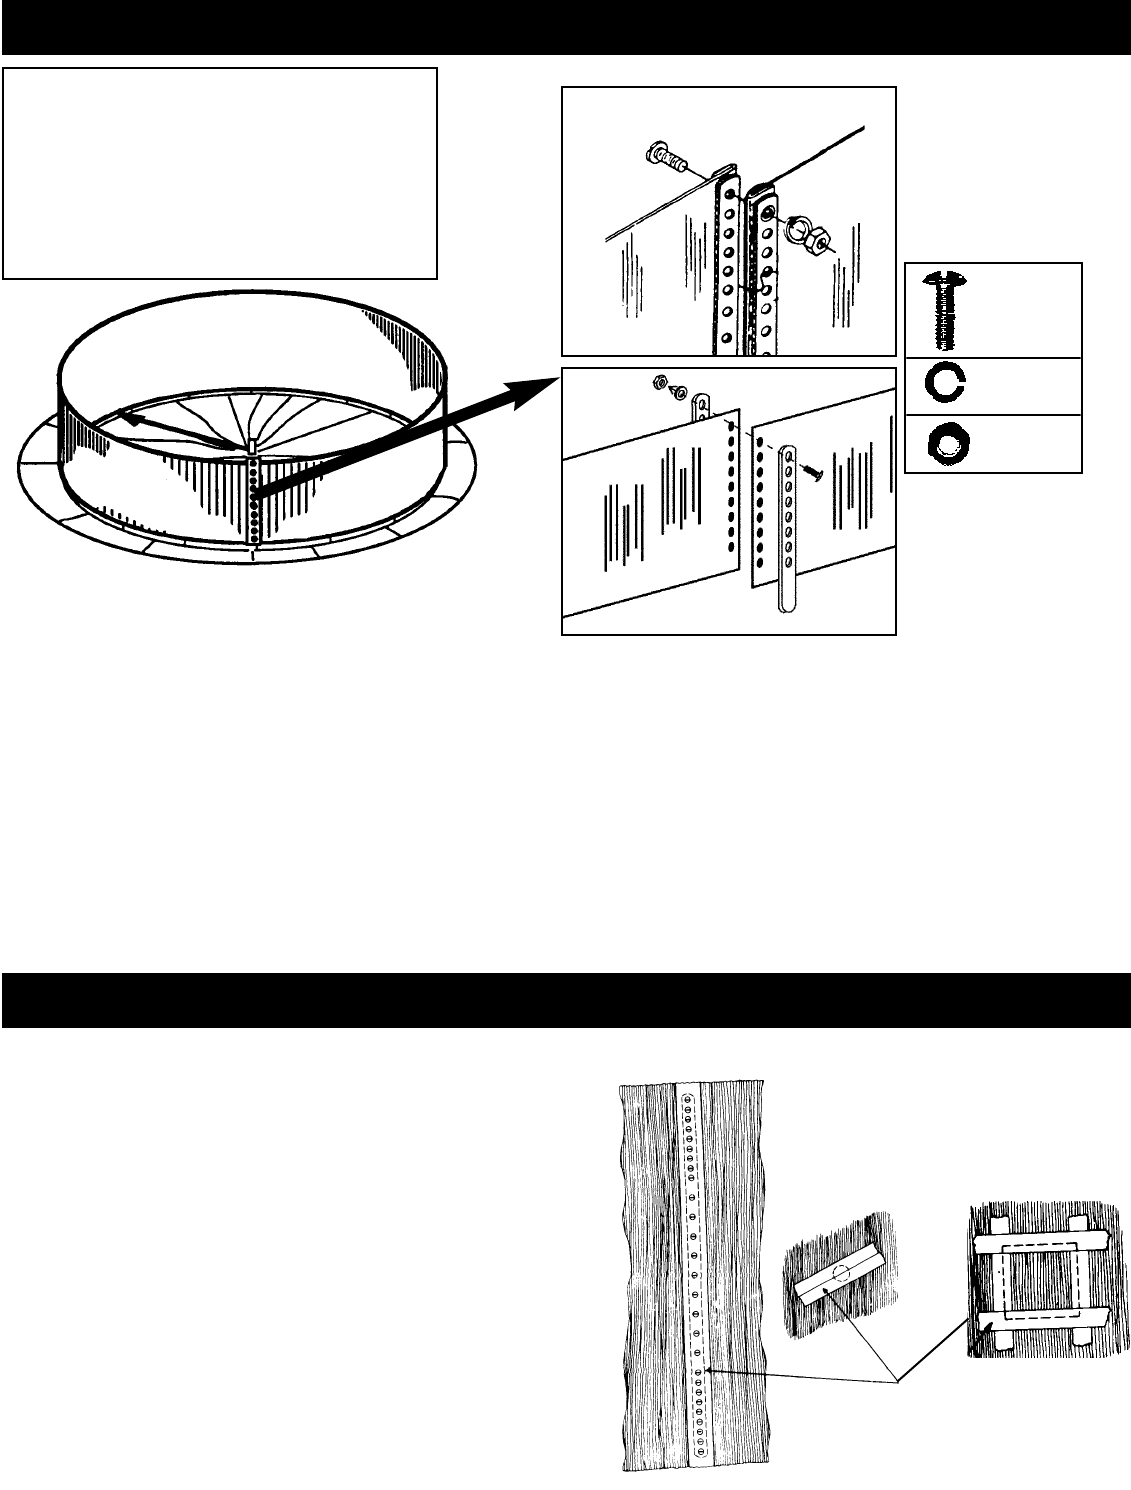
Insert the 1/4" - 20x3/4" truss head screws from inside the pool through the preattached inside closure bar,
through inside and outside wall ends and through outside closure bar. The 1/4" lockwashers and 1/4" hex nuts are
secured to the screws on the outside of the wall.
All the holes must match and be secured together with the screws and nuts. This is one of the most important
structural assembly aspects you will perform.
Be absolutely sure you have one closure bar inside of pool (in between liner and pool wall) and one
outside (exposed on outer pool wall), sandwiching together the wall ends.
Manufacturer can not assume the responsibility of the performance of this product if the instructions of
closing the wall are not followed exactly.
4 CLOSING THE WALL
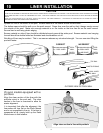
5 PROTECT YOUR LINER
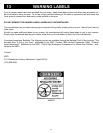
DANGER
YOU MUST ASSEMBLE THE POOL WALL AS
PER INSTRUCTIONS
USE ALL BOLTS, LOCK WASHERS, AND NUTS TO CLOSE POOL
WALL
DO NOT LEAVE ANY OPEN HOLES
TIGHTEN SECURELY USING ADJUSTABLE OR OPEN END
WRENCH. DO NOT USE SOCKET WRENCH TO TIGHTEN
BOLTS. DO NOT OVERTIGHTEN BOLTS
Once the wall is closed and screws and nuts are
tightened securely, cover the screw heads on the inside
of the pool with a cloth tape all the way from top to
bottom of wall. If the cutouts for filter inlet and outlet
are not used, tape over the prescored areas on the
inside of the pool wall.
Cloth tape or duct tape is available through your local
pool dealer or hardware store.
1
/4” x 20 x
3
/4”
truss head
screw
1
/4”lock
washer
1
/4”x 20
hex nut
WALL SEAM
SKIMMER
RETURN
FITTING
SKIMMER
INLET
FITTING
CLOTH TAPE OR DUCT TAPE
VIEW FROM INSIDE OF POOL
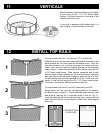
2-bar system
4-bar system
5