


GTR20 User Manual ◄ 15
tion.
a. If actuator does not move it is defective. (Replace).
b. If actuator moves throttle to wide-open position, the
module is defective or there is a wiring problem. (Re-
place).
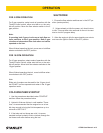
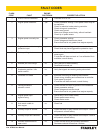
FAULT CODES
The Stanley controller is capable of identifying certain
fault conditions and alerting the user to them. A ash-
ing LED indicates the fault conditions. The current fault
code list is shown on the following page. Please note
the following:
1. When power is rst applied to the controller, the LED
will ash just once for one second to indicate that the
LED is working.
2. If there are multiple faults, the LED will ash them all in
sequence. Count the ash codes to determine the fault
conditions or connect the Calibration Tool to observe the
fault conditions. (Use the “Display Faults” option under
the Monitor Menu.)
3. If there are no faults, the LED will ash once at
reset and from then on indicate the detection of engine
speed. A continuous ON LED indicates that a valid
engine speed is being sensed.
4. The controller will attempt to shut down for some
faults and will not permit starting after reset with faults
1, 5 and 8.
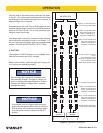
The Stanley programmable controller is an electronic
engine governor that provides a means of controlling
and limiting engine speed by adjusting the fuel control
lever with a proportional actuator.
The controller is factory preset and has no manual ad-
justments.
TROUBLESHOOTING GUIDELINES
Please follow the checklist below to troubleshoot your
Stanley controller.
1. Check battery voltage for stability and correct value.
The LED will turn on for one second when the controller
4500 is rst powered up.
2. Check the actuator linkage for binding and backlash.
CHECKING PERFORMANCE CONTROL™
(ELECTRONIC GOVERNOR-STATIC
CHECK)
To determine whether a governor problem is being
caused by the actuator or the control module, perform
the following static check exactly in order shown.
A pair of jumper wires and a known good 12-volt battery
is required.
1. Disconnect red and green wires from the control mod-
ule to actuator.
2. Attach jumper wires from battery to RED and GREEN
wires to actuator.
a. Attach 12 volt + (positive) to RED wire.
b. Attach 12 volt – (negative) to GREEN wire.
3. Actuator should move throttle lever to wide open posi-
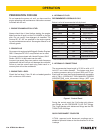
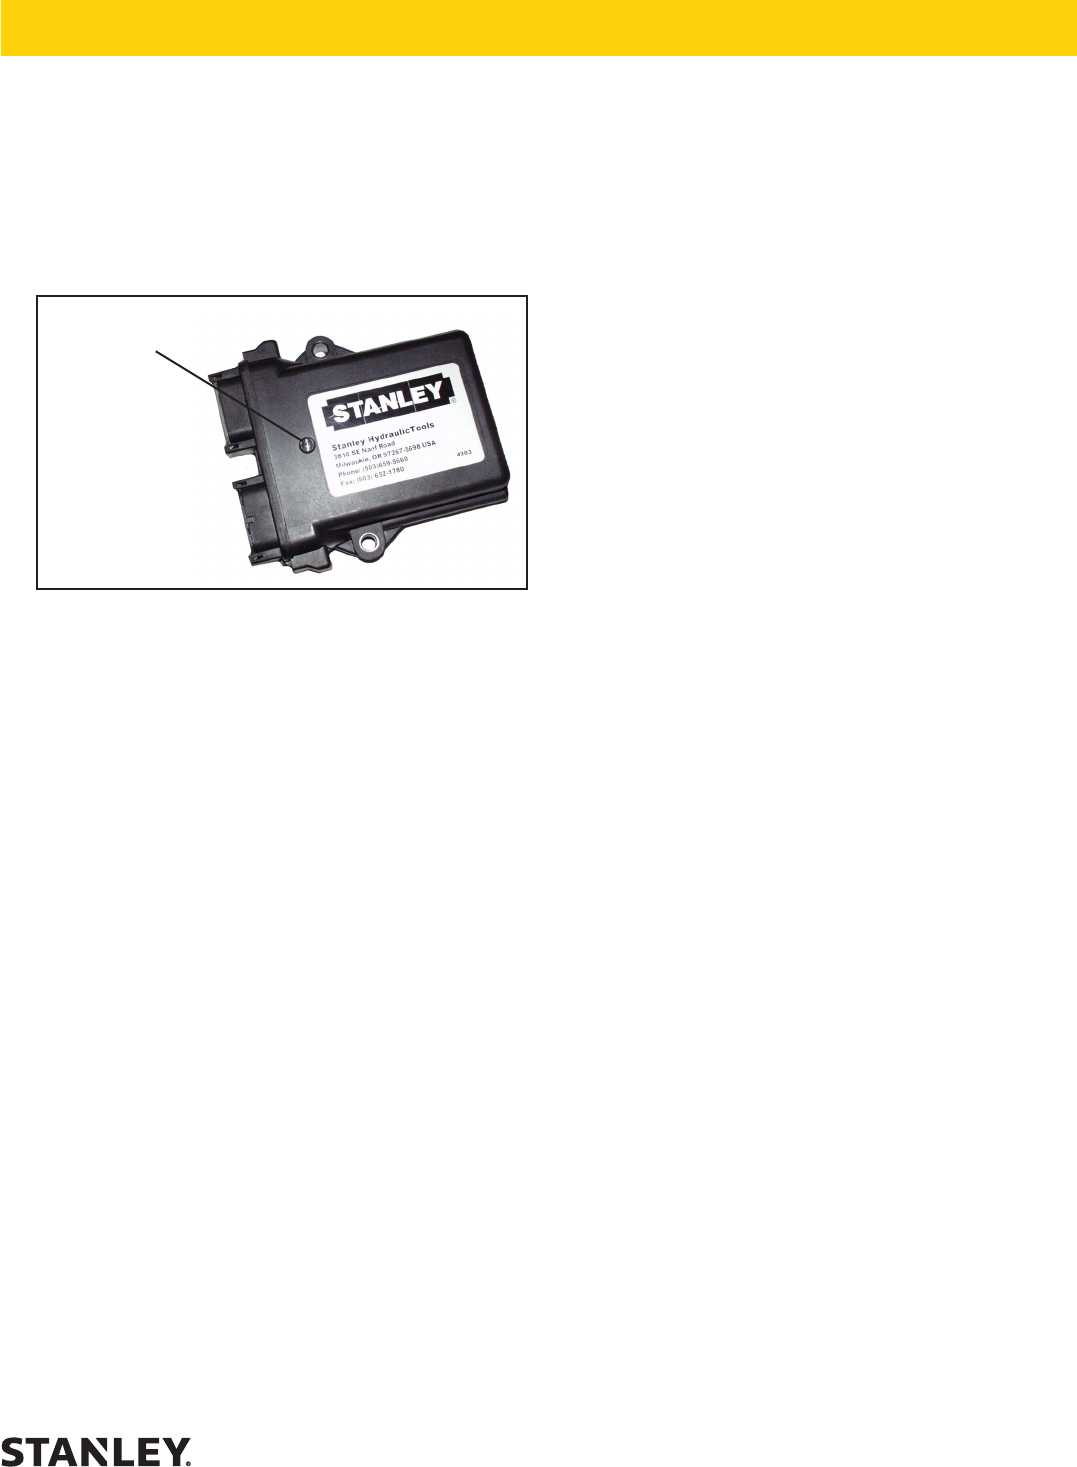
A ashing LED indicates
the fault condition
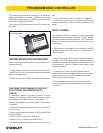
PROGRAMMABLE CONTROLLER