Not for
Reproduction
33
Repair
en es fr
WARNING
DO NOT attempt any adjustments, maintenance, service or
repairs with the engine running. STOP engine. STOP blade.
Engage parking brake. Remove key. Remove spark plug
wire from spark plug and secure away from plug. Engine
and components are HOT. Avoid serious burns, allow all
parts to cool before working on machine.
!
!
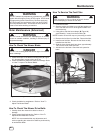
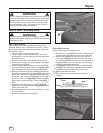
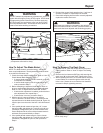
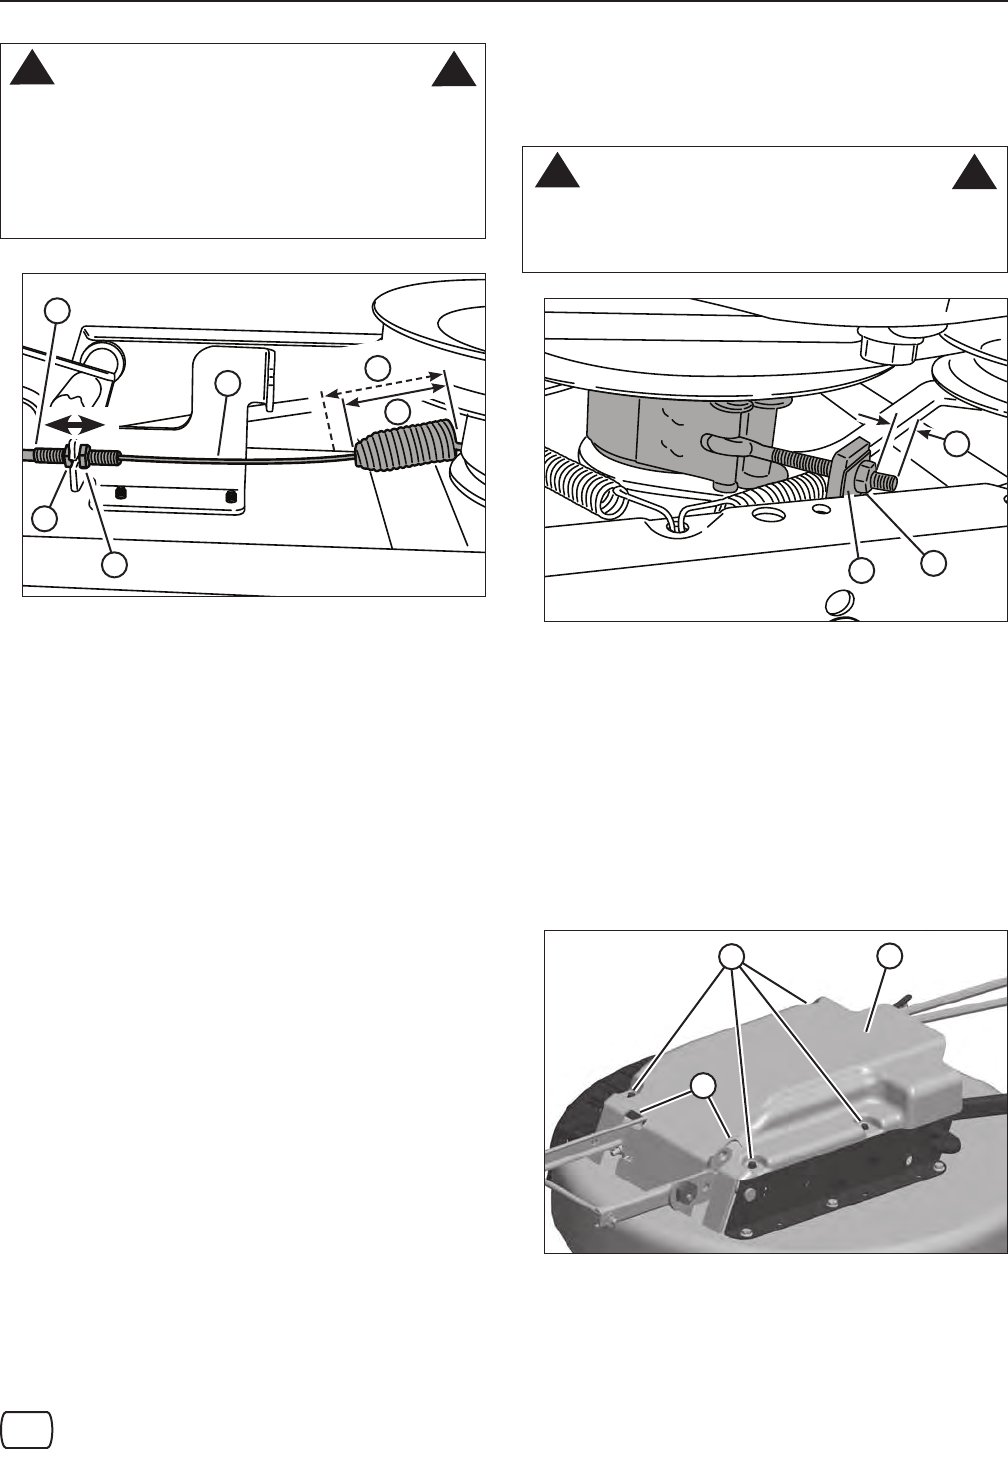
Figure 41: PTO (mower blade belt) cable adjustment
(components removed for clarity)
C
D
F
E
A
B
How To Adjust The Blade Brake
NOTE: The blade brake is set at the factory, and should
never require adjustment. The adjustment procedure below
is provided for reference only.
1. Check the mower blade stopping time. Refer to “How To
Check Mower Blade Stopping Time”.
• If mower blade stopping time is 5 seconds or shorter,
no adjustment is needed.
• If mower blade stopping time is longer than 5 sec-
onds, proceed to Step 2.
2. Before attempting to adjust the blade brake, check to
be sure mower blade belt tension is correctly adjusted.
Refer to “How To Adjust Mower Blade Belt Tension”.
• If belt tension adjustment is needed, perform belt ten-
sion adjustment, then repeat Step 1.
• If belt tension is correct, proceed to Step 3.
3. With the unit off, remove the deck cover (refer to
“How To Remove The Deck Cover”), and measure the
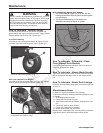
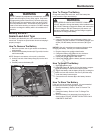
exposed thread of the blade brake eyebolt (A, Figure 42)
from the jam nut to the end of the bolt. It should measure
1/2”.
4. If the eyebolt thread measures less than 1/2”, loosen
the jam nut (B), and tighten the T-bolt (C) one-half turn
(clockwise). Retighten the jam nut, and remeasure the
thread. Repeat until the correct thread measurement is
achieved, then proceed directly to Step 6.
5. If the eyebolt thread measurement is correct, loosen
the jam nut (B), and tighten the T-bolt (C) one-half turn
(clockwise). Retighten the jam nut, then proceed to
Step 6.
6. Recheck the mower blade stopping time. If still over 5
seconds, complete or repeat Step 5 as needed.
7. Once blade stopping time has been correctly adjusted,
replace the mower deck cover.
WARNING
Blade must stop rotating in 5 seconds or less after the
blade has been turned off. DO NOT operate machine until
blade brake has been adjusted and functioning properly.
!
!
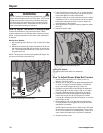
Figure 42: Blade brake adjustment
A
B
C
How To Remove The Deck Cover
1. With the unit off, lower the mower deck to the lowest
cutting position. Refer to “How To Adjust The Cutting
Height”.
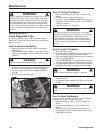
2. Remove the four fasteners (B, Figure 43) securing the
deck cover (A) to the mower deck. Remove the cover.
3. When replacing the cover, be sure that the lift arms and
control cables are routed through the relief slots (C)
in the cover. Secure the cover with the four fasteners
removed in Step 2, tightening securely.
Figure 43: Removing the deck cover (deck removed from
unit for clarity only)
A
B
C


