Not for
Reproduction
25
Maintenance
en es fr
WARNING
DO NOT attempt any adjustments, maintenance, service or
repairs with the engine running. STOP engine. STOP blade.
Engage parking brake. Remove key. Remove spark plug
wire from spark plug and secure away from plug. Engine
and components are HOT. Avoid serious burns, allow all
parts to cool before working on machine.
!
!
Rider Maintenance (Advanced)
WARNING
DO NOT stand the unit on end. Attempting to do so may
cause an unstable condition, resulting in serious injury or
equipment damage.
!
!
How To Check The Mower Blade
DANGER
DO NOT use a cutting blade that shows signs of excessive
wear or damage.
!
!
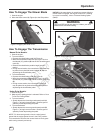
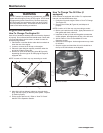
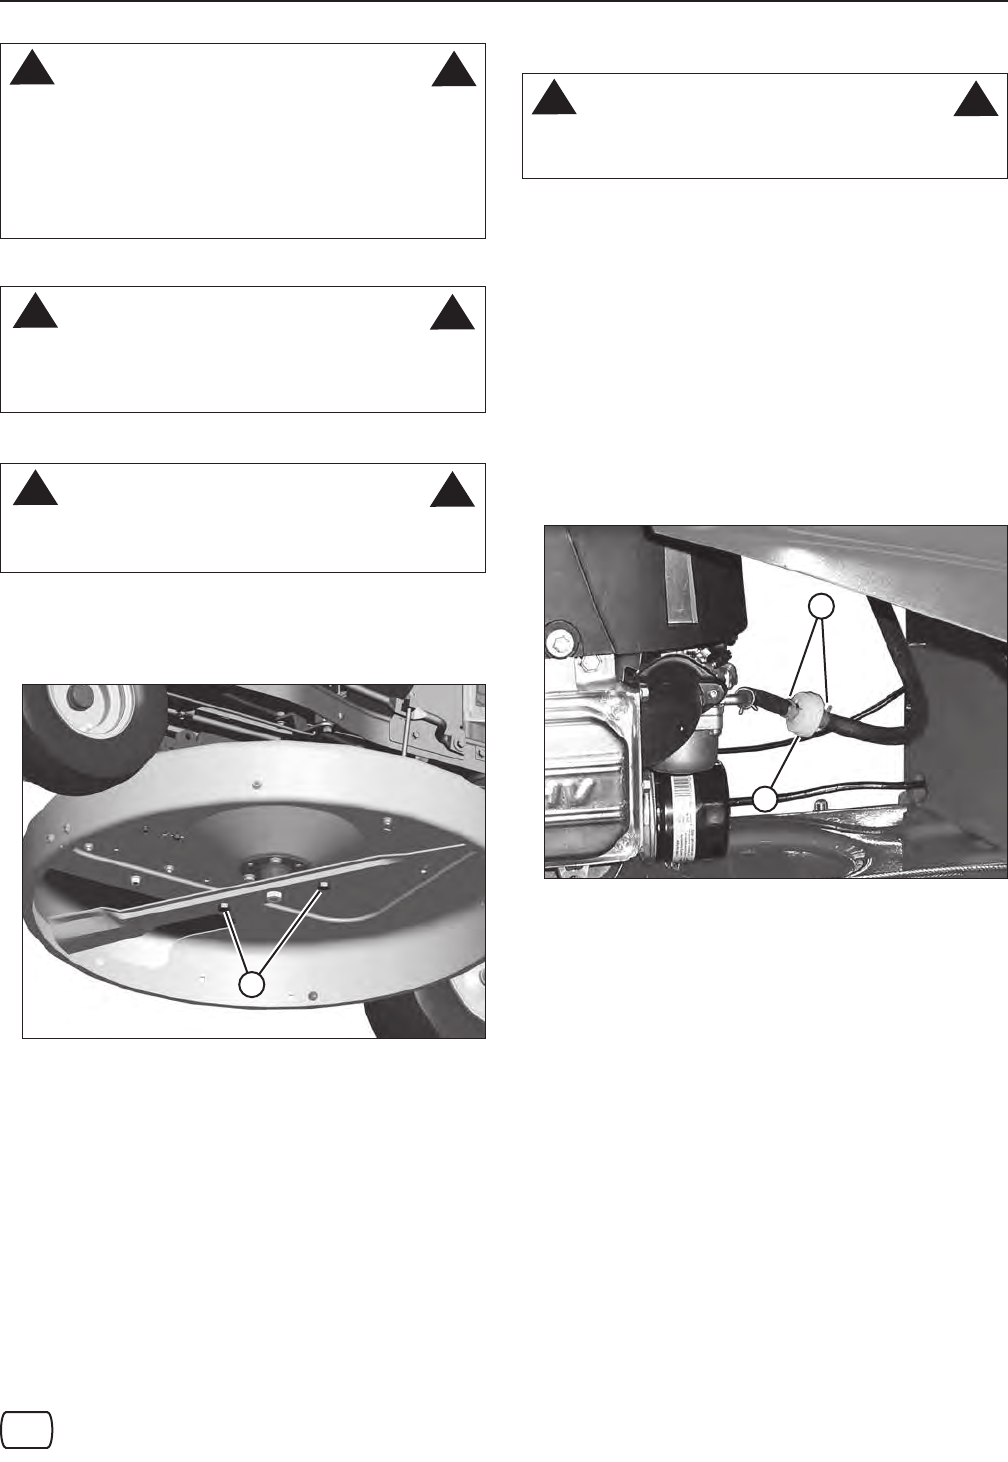
1. Check the torque of the blade mounting bolts (A, Figure
27). As necessary, torque to 30 to 40 ft. lbs.
2. Check the blade for sharpness, wear and damage. Refer
to “How To Inspect The Mower Blade”.
Figure 27: Checking blade bolt torque
A
3. Check the blade for straightness. Refer to “How To
Adjust The Mower Blade”.
How To Check The Mower Drive Belts
1. Visually check the mower drive belts for wear or
damage.
2. Check mower blade belt tension. Refer to “How To
Adjust Mower Blade Belt Tension”.
NOTE: It is recommended that any adjustments and
service regarding the mower drive belts be performed by
an authorized dealer.
How To Service The Fuel Filter
WARNING
Allow the engine to fully cool down at least 5 minutes
before attempting to service the fuel filter.
!
!
1. Drain the fuel tank.
2. Start the engine and allow to run until the engine runs
out of fuel. Be sure to turn off the ignition switch and
remove the key.
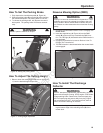
3. Using pliers, slide the hose clamps (B, Figure 28)
approximately 1” away from the fuel filter (A).
NOTE: Location of fuel filter may vary according to model.
4. Remove the fuel lines from the filter. Discard the filter.
5. Install a new fuel filter. Be sure the fuel lines are fully
installed onto the filter.
6. Slide the hose clamps back into place, approximately
1/8” from the ends of the fuel lines.
7. Add fuel to the fuel tank. Check the fuel system for
leaks.
Figure 28: Replacing the fuel filter
A
B


