Not for
Reproduction
23
Maintenance
en es fr
WARNING
DO NOT attempt any adjustments, maintenance, service or
repairs with the engine running. STOP engine. STOP blade.
Engage parking brake. Remove key. Remove spark plug
wire from spark plug and secure away from plug. Engine
and components are HOT. Avoid serious burns, allow all
parts to cool before working on machine.
!
!
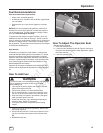
How To Service The Air Filter
WARNING
Fuel and its vapors are extremely flammable and explosive.
Fire or explosion can cause severe burns or death.
• Never start or run the engine with the air cleaner assem-
bly (if equipped) or the air filter (if equipped) removed.
!
!
NOTICE: Do not use pressurized air or solvents to clean the
filter. Pressurized air can damage the filter and solvents will
dissolve the filter.
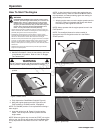
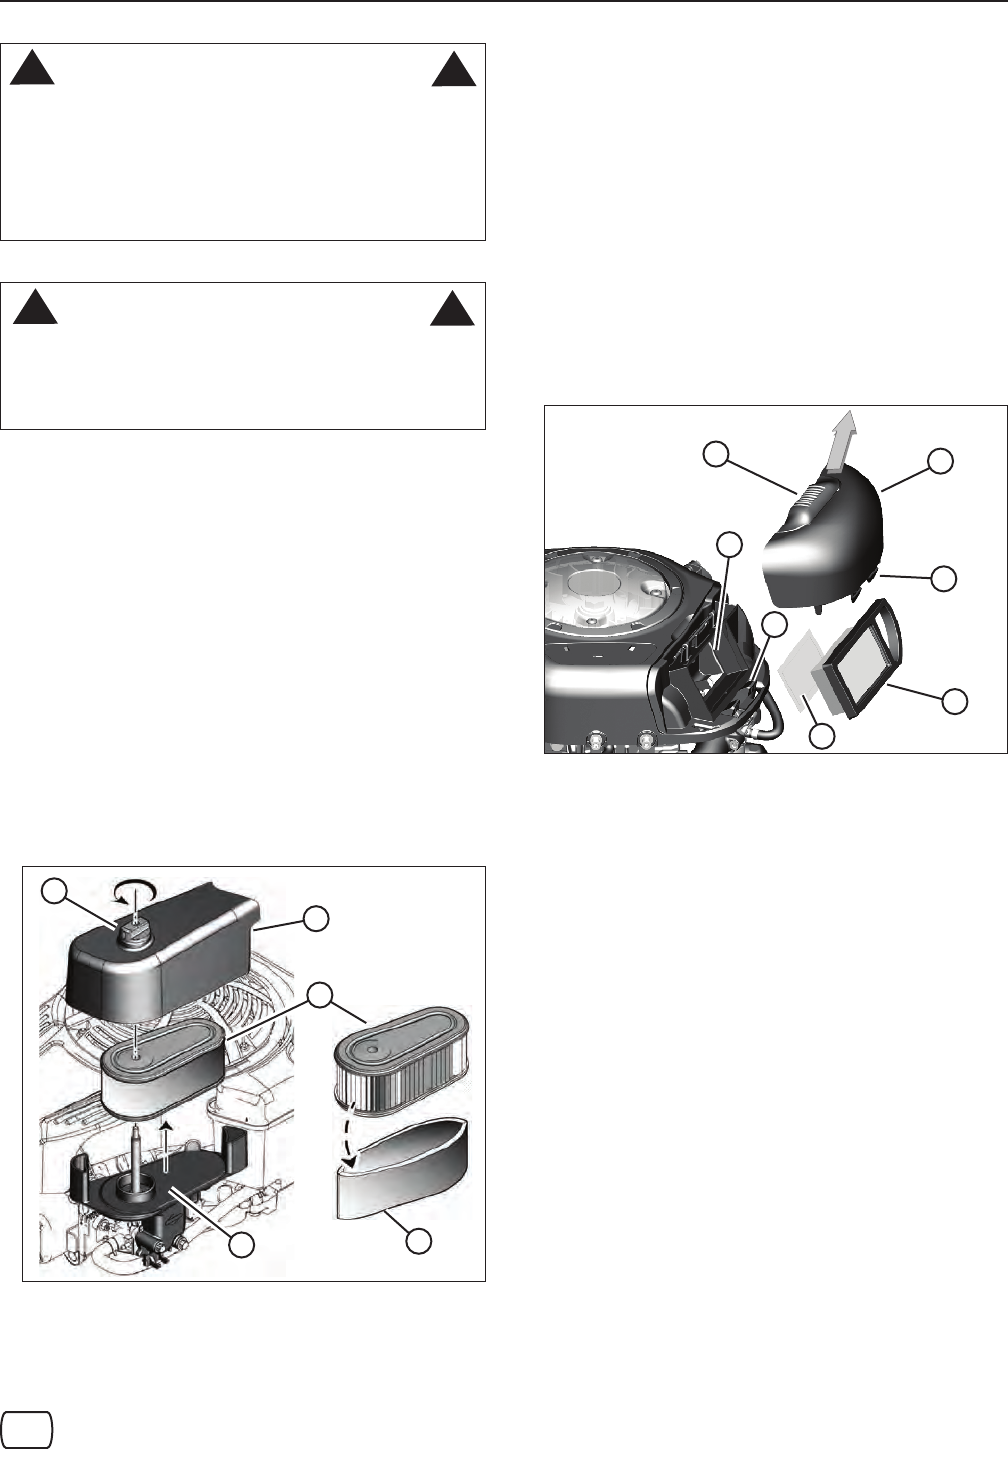
Oval Air Filter
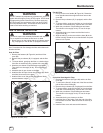
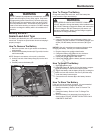
1. Remove the fastener (A, Figure 24) and the air filter
cover (B).
2. Remove the pre-cleaner (C), if equipped, and the filter
(D).
3. To loosen debris, gently tap the filter on a hard surface.
If the filter is excessively dirty, replace with a new filter.
4. Wash the pre-cleaner in liquid detergent and water.
Then allow it to thoroughly air dry. Do not oil the pre-
cleaner.
5. Assemble the dry pre-cleaner to the filter.
6. Install the filter and pre-cleaner into the base (E). Make
sure filter fits securely in the base.
7. Install air filter cover and secure with fastener. Make
sure the fastener is tight.
Figure 24: Air filter (oval)
A
B
E
C
D
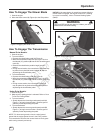
Flat Air Filter
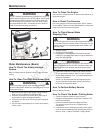
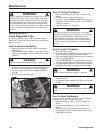
1. Pull up on the cover handle (A, Figure 25). Rotate the
cover handle toward the engine and then remove the
cover (B).
2. Remove the pre-cleaner (C), if equipped, and the filter
(D).
3. To loosen debris, gently tap the filter on a hard surface.
If the filter is excessively dirty, replace with a new filter.
4. Wash the pre-cleaner in liquid detergent and water.
Then allow it to thoroughly air dry. Do not oil the pre-
cleaner.
5. Assemble the dry pre-cleaner and the filter into the
engine base (E).
6. Align the tabs (F) on the cover with the slots (G) in the
blower housing. Rotate the cover handle back and push
down to lock in place.
Figure 25: Air filter (flat)
C
A
F
D
B
E
G
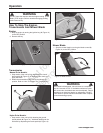
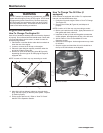
Cylindrical Cartridge Air Filter
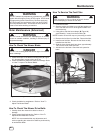
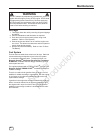
1. Remove the fasteners (A, Figure 26) and the air filter
cover (B).
2. To remove the filter (C), lift the end of the filter and then
pull the filter off the intake (D).
3. Remove the pre-cleaner (E), if equipped, from the filter.
4. To loosen debris, gently tap the filter on a hard surface.
If the filter is excessively dirty, replace with a new filter.
5. Wash the pre-cleaner in liquid detergent and water.
Then allow it to thoroughly air dry. Do not oil the pre-
cleaner.
6. Assemble the dry pre-cleaner to the filter.
7. Install the filter on the intake. Push the end of the filter
into the base as shown. Make sure filter fits securely in
the base.
8. Install air filter cover and secure with fasteners.


