


Intermediate & Large Frame Snowthrowers
8/2005 25
TP 399-4222-01-LW-SN
WARNING
For your safety, operation on slopes should be in
an up and down direction only. If it becomes
necessary to move across the face of a slope, use
caution and do not blow snow. Be very careful
when changing direction on a slope.
Proper winter footwear is recommended for the
operator to help prevent slipping. Never attempt
to clean snow from excessively steep slopes. The
maximum slope for any operation is 17.7% (10º).
WARNING
Gasoline is highly flammable and must be
handled with care. Never fill the tank when the
engine is hot or running. Always move outdoors
to fill the tank. Keep snowthrower and gasoline
away from open flame or spark
WARNING
This unit is a “two-stage” snowthrower.
The first stage is the auger, which feeds the snow
back into the impeller housing. The second stage
is the impeller, which throws the snow out the
discharge chute. If bodily contact is made with
the auger or impeller when they are rotating,
severe personal injury will occur.
To avoid injury, keep others and yourself away
from the auger and the discharge chute whenever
the engine is running. Read and follow all of the
safety rules and warnings in this manual.
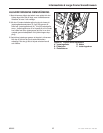
DANGER
Do not clean out discharge chute with hands.
Contact with moving parts inside chute will
cause serious injury. Use clean out tool provided
with machine. Use the following procedure to
remove objects or clear the chute:
1. Stop the engine. Remove the key
2. Wait 10 seconds to be sure the auger/impeller
blades have stopped rotating.
3. Always use the clean-out tool. DO NOT use your
hands.
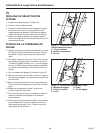
CHECKS BEFORE EACH START-UP
1. Make sure all safety guards are in place and all nuts, bolts
and clips are secure.
2. Check to make sure that the clean-out is attached to the
handle on the machine. Do not operate the machine without
the clean-out tool properly stored on the handle.
3. Check the engine oil level. See your engine Owner’s
Manual for procedure and specifications.
4. Check to make sure spark plug wire is attached and spark
plug is tightened securely. If necessary, torque spark plug
to 15 ft. lbs.
5. Check the fuel supply. Fill the tank no closer than 1/4 to 1/2
inch of top of tank to provide space for expansion. See your
engine Owner’s Manual for fuel recommendations.
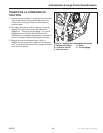
6. Check the Scraper Bar to make sure it is set at the desired
height. Adjust the Skid Shoes if necessary.
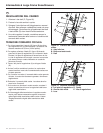
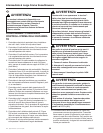
7. Check the Drive Control (B, Figure 23), and Auger Control
(C) for proper operation. If adjustment is required, see the
Service section for procedures.
8 .Check the Chute Direction Control (D or F Figure 23) for
proper operation. The discharge chute should rotate freely
in both directions. See the Service section for adjustment
procedures and troubleshooting.
9. Check the Chute Deflector (E, Figure 23) for proper opera-
tion. The deflector should pivot freely up and down when
the Chute Deflector Knob is loosened.
10. Position the chute at the desired starting direction and set
the deflector at the desired angle.
11. Check the Speed Selector (A, Figure 23) for smooth opera-
tion. The control must move freely into each speed position
gate and remain in position when released. If the Speed
Selector does not move freely into all forward and reverse
speed positions, contact your local authorized dealer for
assistance.
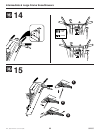
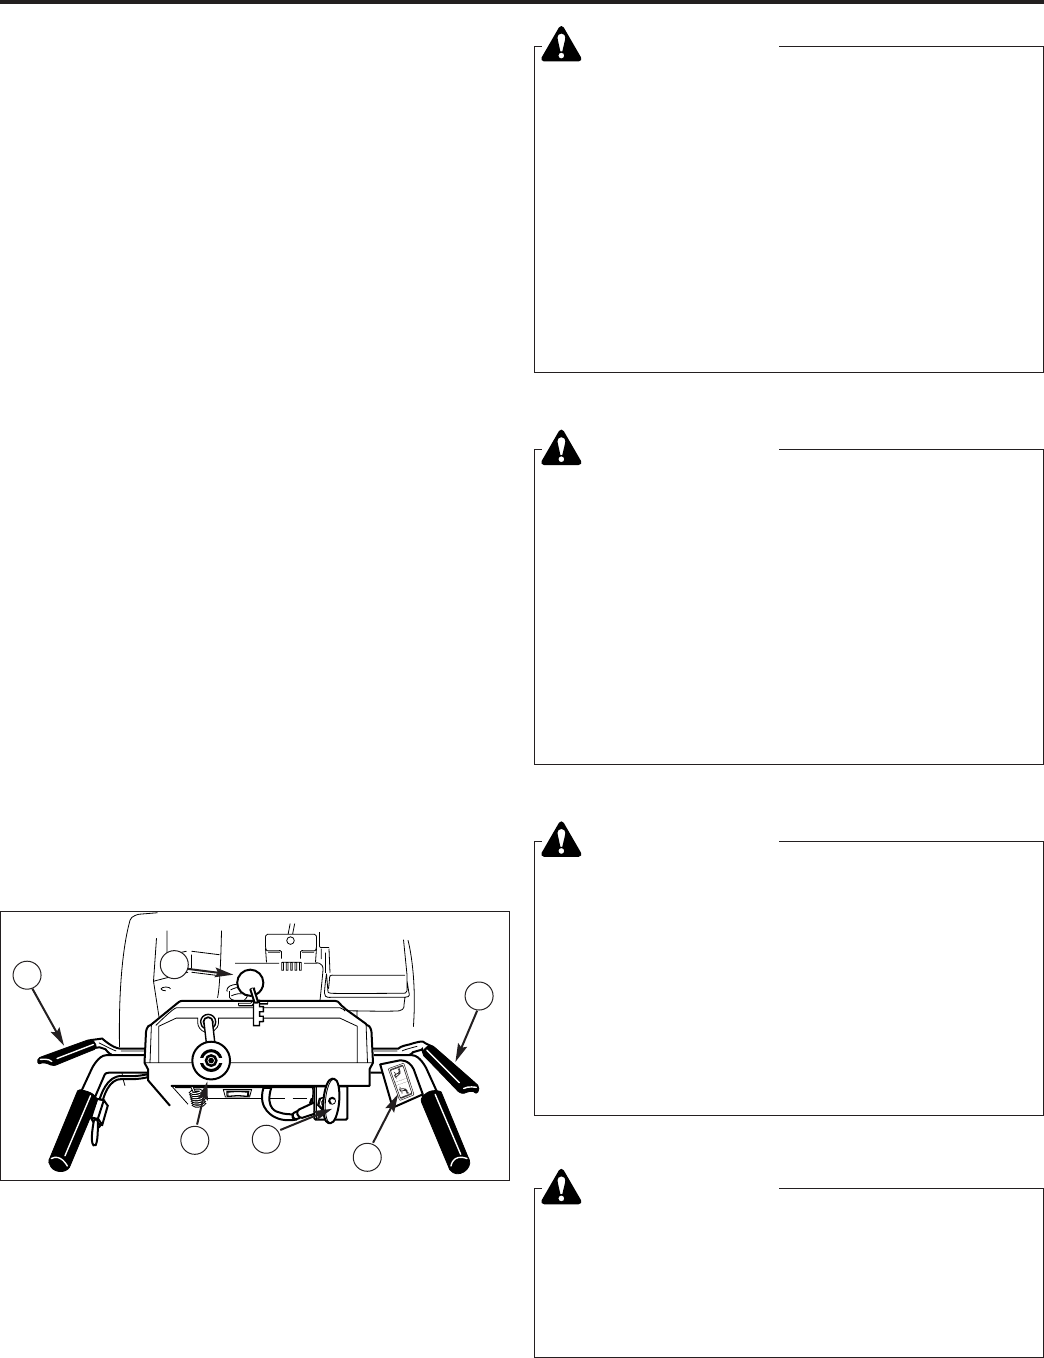
Figure 23. Controls (from operator’s position)
A. Speed Selector
B. Traction & Free-Hand™ Control
C. Auger Engage Control
D. Chute Direction Control
E. Chute Deflector (not shown)
F. Remote Deflector Control
G. Chute Direction Control (Electric)
A
B
C
D
F
G