


ASSEMBLY
1598 01/11 Assembly Section 3-11
© 2011 Alamo Group Inc.
ASSEMBLY
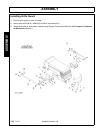
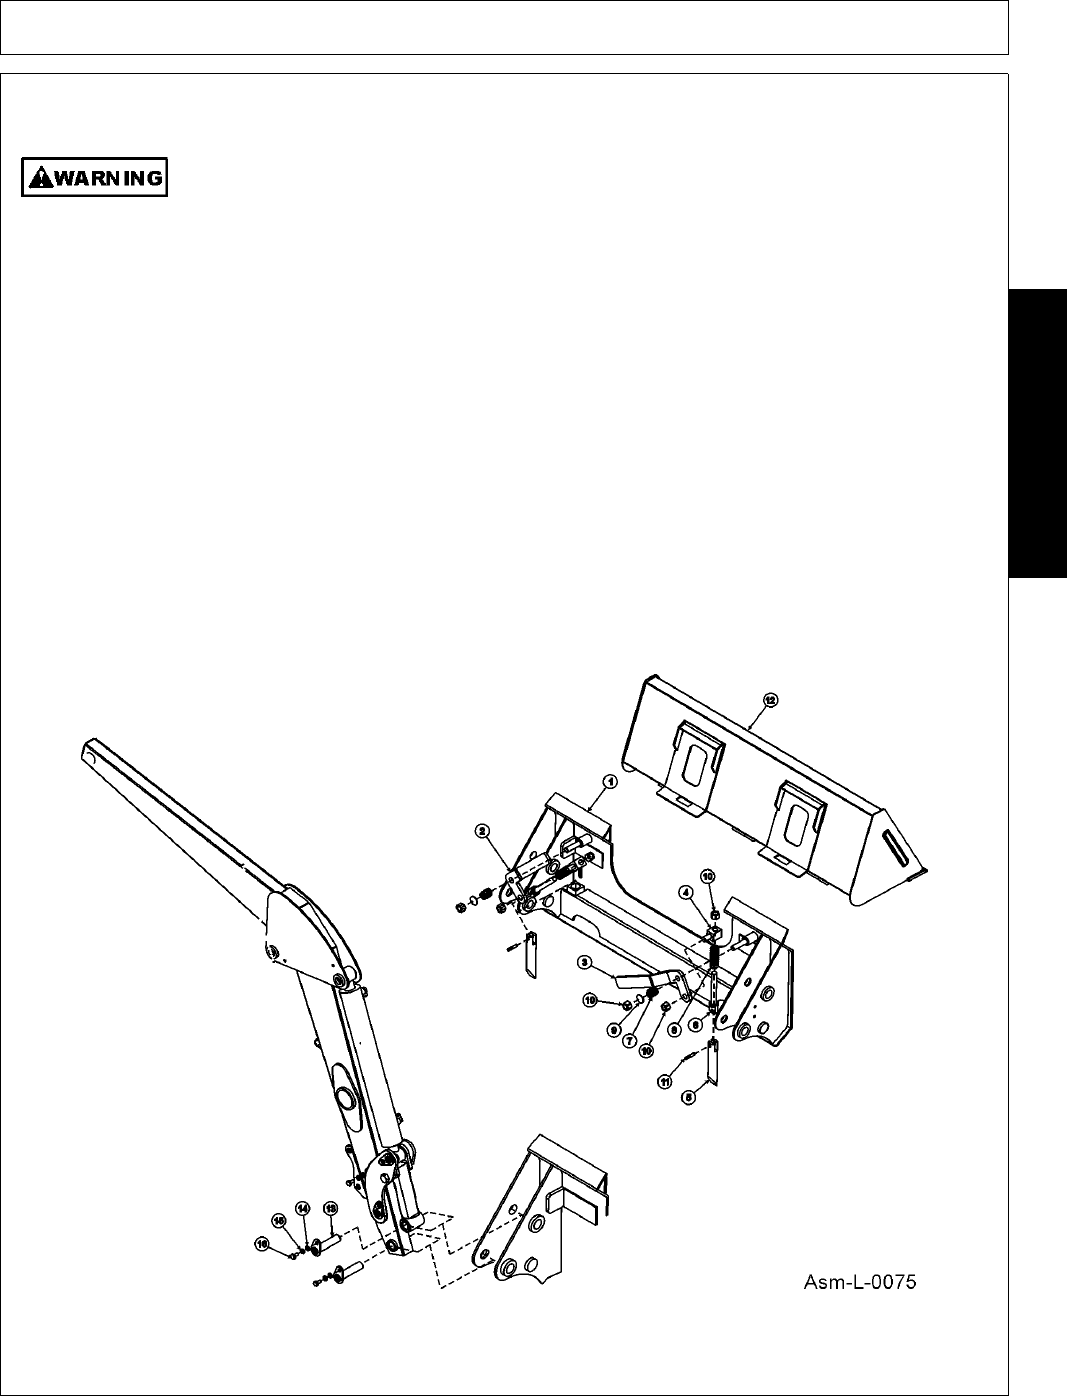
Attaching Bucket to Loader
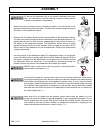
To avoid injury during installation of bucket, do not allow bystanders within 10 feet of loader
and bucket.
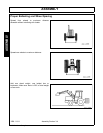
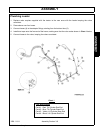
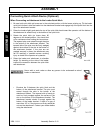
1. Locate tractor and bucket on level ground. Lower boom to the ground and extend the bucket cylinders
slightly while raising the boom to provide 3” to 5” of ground clearance. Drive tractor forward to the bucket,
aligning the loader’s quick attach device with the pockets on the back of the bucket.
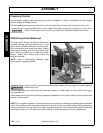
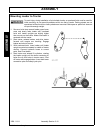
2. While driving forward slowly to maintain contact with the bucket, lift the bucket and tilt it back until the
loader’s quick attach device is seated in the bucket pockets.
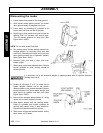
3. Shut off tractor engine, set park brake. Move the bucket latching handles on the loader’s quick attach
device down to the LATCH position.
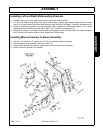
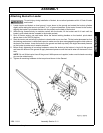
4. Start the tractor and activate lift cylinders to raise bucket one or two feet. Tilt the bucket downward so that
the latching mechanism is visible and inspect to make sure the pins are engaged through the latch plate on
the back of the bucket. Lower the bucket to the ground and back up slowly with slight downward pressure
on the bucket to make sure it remains attached.
5. Before finally tightening all mounting hardware, retract the bucket so the bottom is level with the ground
and lower the bucket to the ground to apply downward pressure until the load is taken off the tractor’s front
tires.
NOTE: Do not lift the tractor tires off the ground. While pressure is applied, make sure the loader mounting
pins can be rotated easily.
6. Tighten all remaining hardware to the torque level shown in the General