


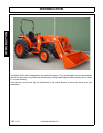


ASSEMBLY
1598 01/11 Assembly Section 3-6
© 2011 Alamo Group Inc.
ASSEMBLY
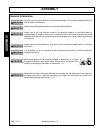
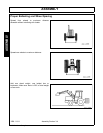
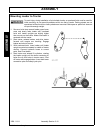
Preparing Tractor
Shut off engine, engage brakes and remove key during installation. If tractor is equipped with front weights,
remove weights and weight bracket.
Remove plastic thread protectors from holes on left and right sides of tractor clutch housing and front axle.
Clean threaded holes in tractor chassis thoroughly using a tap of proper size. Paint, rust or
debris in the threads may not permit cap screws to be installed and tightened correctly.
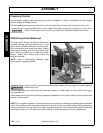
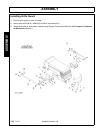
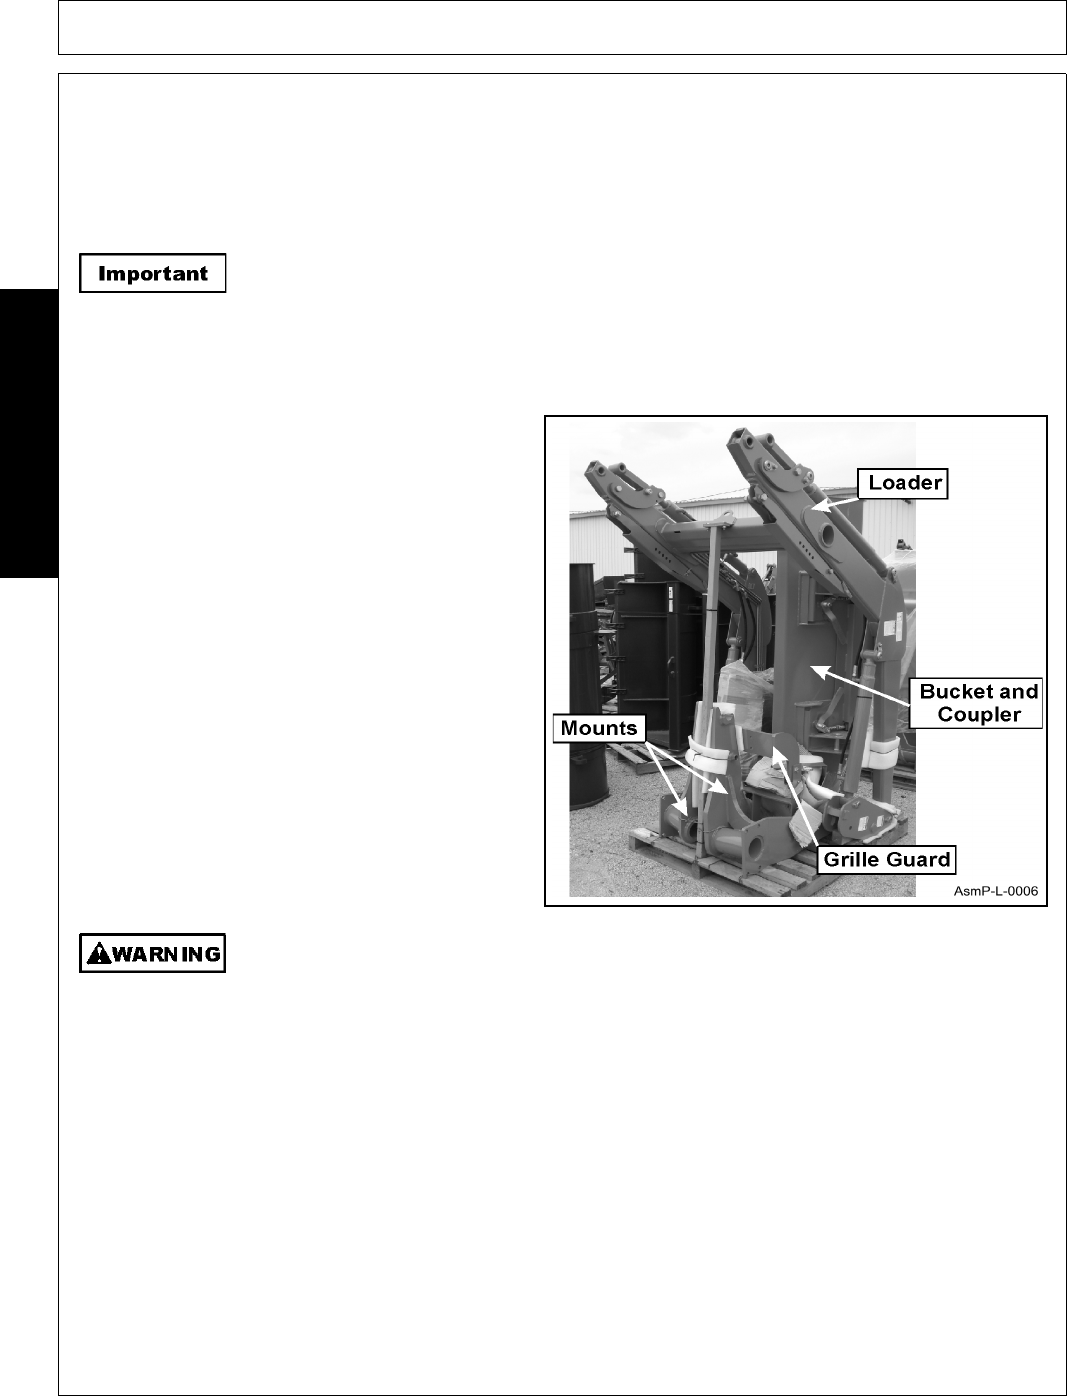
Pallet Component Removal
The loader boom, bucket, left and right midmounts,
hydraulic package, and grille guard come on one
pallet. Remove plastic protective cover from pallet.
Untie and remove grille guard from pallet. Support
midmounting brackets and untie and remove from
pallet. Remove hydraulic box of parts from pallet.
Support bucket then remove hold downs and
remove from pallet.
NOTE: Support midmounting brackets when
removing from shipping materials.
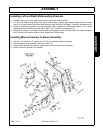
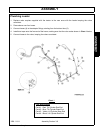
Loader must be supported before removing hardware securing loader to shipping pallet or
loader will tip over.
Support loader boom arms with lifting device and nylon straps. Lift loader slightly to remove load from support
post and remove it.
Lower loader boom onto ground, positioning scraps of cardboard on floor under loader to prevent loader paint
damage. Remove pallet.
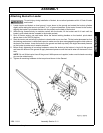
NOTE: Do not tighten hardware to full torque until the mounting kit is completely assembled unless otherwise
noted. This will allow proper assembly and alignment of parts as they are installed. Before finally tightening all
mounting hardware, start the engine and apply downward pressure to the loader bucket, removing the load
from the front tires (Do not lift tires off the ground!) Make sure the mounting pins can be rotated easily.