12
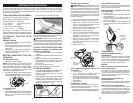
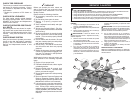
CHECK TIRE PRESSURE
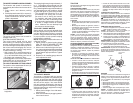
The tires on your tractor were overinflated at
the factory for shipping purposes. Correct
tire pressure is important for best cutting
performance.
• Reduce tire pressure to PSI shown on
tires.
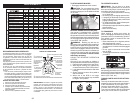
CHECK DECK LEVELNESS
For best cutting results, mower housing
should be properly leveled. See “TO LEVEL
MOWER” in the Service and Adjustments
section of this manual.
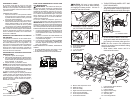
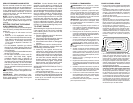
CHECK FOR PROPER POSITION OF
ALL BELTS
See the figures that are shown for replac-
ing motion and mower blade drive belts in
the Service and Adjustments sec tion of this
manual. Verify that the belts are routed
cor rect ly.
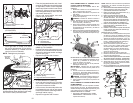
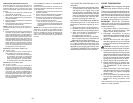
CHECK BRAKE SYSTEM
After you learn how to operate your tractor,
check to see that the brake is operating
properly. See “TO CHECK BRAKE” in the
Service and Adjustments section of this
manual.
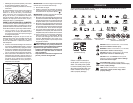
✓CHECKLIST
Before you operate your new trac tor, we
wish to assure that you receive the best
performance and satisfaction from this
Quality Product.
Please review the following checklist:
✓ All assembly instructions have been
com plet ed.
✓ No remaining loose parts in carton.
✓ Battery is properly prepared and
charged.
✓ Seat is adjusted comfortably and tight-
ened securely.
✓ All tires are properly inflated. (For ship-
ping purposes, the tires were overinflated
at the factory).
✓ Be sure mower deck is properly leveled
side-to-side/front-to-rear for best cutting
results. (Tires must be properly inflated
for leveling).
✓ Check mower and drive belts. Be sure
they are routed properly around pulleys
and inside all belt keepers.
✓ Check wiring. See that all connections
are still secure and wires are properly
clamped.
✓ Before driving tractor, be sure free wheel
control is in “transmission engaged” posi-
tion (see “To Trans port” in the Operation
section of this man u al).
While learning how to use your tractor, pay
extra attention to the following important
items:
✓ Engine oil is at proper level.
✓ Fuel tank is filled with fresh, clean, regular
unleaded gasoline.
✓ Become familiar with all controls, their
location and function. Operate them
before you start the engine.
✓ Be sure brake system is in safe operating
condition.
✓ Be sure Operator Presence System and
Reverse Operation System (ROS) are
working properly (See the Operation and
Maintenance sections in this manual).
✓ It is important to purge the transmission
before op er at ing your tractor for the first
time. Follow proper starting and trans-
mission purging instructions (See “TO
START EN GINE” and “PURGE TRANS-
MISSION” in the Op er a tion section of this
manual).
61
SERVICIO Y AJUSTES
ADVERTENCIA:PARA EVITAR LESIÓNES SERIAS, ANTES DE DAR CUALQUIER SERVI-
CIO O DE HACER AJUSTES:
1. Presione el pedal del embrague/freno completamente y aplique el freno de estacionamiento.
2. Ponga la palanca de control de movimiento en la posición de neutro.
3. Ponga el embrague del accesorio en la posición desenganchado (DISENGAGED).
4. Ponga la llave de ignición en la posición de apagado (STOP) y remuévala.
5. Asegúrese que las cuchillas y que todas las partes movibles se hayan detenido completamente.
6. Desconecte el alambre de la bujía y póngalo en donde no pueda entrar en contacto con ésta.
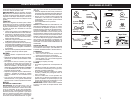
E
A
M
F
B
K
C
CS
H
D
D
L
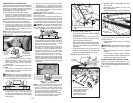
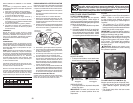
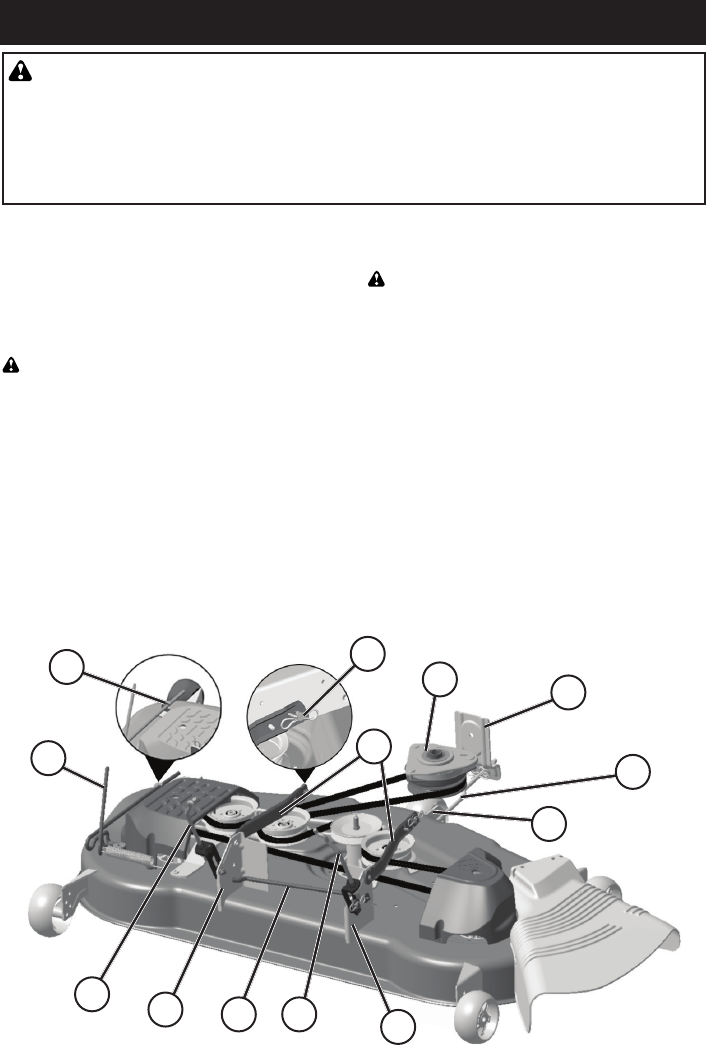
PARA DESMONTAR LA CORTADORA DE
CÉSPED
1. Ponga el embrague del accesorio en la
posición "DESENGANCHADO".
2. Haga segadora descender a su posición más
baja.
3. Retire la barra de tensión de la correa (K)
de la barra de sujeción (L).
PRECAUCIÓN: La barra de tensión de la
correa funciona a resorte. Sujétela con fuerza y
suéltela despacio.
4. Retire la correa de la cortadora de la polea
del embrague eléctrico (M).
5. Desconecte la pieza de unión anterior (E) de
la cortadora - retire el resorte de contención
y la arandela.
6. Por uno de los lados de la cortadora,
desconecte el brazo de suspensión de la
cortadora (A) del chasis y la pieza de unión
posterior (C) de la barra posterior de la cor-
tadora (D) - retire los resortes de contención
y las arandelas.
7. Por el otro lado de la cortadora, desconecte
el brazo de suspensión y la pieza de unión
posterior.
PRECAUCIÓN: Una vez que se desconecten
las piezas de unión posteriores, la palanca eleva-
dora funcionará a resorte. Sujete con fuerza la
palanca elevadora al cambiarla de posición.
8. Por el lado derecho de la cortadora,
desconecte la barra anti-balanceo (S) de la
barra posterior derecha de la cortadora (D) -
retire el resorte de contención y la arandela,
y jale la cortadora hacia usted hasta que la
barra se salga del orificio de la barra.
9. Haga girar el volante del tractor todo lo
posible a la izquierda.
10. Deslice la cortadora por debajo del lado
derecho del tractor.
PARA INSTALAR LA SEGADORA
Realice el procedimiento descrito en “PARA IN-
STALAR LA SEGADORA” del capítulo de Armado
de este manual.


