


18
OPERATION
Before shutting off the engine:
Place the injection hose in a bucket of clean water.
Flush for 1 - 2 minutes (spray clear water through the
spray wand).
Shut off the engine.
NOTE: Shutting OFF ( O ) the engine will not relieve pressure
in the system. Point nozzle in a safe direction and pull trigger
to release water pressure.
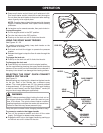
RINSING WITH THE PRESSURE WASHER
Turn off the pressure washer and shut off the water
supply. Point nozzle in a safe direction and pull trigger to
release water pressure.
Engage the lock out on the trigger handle by pushing up
on the lock out until it clicks into the slot.
Remove the nozzle by placing hand over nozzle then
pulling back the quick-connect collar. Place nozzle in the
nozzle storage area on the top of the machine.
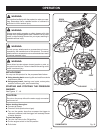
Select the right nozzle for the job:
• Use medium pressure nozzle (green) for items such as
a car or boat.
• Use higher pressure nozzle for jobs such as stripping
paint and degreasing the driveway. When using these
nozzles, test a small area first to avoid surface damage.
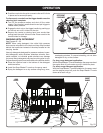
Start at the top of the area to be rinsed and work down,
overlapping the strokes.
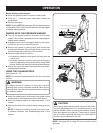
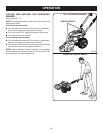
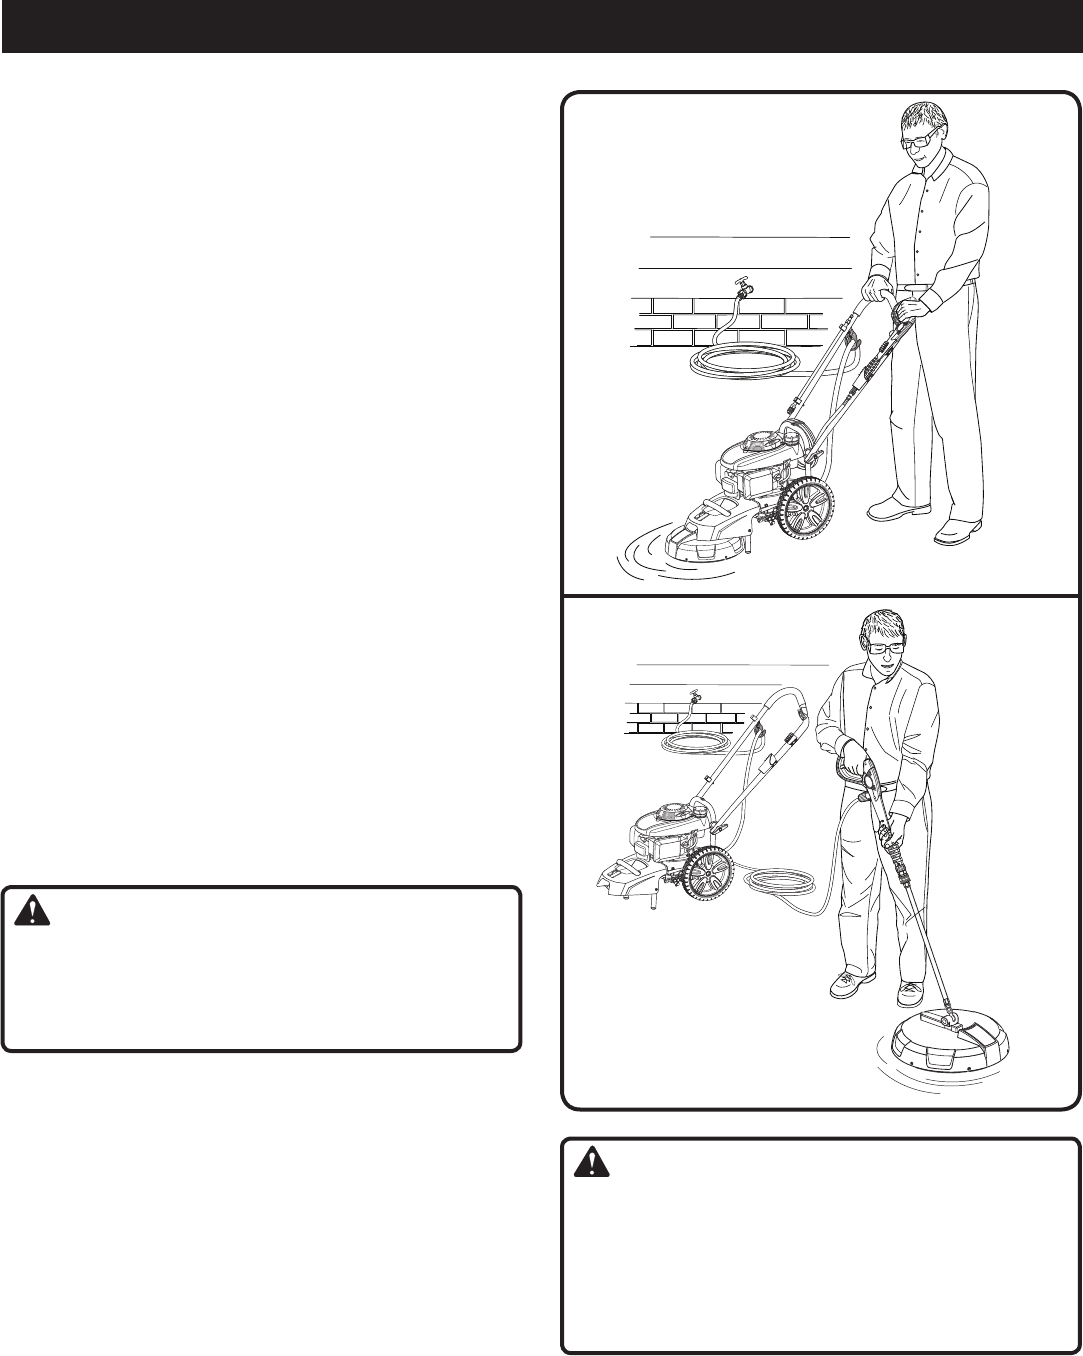
USING THE CLEANING DECK
See Figures 24 - 25.
NOTE: Do not use the surface cleaner on a non-horizontal
surface.
WARNING:
To reduce the risk of injection or injury, only use the
cleaning deck on flat, horizontal surfaces. Never lift the
cleaning deck from the cleaning surface while operating
the pressure washer.
Install the cleaning deck and connect the garden hoses
as described in the assembly section of this manual.
Start the pressure washer as described earlier in this
manual.
Walk slowly behind the cleaning deck, cleaning as you
go.
NOTE: If striping or swirling occurs, slow your pace.
If problem continues, see Troubleshooting later in this
manual.
Fig. 24
Fig. 25
CAUTION:
Striking any raised obstacle while using with the clean-
ing deck will damage the unit. If contact does occur and
causes vibration when operating the pressure washer,
stop and replace the spray bar. Continuing to operate
the unit without replacing the spray bar could result in
serious injury or damage to the unit.
NOTE: See figure 29 on page 20 for the location of the
spray bar.