


12
RECOMMENDED FUEL TYPE
WARNING
Fuel is extremely flammable and its vapors can
explode if they are ignited. Always stop the
engine and allow it to cool before filling the fuel
tank. Do not smoke while filling the tank. Keep
sparks and open flames away from the area.
Fill the fuel tank, using clean, fresh, unleaded gasoline.
NOTE: Alcohol blended fuel absorbs moisture
(water). As little as 1% moisture in the
fuel can cause fuel to separate and form
acids when stored.
If this type of fuel must be used, use
fresh fuel (less than 60 days old).
DEFINITION OF BLENDED FUELS
Today's fuels are often a blend of gasoline and one or
more oxygenates such as ethanol, methanol or MTBE
(ether).
USE OF BLENDED FUELS
If you choose to use a blended fuel or its use is unavoid-
able, the following precautions are recommended.
1. Always use fresh fuel.
2. Use the special additive GASOHOL GAS TREAT-
MENT
®
(by Gold Eagle) or an equivalent to inhibit
corrosion.
3. Drain tank and run engine dry before storing the
unit.
USE OF FUEL ADDITIVES
The use of fuel additive such as STA-BIL
®
Gas Stabilizer
or an equivalent, will inhibit corrosion and minimize the for-
mation of gum deposit. Add (23 ml) 0.8 oz per gallon of
fuel per instructions on container. NEVER add fuel addi-
tives directly to the unit's fuel tank. Using a fuel additive
can keep fuel fresh for up to six (6) months.
OIL & FUEL INFORMATION (Continued)
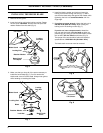
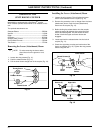
NOTE: Make sure the O-ring is in place on the
oil fill plug when checking and changing
the oil.
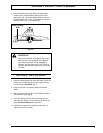
NOTE: To prevent extensive engine wear or
damage, always maintain the proper oil
level in the crankcase. Never operate the
engine with oil level below the bottom of
the dipstick.
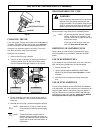
Fig. 18
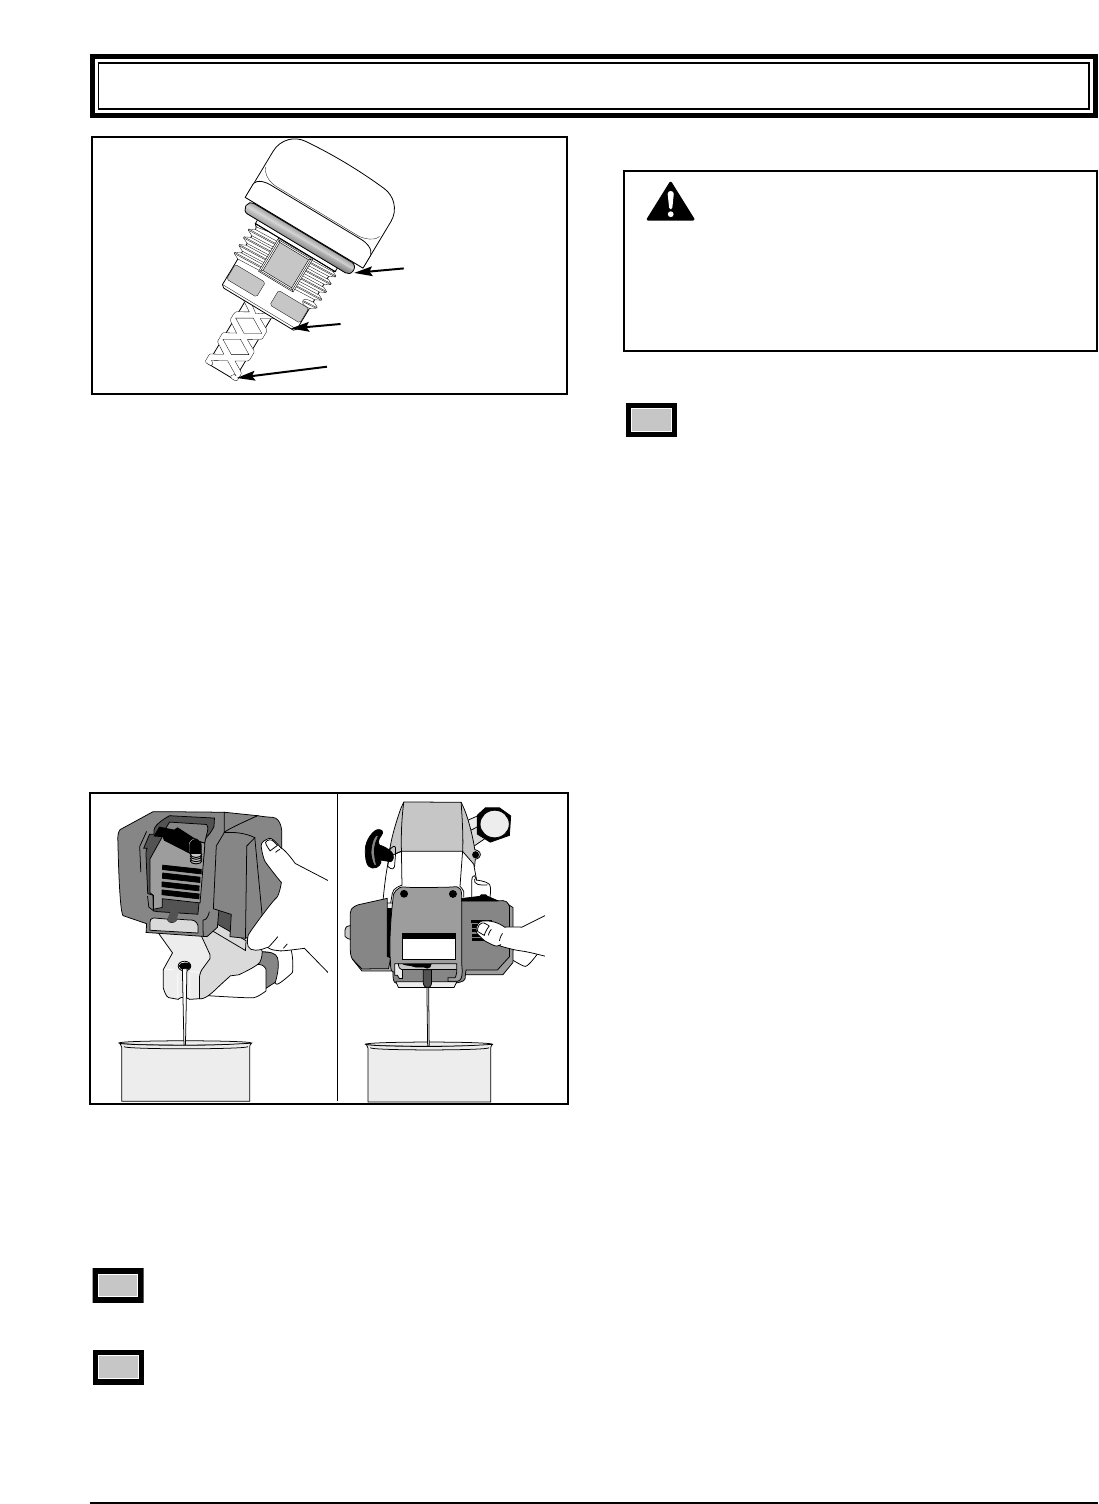
CHANGING THE OIL
For a new engine, change the oil after the first 10 hours of
operation. Thereafter, change the oil after every 25 hours
or before storing the unit for an extended period of time.
Change the oil while the engine is still warm. The oil will
flow freely and carry away more impurities.
Change the oil as follows:
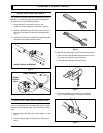
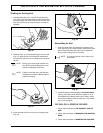
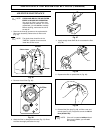
1. Remove the oil fill plug / dipstick.
2. Pour the oil into a container by tipping the trimmer in
a vertical position (Fig. 18). Be sure to allow ample
time for complete drainage. Dispose of oil properly.
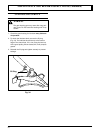
3. Fill the crankcase, with new oil of the proper type, to
the top of the dipstick. Use the bottle saved from the
initial use.
4. Reinstall the oil fill plug / dipstick and tighten securely.
Full (100 ml/3.4 oz)
O-ring
Add Oil
Fig. 17