


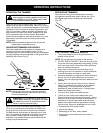
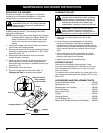
MAINTENANCE AND REPAIR INSTRUCTIONS
14
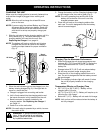
CLEANING THE UNIT
WARNING: Battery tools do not have to be
plugged into an electrical outlet; therefore,
they are always in operating condition. To
prevent serious personal injury, take extra
precautions and care when performing
maintenance, cleaning or servicing the unit.
WARNING: To prevent serious personal
injury,
remove or disconnect the battery
before servicing, cleaning, changing add-on
attachments or removing material from the unit.
• Clean the unit using a damp cloth with a mild
detergent.
• Do not use any strong detergents on the plastic
housing or the handle. They can be damaged by
certain aromatic oils such as pine and lemon, and by
solvents such as kerosene. Moisture can also cause a
shock hazard. Wipe off any moisture with a soft dry
cloth.
• Use a small brush or the air discharge of a small
vacuum cleaner brush to clean the air vents on the
battery housing and motor housing.
• Keep the air vents free of obstructions
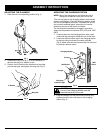
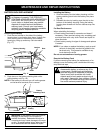
STORING THE UNIT
Clean the unit thoroughly before storing it. Hang
the unit on the charging station. Store the unit in a dry,
well-ventilated area, locked-up or up high, out of the
reach of children.
To maintain the life of the battery, only store the unit in a
place where temperatures do not exceed 100°F or drop
below 40°F.
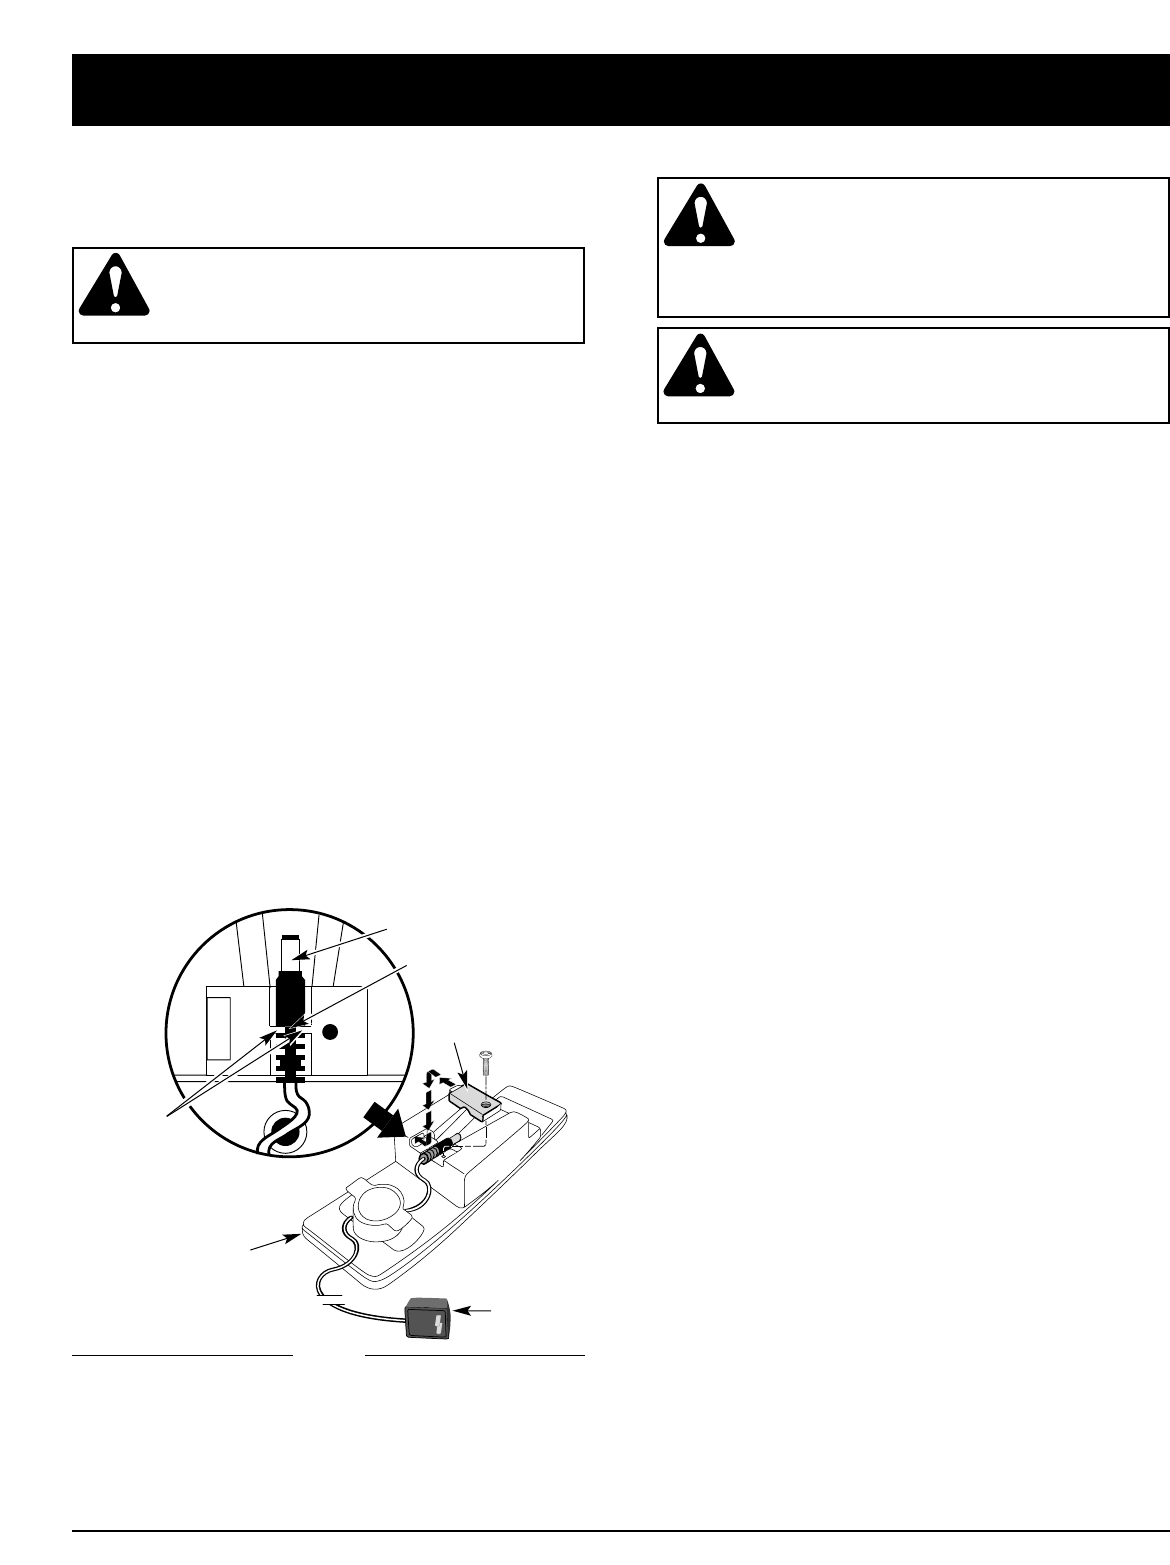
REPLACING THE CHARGER
Replace the charger if it is damaged, or if the barrel
connector or cord become damaged, or if the barrel
connector is not connecting to the unit properly.
CAUTION: Only use the type of charger
specified for this unit. Any other type may
cause damage to the unit, batteries and
possible injury.
Your trimmer requires a Ryobi #182534 12V charger and
#180295 charging station. The charging instructions
refer only to these parts.
NOTE: If you are using the optional Battery and Charger
Accessory Kit to charge your battery. Read and
follow all instructions in the manual that comes
with the kit to set up and properly charge your
battery.
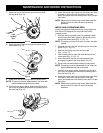
1. Unplug the charger from the wall outlet and remove
the unit from the charging station.
2. Remove the screw from the clamp holding the barrel
connector in place using a standard or T-20 Torx bit
screwdriver (Fig. 19).
3. Remove the barrel connector from the slot and
replace charger, if needed.
4. Insert the narrow side of the barrel connector wire
into the groove in the slot of the charging station.
Ensure the barrel connector is inserted correctly and
secure (Fig. 19).
5. Reinstall the clamp and screw.
6. Plug the charger into the wall outlet. Refer to
Charging the Unit for charging instructions.
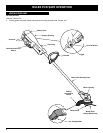
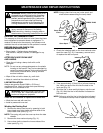
Barrel Connector
Clamp
Charging Station
Fig. 19
Edge of Barrel
Connector Wire
Groove
ACCESSORIES AND REPLACEMENT PARTS
Cutting Attachment Shield . . . . . . . . . . . . . . . . . 180293
Replacement Line . . . . . . . . . . . . . . . . . . . . . . . 610375
Replacement Line Cartridge . . . . . . . . . . . . . . . . 180292
Inner Reel Spring . . . . . . . . . . . . . . . . . . . . . . . . 180374
Bump Head Cover . . . . . . . . . . . . . . . . . . . . . . . 180376
Charger . . . . . . . . . . . . . . . . . . . . . . . . . . . . . . . . 182534
Charging Station . . . . . . . . . . . . . . . . . . . . . . . . . 180295
12 Volt Battery Pack . . . . . . . . . . . . . . . . . . . . . . 182391
Battery and Charger Accessory Kit (optional) . . . 300028
Charger