


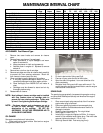
MAINTENANCE INTERVAL CHART
See
Page
5
Hours
25
Hours
PERIODIC SERVICE EVERY 25 HRS
50 75 100 125 150 175 200
Change Oil (Initial) 6 X
Change Oil (Periodic) 6 X
Check Interlock 11 X X
Check Cutting Blades - X X
Check Cutting Unit Brake 9 X
Check Rear Wheels Brake 9 X
Lubricate Pivot Points 7 X
Lubricate Drive Chain 7 X
Lubricate Throttle Cable 7 X
Grease Front Axle Spindles 7 X
Service Air Cleaner 6 X
Check Spark Plug 6 X
Check Drive Belts 10 X
Check Drive Chain 10 X
Check Tyre Pressure 4 X
Clean Outside of Engine - X
Clean Cutter Housing - X
Paint Chipped Surfaces - X
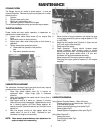
AIR CLEANER: Dual Element Type –
1. Remove two cover knobs and remove air cleaner
cover.
2. Remove foam pre-cleaner, if so equipped
a. Wash pre-cleaner in liquid detergent and warm
water to remove dirt
b. Wrap pre-cleaner in cloth and squeeze dry
c. Saturate foam in engine oil. Squeeze to remove
excess oil.
3. Remove two nuts from top of cartridge.
4. Remove cartridge and clean air cleaner body carefully
to prevent dirt from entering carburetor. Brush dirt
from lower air cleaner body into duct.
5. Clean cartridge by gently tapping on flat surface
a. If very dirty, replace cartridge or wash in a low or
nonsudsing detergent and warm water solution
b. Rinse thoroughly from INSIDE OUT until water is
clear
c. Cartridge must be allowed to stand and air dry
thoroughly before using.
6. Reassemble air cleaner.
NOTE: Nuts holding air cleaner cartridge must be installed
with fiber washers down on cartridge plate to
prevent dirt from entering carburetor. Tighten nuts
by hand. Over tightening could collapse cartridge.
NOTE: Petroleum solvents, such as kerosene, are not to
be used to clean cartridge. They may cause
deterioration of the cartridge. DO NOT OIL
CARTIRIDGE. DO NOT USE PRESSURISED AIR TO
CLEAN OR DRY CARTRIDGE.
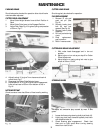
OIL CHANGE
See engine manufacturer’s instructions.
1. Place machine on a level surface. Start and run engine
for a period to warm the oil.
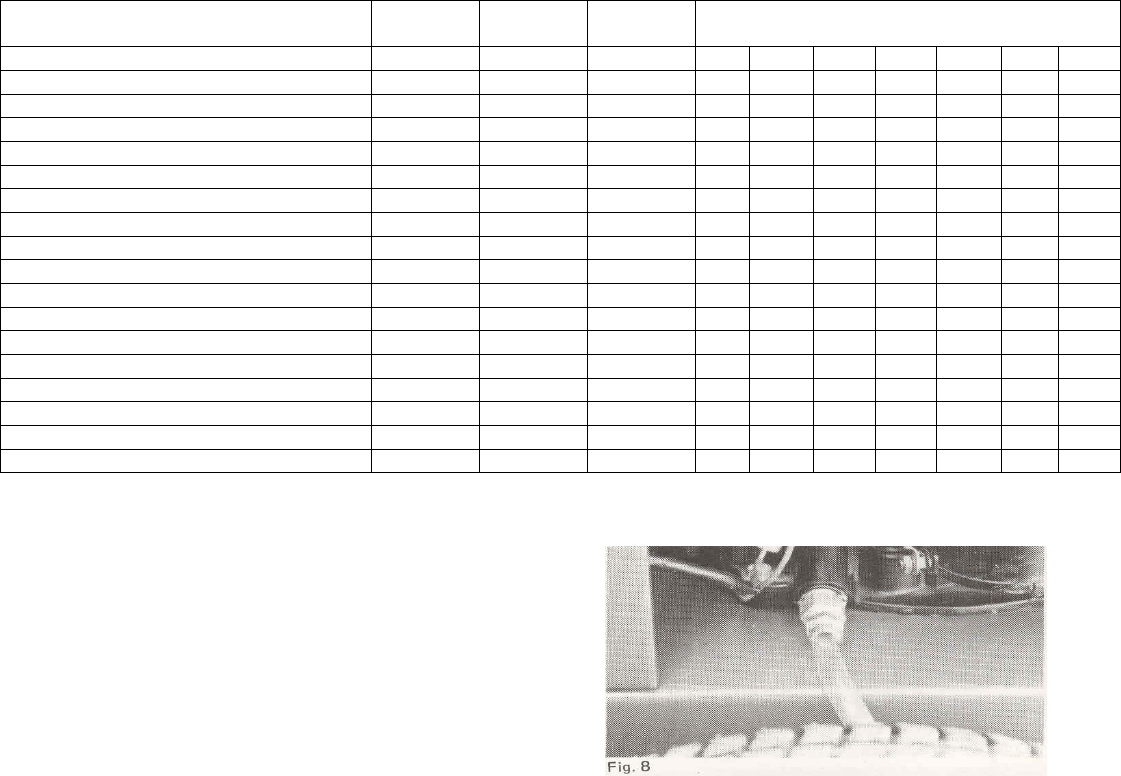
2. Fit drain tube to drain fitting; see Fig.8.
3. Place an oil pan under the end of drain tube;
4. Open the drain fitting about 1 turn and allow the oil to
drain completely;
5. Retighten drain fitting and refill sump with new oil. For
correct viscosity and service classification, see the engine
manufacturer’s instructions.
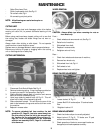
SPARK PLUG
The spark plug gap gradually increases during engine running
and should be checked periodically and whenever the engine
malfunctions.
1. Clean around spark plug area so that dirt will not enter
engine when plug is removed
2. Disconnect spark plug lead and remove spark plug
3. Check condition of electrodes and ensure there is no
damage to insulator
4. Carefully clean the spark plug. Do not grit blast
5. Set the gap to .8mm (.30”)
6. Install plug in engine and tighten to 20Nm. If a torque
wrench is not available hand tighten plug. Then with tube
spanner tighten plug about 1/12 of 1 turn
7. Refit high tension lead. Push onto plug firmly.
6