118035
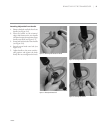
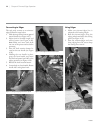
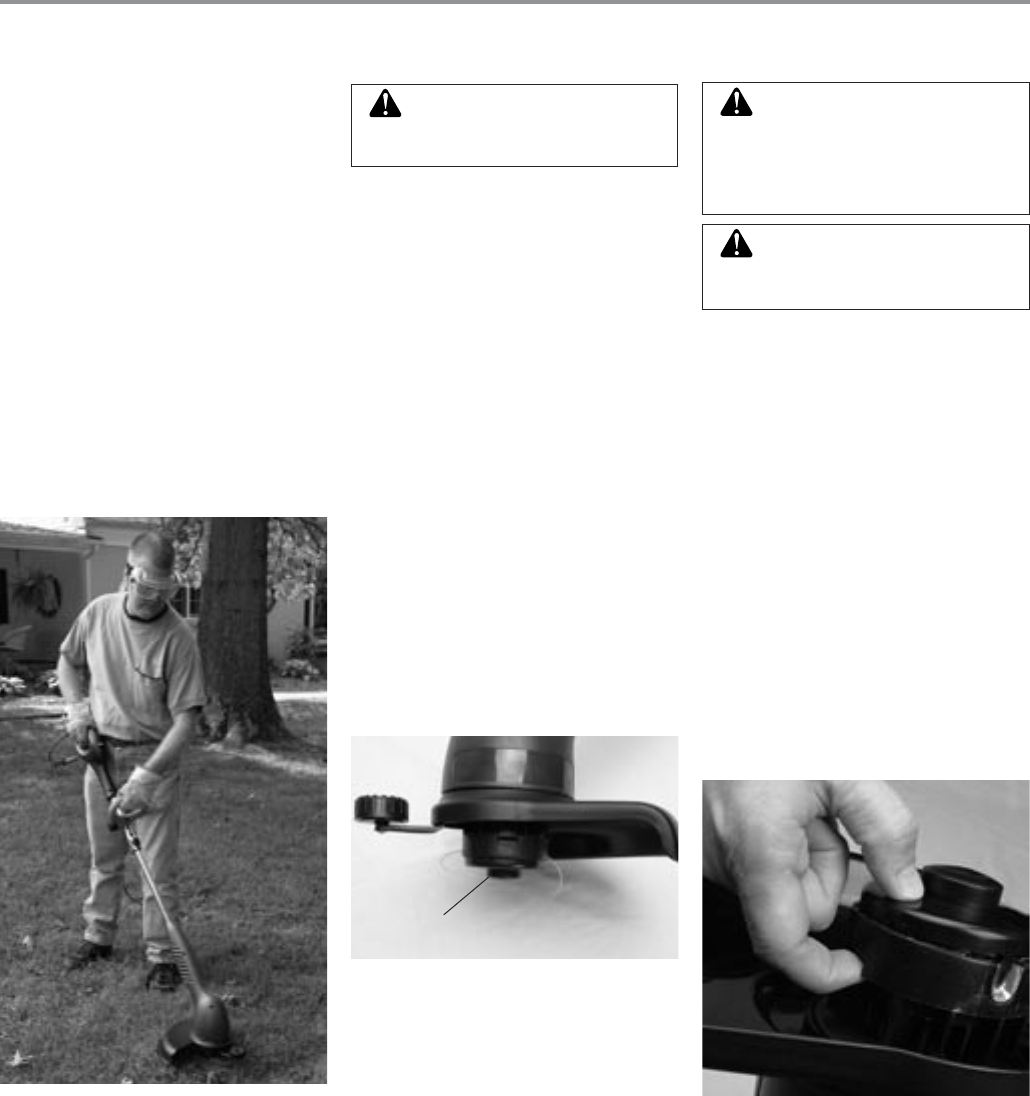
Figure 4-11: Holding trimmer/edger
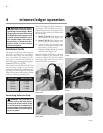
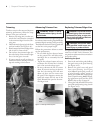
Figure 4-12: Advancing trimmer/edger line
To reduce excessive line wear and improve
trimming performance, follow the steps
below to trim grass and weeds.
1. Remove any string, wire, or other ma-
terials that could become entangled
in the trimmer/edger from the trim-
ming area.
2. Hold trimmer/edger using both front
and rear handles (see Figure 4-11).
3. Slowly sweep the trimmer/edger from
side to side or front to back.
4. Do not force the trimmer/edger. Al-
low only the tip of the trimmer/edger
line to cut the grass or weeds.
5. If grass or weeds are tall, cut them in
several increments, starting from the
top and working to the bottom.
To advance new trimmer/edger line, tap the
line advance button on the ground while the
trimmer/edger is running (see Figure 4-12).
e blade attached to the cutting guard will
cut the line to the proper length.
Follow the precautions below to ensure
top line performance.
• Do not hold the line advance button
on the ground. is will allow trim-
mer/edger line to constantly feed off
the spool.
• Tap the line advance button only once
to advance line. If more line is needed,
wait a few seconds and tap again.
• Be sure to advance the line as it wears
down. If you wait too long to advance
new line, the existing line will wear
down too short and can retract into
the spool. If this happens, remove the
spool and reroute the line out of the
spool. Reinstall the spool to the trim-
mer/edger head.
For replacement line, use a nylon monofila-
ment line of 0.065 inch in diameter. You
can purchase replacement line at most lawn
and garden stores.
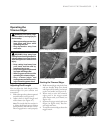
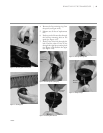
1. Press in the two locking tabs holding
the spool cover to the spool housing
(see Figure 4-13).
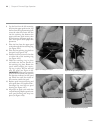
2.
Remove the spool cover and spool
from spool housing (see Figure
4-14). Note: If spool spring comes off
of spool housing, replace spring by
placing the smaller end of spring into
center of spool housing. Note: If install-
ing replacement spool and line (P/N
RS65B), skip to step 13, page 10.
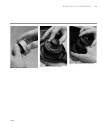
3. Clean grass and other debris from the
spool and spool housing using a brush
(see Figure 4-15).
Figure 4-13: Unlocking spool cover
Line
Advance
Button


