5
104673
OWNER’S MANUAL
UNPACKING
1. Remove all items from carton.
2. Check all items for any shipping dam-
age. If you find any damage or if any
parts are missing, promptly inform
dealer where you bought the Pole Saw.
ASSEMBLY
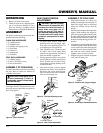
The plastic hardware bag for the Pole Saw
should include the following:
CHAIN SAW HARDWARE
• (2) Guidebar bolts
• (2) Guidebar nuts
• (1) Phillips self tapping screw
• (1) Saw chain
• (1) Guide bar
• (1) Hand guard
• (1) Scabbard
POLE SAW HARDWARE
• (1) Handle bracket
• (4) #10 x 24 Phillips screws
• (4) #10 lockwashers
ASSEMBLY OF CHAIN SAW
Assemble the chain saw before assembling
the pole. Refer to chain saw manual for
assembly instructions.
®
®
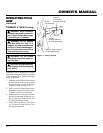
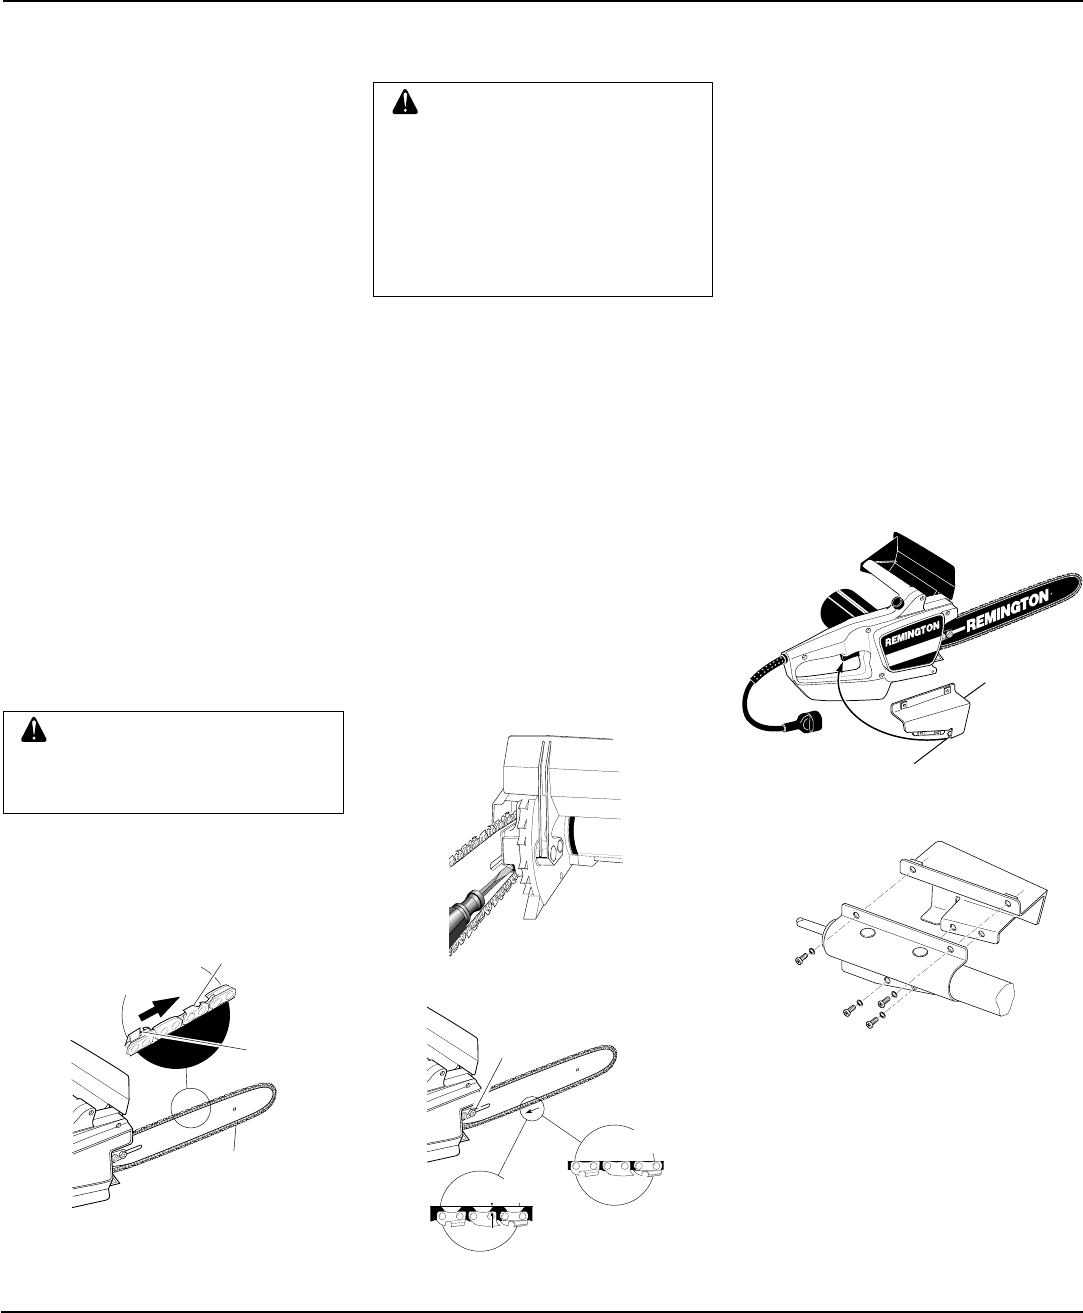
Figure 5 - Bracket with Trigger Support
Trigger
Support
Bracket
Figure 6 - Assembly of Pole Saw Brackets
ASSEMBLY OF POLE SAW
1. Slip handle bracket over chain saw
handle from the right side (see Figure 5).
Note:
The trigger must be depressed
before the bracket will go onto the
handle.
Push the lockout button and depress the
trigger. While holding the trigger in,
place the trigger support portion of the
bracket under the trigger and slide the
bracket onto the chain saw handle. The
bracket will keep the trigger in the “on”
position.
2. Align holes in pole bracket with holes
in handle bracket. Install Phillips head
screws with lockwashers through pole
bracket from left side and thread into
the weld nuts on the handle bracket.
Tighten screws securely by hand.
3. Plug the saw power cord into receptacle
cord at end of inner pole.
CAUTION: Do not place chain
on saw backwards. If chain is
backwards, saw will vibrate badly
and will not cut.
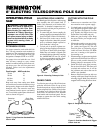
Make sure cutting edges of chain are facing
in the right direction. Position chain so cut-
ting edges on top of guide bar face guide bar
nose (see Figure 2).
Figure 2 - Chain Position
SAW CHAIN TENSION
ADJUSTMENT
WARNING: Maintain proper
chain tension. A loose chain will
increase the risk of kick back. A
loose chain may jump out of
guide bar groove. This may in-
jure operator and damage chain.
A loose chain will cause chain,
guide bar and sprocket to wear
rapidly.
1. To adjust chain tension, make sure
guide bar nuts are only finger tight.
Also make sure adjusting block is in
oval adjusting hole on guide bar.
2. Turn adjusting screw clockwise until
all slack is out of chain.
Note:
There
should be no gap between side links of
chain and bottom of guide bar.
3. Wearing protective gloves, move chain
around guide bar. Chain should move
freely. If chain does not move freely,
loosen chain by turning adjusting screw
counterclockwise.
4. After chain tension is correct, tighten
guide bar nuts firmly. If not, guide bar
will move and loosen chain tension.
This will increase the risk of kickback.
This can also damage saw.
Figure 4 - Saw Chain Adjustment
Towards
Guide Bar
Nose
Cutting
Edge
Cutting
Edge
Saw
Chain
Correct Tension
Gap
Incorrect Tension
Guide Bar
Nuts
Guide Bar
Guide Bar
Figure 3 - Turning Adjusting Screw


