4. Do not over-tension chain. Over-ten-
sioning will cause excessive wear and
will reduce the life of the guide bar
and chain. Over-tensioning also re-
duces the amount of cuts per battery
charge.
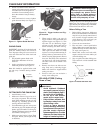
5. After chain tension is correct, tighten
guide bar nuts fi rmly (see Figure 11).
12
www.remingtonpowertools.com
CHAIN SAW INFORMATION
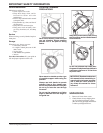
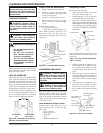
Figure 11 - Tighten Guide Bar Nuts
Guide Bar
Nuts
OILING CHAIN
IMPORTANT: Applying oil to the chain and
guide bar reduces friction and excessive
wear. Improper oiling will cause excessive
wear and reduce the life of the chain and
guide bar.
1. Fill included squeeze bottle with
SAE #30 or #40 motor oil or bar
chain oil.
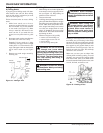
2. Apply several drops of oil between
chain and guide bar (see Figure 12.
Note: Oil should be applied before each
use and every 5 minutes during continu-
ous use.
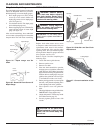
Figure 12 - Applying Oil to Chain
Guide Bar
Oil Chain
Frequently
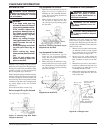
Figure 13 - Trigger Lockout and Trig-
ger Location
Trigger
Trigger Lockout
CUTTING WITH THE CHAIN SAW
1. Attach battery to saw.
2. Make sure section of log to be cut is
not laying on ground. This will keep
chain from touching ground as it cuts
through log. Touching ground with
moving chain will dull chain.
3.
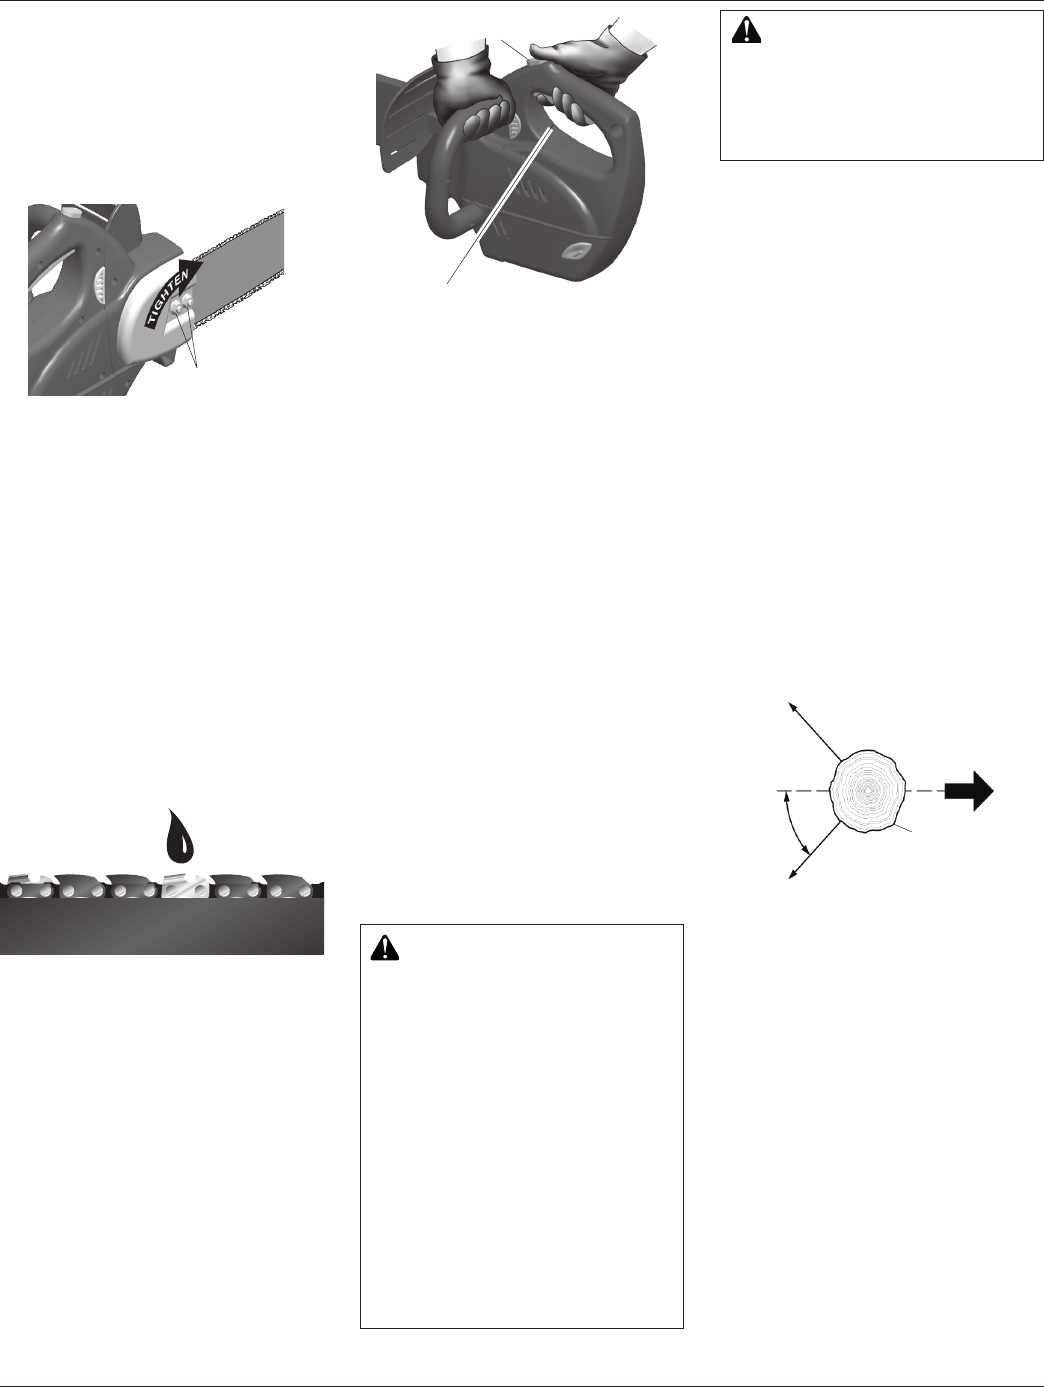
Use both hands to grip saw. Always use
left hand to grip front handle and right
hand to grip rear handle. Use fi rm grip.
Thumbs and fi ngers must wrap around
saw handles (see Figure 13).
4. Make sure your footing is fi rm. Keep
feet apart. Divide your weight evenly
on both feet.
5. When ready to make a cut, press in
trigger lockout with right thumb and
squeeze trigger (see Figure 13). This
will turn saw on. Releasing trigger
will turn saw off. Always turn saw on
before contacting saw chain with log.
6. When starting a cut, place moving
chain against wood. Hold saw fi rmly
in place to avoid possible bouncing or
skating (sideways movement) of saw.
7. Guide saw using light pressure. Do not
force saw. The motor will overload and
can burn out. It will do the job better
and safer at the rate for which it was
intended.
8. Remove saw from a cut with saw run-
ning. Stop saw by releasing trigger.
Make sure chain has stopped before
setting saw down.
9. Practice until you can maintain a
steady, even cutting rate.
WARNING:
• Avoid kickback. Kickback
can result in severe injury or
death. See Kickback, page 5,
to avoid risk of kickback.
•
Do not fell a tree without
ample skill or expert help.
• Keep children, animals, and
bystanders away from area
when felling a tree.
•
If two or more persons
perform bucking and felling
operations at the same time,
provide ample distance
between operations. Provide
distance of at least twice the
height of tree being felled.
Felling is the process of cutting down a tree.
Make sure your footing is fi rm. Keep feet
apart. Divide your weight evenly on both feet.
Follow directions below to fell a tree.
Before Felling a Tree
1. Before felling, inspect tree. Make sure
there are no dead limbs or branches that
may fall on you. Study natural lean of
tree, location of larger branches, and
wind direction. This will help you
judge which way tree will fall.
2. Clear work area around tree.
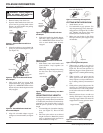
3. Plan and clear a retreat path before
felling. Make retreat path opposite to
planned direction of fall of tree and at
45° angle (see Figure 14).
4.
Remove dirt, stones, loose bark, nails,
staples, and wire from tree where you
will make felling cuts.
5. Stay on uphill side when felling tree.
Tree could roll or slide downhill after
falling.
WARNING: When felling a tree,
be aware of your surroundings. Do
not endanger any person, strike
utility lines, or cause property
damage. If tree strikes utility lines,
contact utility company at once.
FELLING A TREE (Cutting
Down a Tree)
Figure 14 - Retreat Path From Tree
Direction of Fall
Retreat Path
45°
Tree
Retreat Path


