MOONLIGHT LIGHTING SYSTEM — OPERATION & PARTS MANUAL — REV. #0 (10/27/06) — PAGE 21
MOONLIGHT LIGHTING SYSTEM — SETUP
BALLOON INSTALLATION
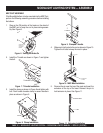
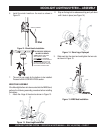
2. Slowly invert the balloon and place over the installed
balloon support base (Figure 25), making sure lamp
fixture is facing down and the Velcro straps are aligned
with the holes on the balloon support base. Insert Velcro
strips into the holes and fasten securely.
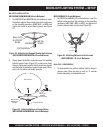
Figure 25. Attaching Balloon to Support Base
(MB1000/MB1000W/MB400B- 54-inch Balloons)
MB1000/MB1000W/MB400B (54-inch Balloons)
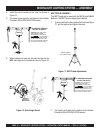
1. For MB1000/W and MB400B (54-inch balloons), insert
the balloon support base metal rods into the extrusion
on the mounting accessory (MBP, MBC, or MBS) and
tighten the knobs to secure them in place. See Figure
24.
Figure 24. Attaching the Support Baseto the Extrusion
(MB1000/MB1000W/MB400B- 54-inch Balloons)
MB150/MB400 (33.5-inch Balloons)
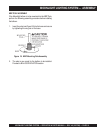
1. For MB150 and MB400 (33.5-inch balloons), insert the
balloon metal rods into the extrusion on the mounting
accessory (MBP, MBC, MBS, or MBT) and tighten the
knobs to secure them in place (see Figure 26).
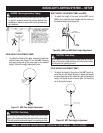
Figure 26. Attaching Balloon to the Extrusion
(MB150/MB400 - 33.5-inch Balloons)
EXTRUSION
KNOBS
METAL
RODS
KNOBS
BALLOON
SUPPORT
BASE
EXTRUSION
BALLOON
BALLOON
SUPPORT
BASE
EXTRUSION
VELCRO
STRAP
( 6 PLACES)
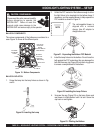
1. To disassemble unit, perform balloon inflation steps in
reverse order. Allow the lamp to cool for 15 minutes
before attempting to disassemble unit.
BALLOON DISASSEMBLY


