9sectiOn 3 — asseMbly & set-up
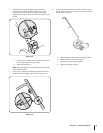
The rope guide is attached to the right side of the upper
handle. Loosen the wing nut which secures it to the upper
handle. Refer to Fig. 3-5.
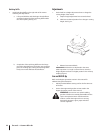
Hold the blade control against the upper handle.
Slowly pull starter rope out of engine.
Slip starter rope into the rope guide.
Tighten rope guide wing nut.
5.
a.
b.
c.
d.
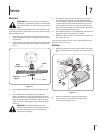
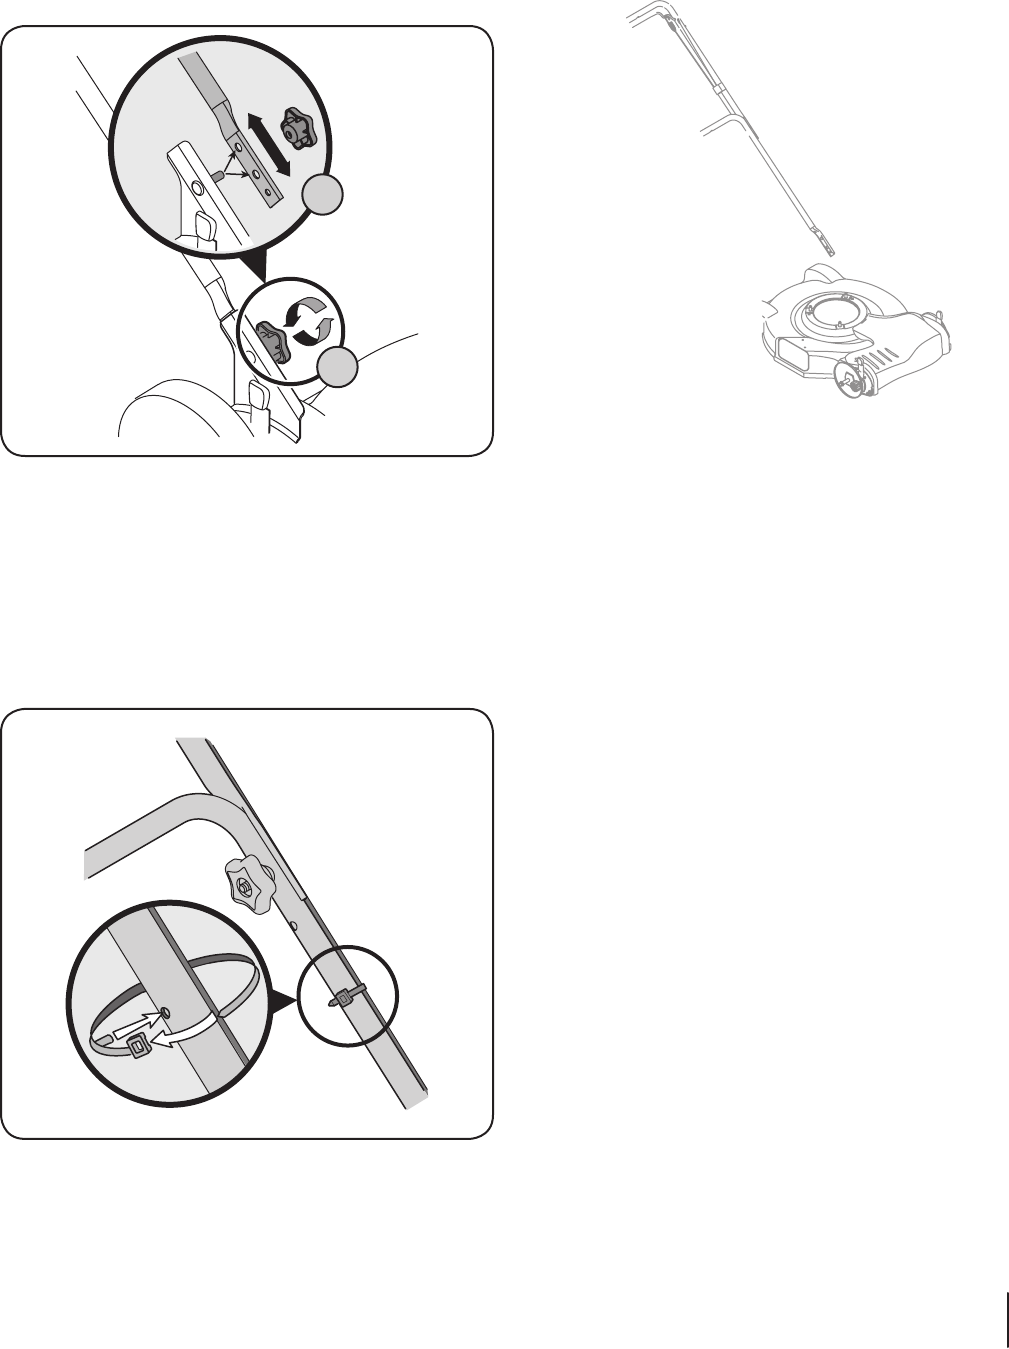
If satisfied with height of handle, tighten wing nuts
at the ends of the lower handle shown in Fig. 3-3. For
convenience of operating, you may adjust the handle
height by removing the wing nuts and removing the lower
handle.
Position each handle bracket stud into the top hole
in the lower handle. See Fig. 3-3 inset.
Tighten the wing nuts.
NOTE: Each end of the lower handle must be placed in the
same relative position.
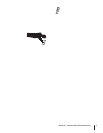
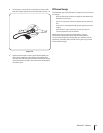
Insert post on cable ties into holes provided on the lower
handle. Pull cable tie tight and trim excess. See Fig. 3-4.
3.
a.
b.
4.
A
B
Figure 3-3
Figure 3-4


