


DEFINITION:
Initialization is a
procedure that ensures
that Audiostar operates
correctly. When you first
use Audiostar, it doesn't
yet know where the
observation location
site is.
During the procedure,
you will enter the
observation location.
Audiostar uses this
information to precisely
calculate the location of
celestial objects (such as
stars and planets) and to
move your telescope
correctly for various
operations.
16
Looking at or near the Sun will cause irreversible damage to your eye. Do not point this telescope at or near the Sun.
Do not look through the telescope as it is moving.
To Track an Object Automatically
As the Earth rotates beneath the night sky, the stars appear to move from East to West. The
speed at which the stars move is called the sidereal rate.You can setup your telescope to move
at the sidereal rate so that it automatically "tracks" the stars and other objects in the night sky.
In other words, if the telescope is not tracking an astronomical object, the object will drift out of
the eyepiece field of view. The tracking function automatically keeps an object more or less
centred in the telescope’s eyepiece.
To track objects, you must first set the telescope in the home position, then initialize Audiostar,
and finally perform an alignment on the night sky. See below for more information.You must also
learn how the Audiostar keypad operates in order to move through the Audiostar menus.
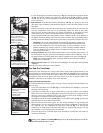
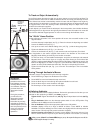
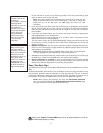
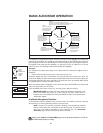
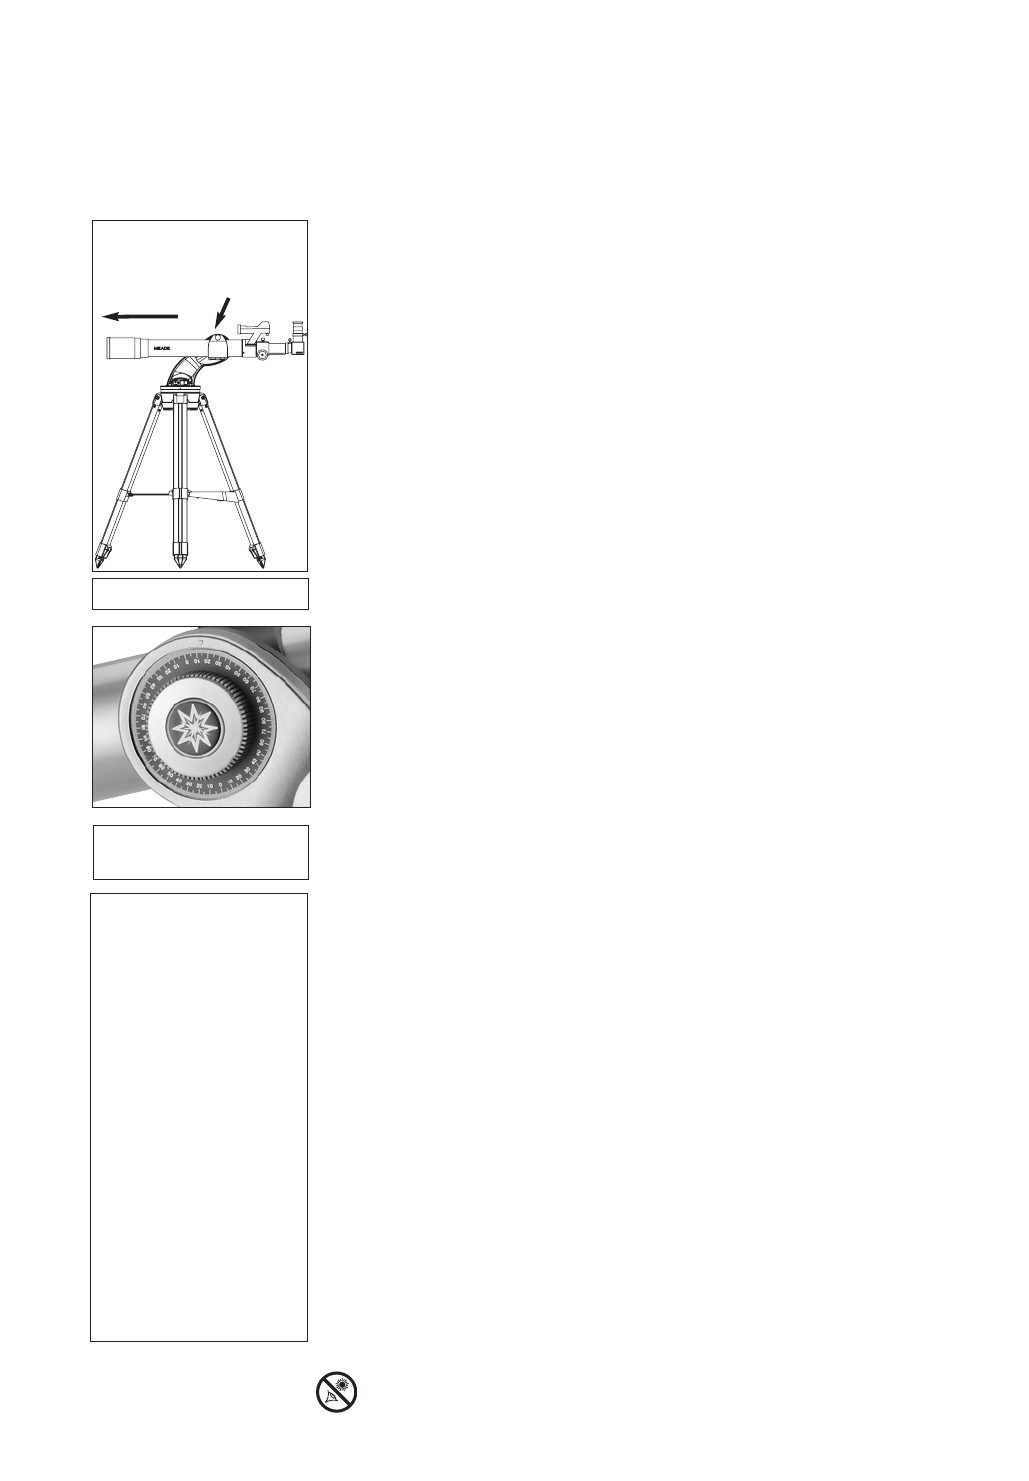
The "Alt/Az" Home Position
Correct telescope placement in the home position will ensure the successful location of the
alignment stars.
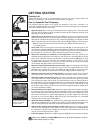
1. Level the telescope’s tripod base (23, Fig 1). Extend or shorten the tripod legs as needed.
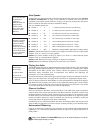
2. Loosen the Altitude lock (10F, Fig. 1).
3. Line up the 0° mark on the Altitude setting circle (10E, Fig. 1) with the triangular pointer.
4. Tighten the Altitude lock (10F, Fig. 1) to a firm feel.
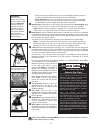
5. Loosen the horizontal lock (26, Fig. 1) and move the tube until it points to True North.
Note: Irregularities in the earth’s magnetic field results in the direction of True North and
Magnetic North differing and will vary from location to location.
To find True North, use the bubble level/compass and point the telescope tube towards
Magnetic North. Then refer to figure 31 on page 38, which directs you to the North Star
(Polaris). Looking towards Magnetic North locate the Big Dipper; follow the two stars in the
bowl of the Big Dipper, as shown in Figure 31, to the North Star. With the tube still level,
rotate it so that it points towards the North Star. The tube is now pointing True North.
6. Tighten the horizontal lock (26, Fig. 1) to a firm feel. The telescope is now in the Alt/Az
home position.
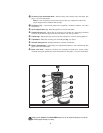
Moving Through Audiostar’s Menus
Audiostar’s menus are organized for quick and easy navigation.
{ Press ENTER to go deeper into Audiostar's menu levels.
{ Press MODE to move back toward the top menu level.
{ Press the Scroll keys to move through the options available for each level.
{ Press the Arrow keys to enter characters and digits.
The Arrow keys are also used to move the telescope.
Initializing Audiostar
This section describes how to initialize Audiostar. Perform this procedure the first time you use
Audiostar or after performing a RESET (see
RESET, page 27).
1. Tighten Locks: Tighten the Altitude lock (10F, Fig. 1b) and tripod base lock knob (26, Fig.
1).
2. Plug in Audiostar: Make sure the telescope power switch is in the OFF position. Plug
Audiostar into the HBX port of the Control Panel.
3. Turn on Audiostar: Flip the telescope power switch to the ON position.
4. AudioStar displays "Press 0 to Align or MODE for Menu". Press MODE to initialize
AudioStar.The motors will begin to move in both axes slightly while the telescope tests its
motor function. This will only take several seconds to complete.
5. Set Your Location or Zip Code: The Location screen displays.This screen asks you if you
wish to choose either the zip code of your observing location or the location (
i.e.,
entering
Fig. 16: Alt/Az Home Position.
Pointer to
0° on the
Altitude
Setting Circle
Fig. 17: Altitude lock and
setting circle.
Tru e
North