12
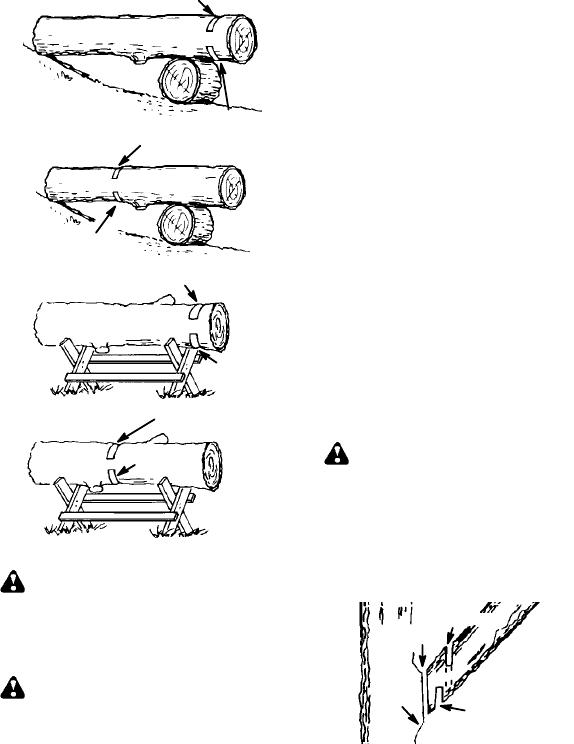
S Finish with your second cut.
1
st
Cut
2
nd
Cut
Usingalogforsupport
2
nd
Cut
1
st
Cut
1
st
Cut
2
nd
Cut
Using asupport stand
1
st
Cut
2
nd
Cut
LIMBING AND PRUNING
WARNING: Be alert for an d guard
against kickback. Do not allow the moving
chain tocontactany other branched orobjects
at the nose of the guide bar when limbing or
pruning. Allowing such contact can result in
serious injury .
WARNING:Neverclimbintoatreeto
limb or prune. Do not stand on ladders, plat-
forms,alog,orinanypositionwhichcancause
you to l ose your b al ance o r controlof thesaw.
IMPORT ANT POINTS
S Watch out for springpoles. Use extreme
cautionwh encuttin gsma llsizelimbs. Slen-
dermaterialmay catchthe sawchainandbe
whipped toward you or pull you of f balance.
S Be aler t for springback. Watch out for
branches thatare bentor underpressure.
Avoid being struck by the branch or the
saw w henthetension int hewoodfibers i s
released.
S Keep a clear work area. Frequently clear
branches out of the way to avoid tripping
over them.
LIMBING
S Alwayslimbatreeafteritiscutdown. Only
then canlimbingbe donesafely andprop-
erly.
S Leave the larger limbs underneath the
felledtreetosupportthetree asyouwork.
S Startat baseofthefelledtreeandworkto-
ward the top, cutting branches and limbs.
Remove small limbswith one c ut.
S Keep the t ree between you and the c hain
as much as possible.
S Remove larger, supporting branches with
thecuttingtechniquesdescribedinBUCK-
ING WITHOUT A SUPPORT.
S Always use an overcut to cut small and
freely hanging limbs. Undercutting could
cause l im bs to falland pinch saw.
PRUNING
WARNING: Limit pr uning to limbs
shoulder height or below. Do not cut if
branchesarehigher thanyourshoulder.Get
a professional todo the job.
S Make your fist cut
1/3 of the way through
the bottom of the limb.
S Nextmakea2ndcutallthe waythrough
thelimb. Thencuta third overcutleaving
a1to2inchcollarfromthetrunkofthetree.
First cut
Second cut
Third cut
Collar
Pruning technique


