


19
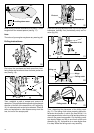
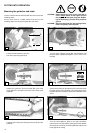
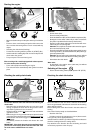
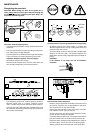
- Position the sprocket guard (G/2).
Manually tighten the two fastening nuts (G/1).
Tightening the chain
- Slightly lift the end of the guide bar and turn the chain
adjusting screw (H/4) to the right (clockwise) until the chain
rests against the bottom side of the guide bar.
- Continue to lift the guide bar end and firmly tighten the two
fastening nuts (G/1) by means of the universal wrench.
Chain brake
G H
I
1
2
J
4
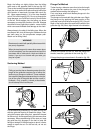
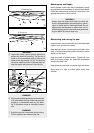
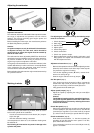
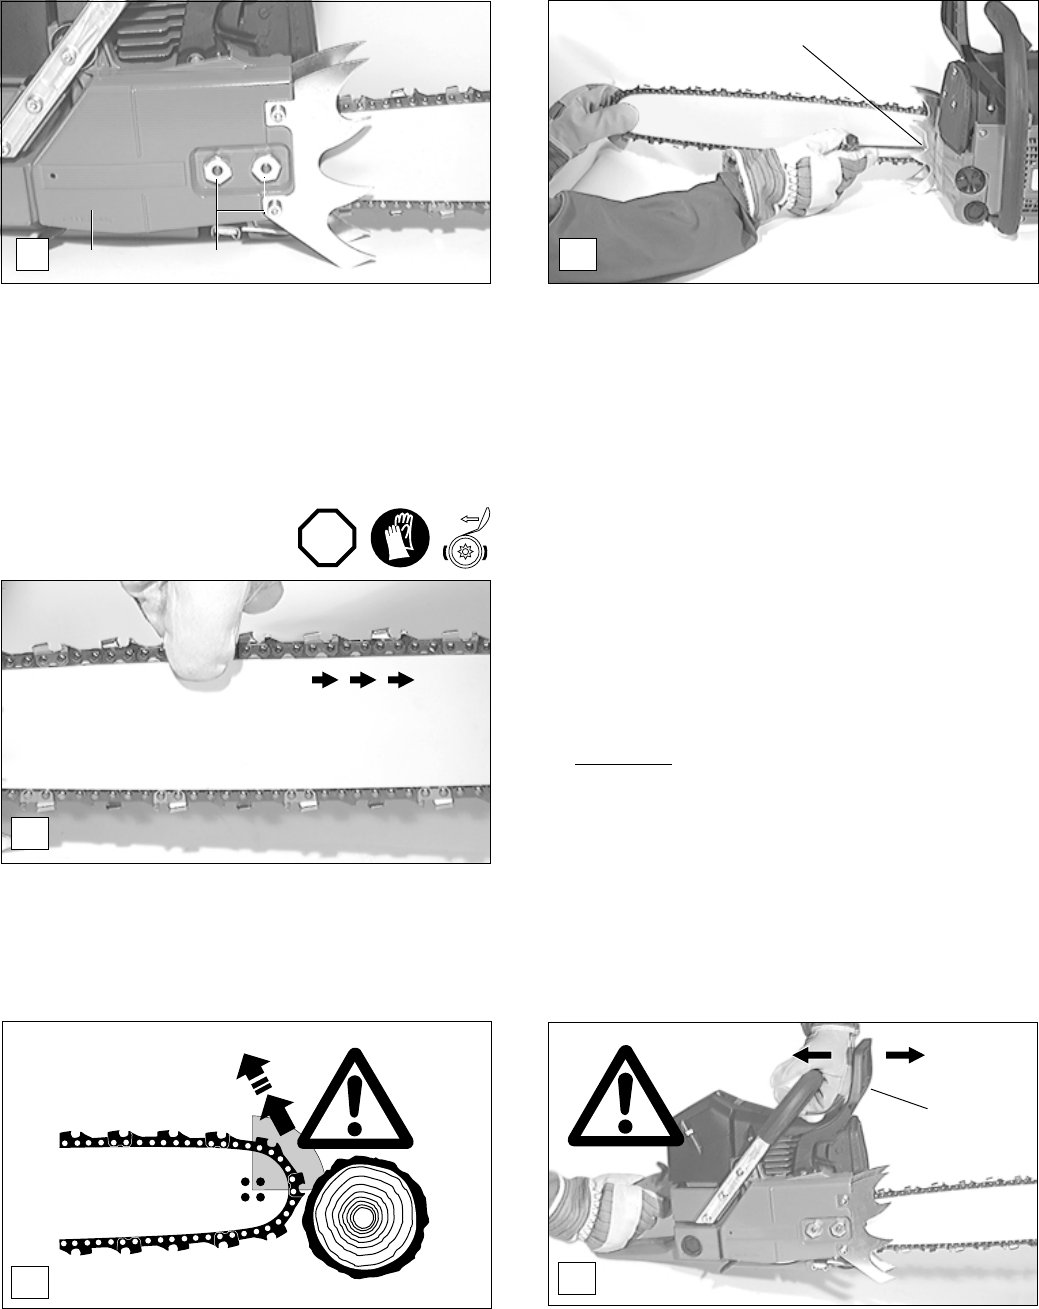
Actuating the chain brake (blocking)
If the kickback is strong enough the sudden acceleration of
the guide bar combined with the inertia of the hand guard
(K/3) will automatically actuate the chain brake.
When actuating the chain brake manually, press the hand
guard (K/3) with your left hand in the direction of the guide bar
end (arrow 1).
Releasing the chain brake
Pull the hand guard (K/3) in the direction of the tubular handle
(arrow 2) until it will engage noticeably. Now the chain break
is released.
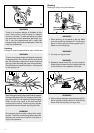
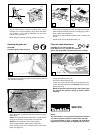
Checking the chain tension
K
2
1
3
STOP
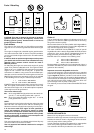
The DCS 9010 comes with an inertia chain brake as standard
equipment. If kickback occurs due to contact of the guide-bar
tip with wood (see SAFETY PRECAUTIONS, page 9), the
chain brake will stop the chain through inertia if the kickback is
sufficiently strong. The chain will stop within a fraction of a
second.
The chain brake is installed to block the saw chain before
starting it and to stop it immediately in case of an emer-
gency.
- The tension of the chain is correct if the chain rests against
the bottom side of the guide bar and can still be easily
turned by hand.
- While doing so the chain brake must be released.
- Check the chain tension in short intervalls because new
chains tend to elongate.
- When checking the chain tension the engine must be
switched off.
NOTE:
It is recommended to use 2-3 chains alternatively.
In order to guarantee a uniform wear of the guide bar the bar
should be turned over whenever replacing the chain.