


11
Section 1 Assembly and Setup
9/25/08
RC15, RC25, and RC35 Series Rotary Cutter 312-298M
Land Pride
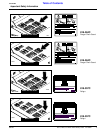
Table of Contents
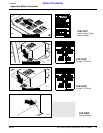
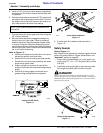
5. Install a 7/16" lynch pin or other fastener (supplied by
customer) thru the hitch pin hole to lock the lower links
into position.
6. Connect the driveline to the tractor’s PTO output shaft
and secure with locking device on driveline. Connect
the safety chain to the hitch brace on the cutter to re-
strict outer shield of driveline from rotating.
7. Connect the top link to the upper pivot hitch using the
3/4" hitch pin supplied.
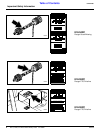
8. Start the tractor and slowly engage the tractors hy-
draulic 3-point to lift the cutter. Check for sufficient
drawbar clearance. Move the drawbar ahead, aside,
or remove if required. Watch the telescoping move-
ment of the driveline to ensure that it does not bottom
out while lifting the3-point. Ifthe driveline does bottom
out, it will require shortening:
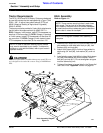
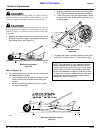
Refer to Figure 1-5:
a. Hold the half shafts next to each other in the short-
est working position and mark them.
b. Shorten the inner and outer guard tubes equally.
c. Shorten the inner and outer profiles by the same
length as the guard tubes.
d. Proper overlap is a minimum of one-half the
length of each tube, with both tubesbeing ofequal
length.
e. Round off all sharp edges and remove burrs.
grease sliding profiles before re-assembly.
NOTE: Chain should be attached at implement end
of driveline.
Cutting the PTO Shafts
Figure 1-5
13588
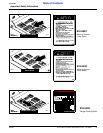
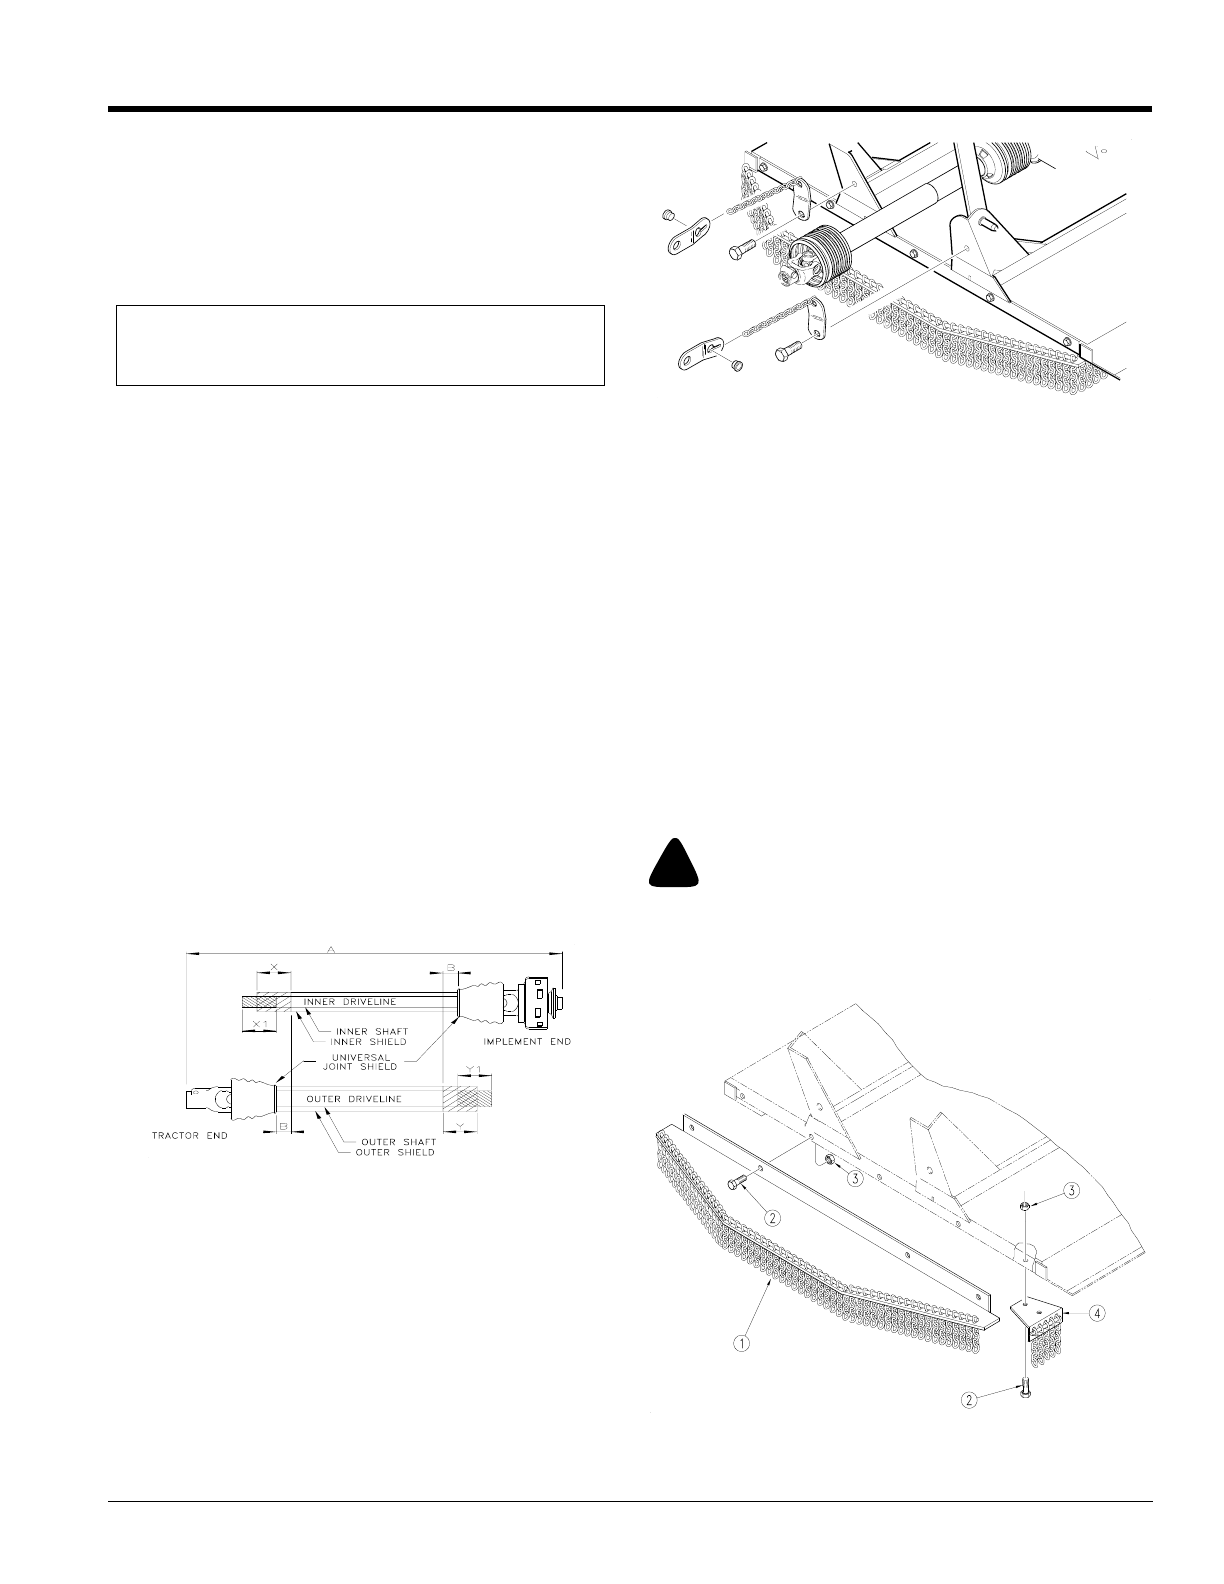
9. If check chain kit is added. install as shown in
Figure 1-6.
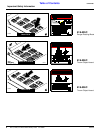
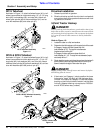
Safety Guards
Refer to Figure 1-7:
After Rotary Cutter assembly is complete, tighten all hard-
ware to the torque listed on Torque Values Chart in the
“Appendix” section on page 26.
1. Install chain guard assembly (#1) to the cutter front
angle using 1/2” -13 x 1 1/2” long bolts (#2) and whiz
nuts (#3).
2. Install side chain guards (#4) to the bottom of cutter
front angle using bolts (#2) and whiz nuts (#3).
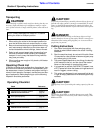
!
DANGER!
Rotary cutters have the ability to discharge objects at high
speeds; therefore, the use of front safety shields is strongly rec-
ommended when cutting along highways or in an area where
people may be present.
Check Chain Installation
Figure 1-6
14247
Safety Guard Assembly
Figure 1-7
14246