22
Section 2: Adjustments
RCF2784 Rotary Cutters 326-364M
12/15/15
Table of Contents
Pull-Type Deck Leveling & Cutting
Height
There are two primary adjustments that should be made
prior to actual field operation:
1. Deck Leveling
2. Cutting Height Adjustment
Proper adjustment of each of these items will provide for
higher efficiency, improved cutting performance, and
longer blade life. Pliable tape measure, spirit or
carpenters level, set of wrenches, and protective gloves
will be needed:
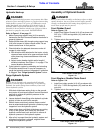
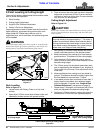
!
WARNING
Always disengage PTO, put tractor in park or set park brake,
shut tractor engine off, remove ignition key, and wait for all
moving parts to stop before dismounting from tractor.
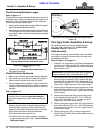
Deck Leveling
This adjustment should be made with cutter hooked to
the tractor that will be used for field operations or to one
having the same drawbar height and length. Adjust
leveling rods as described below.
NOTE: The tip of the front blade should be lower than
the tip of the rear blade. If front and rear blades are at
the same height or if rear blade is lower than the front
blade, then the cutter is subject to continuous material
flow under the deck resulting in loss of horsepower,
additional blade wear, and frequent blade sharpening.
Front To Back Deck Leveling
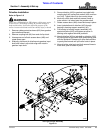
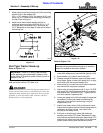
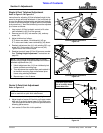
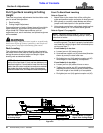
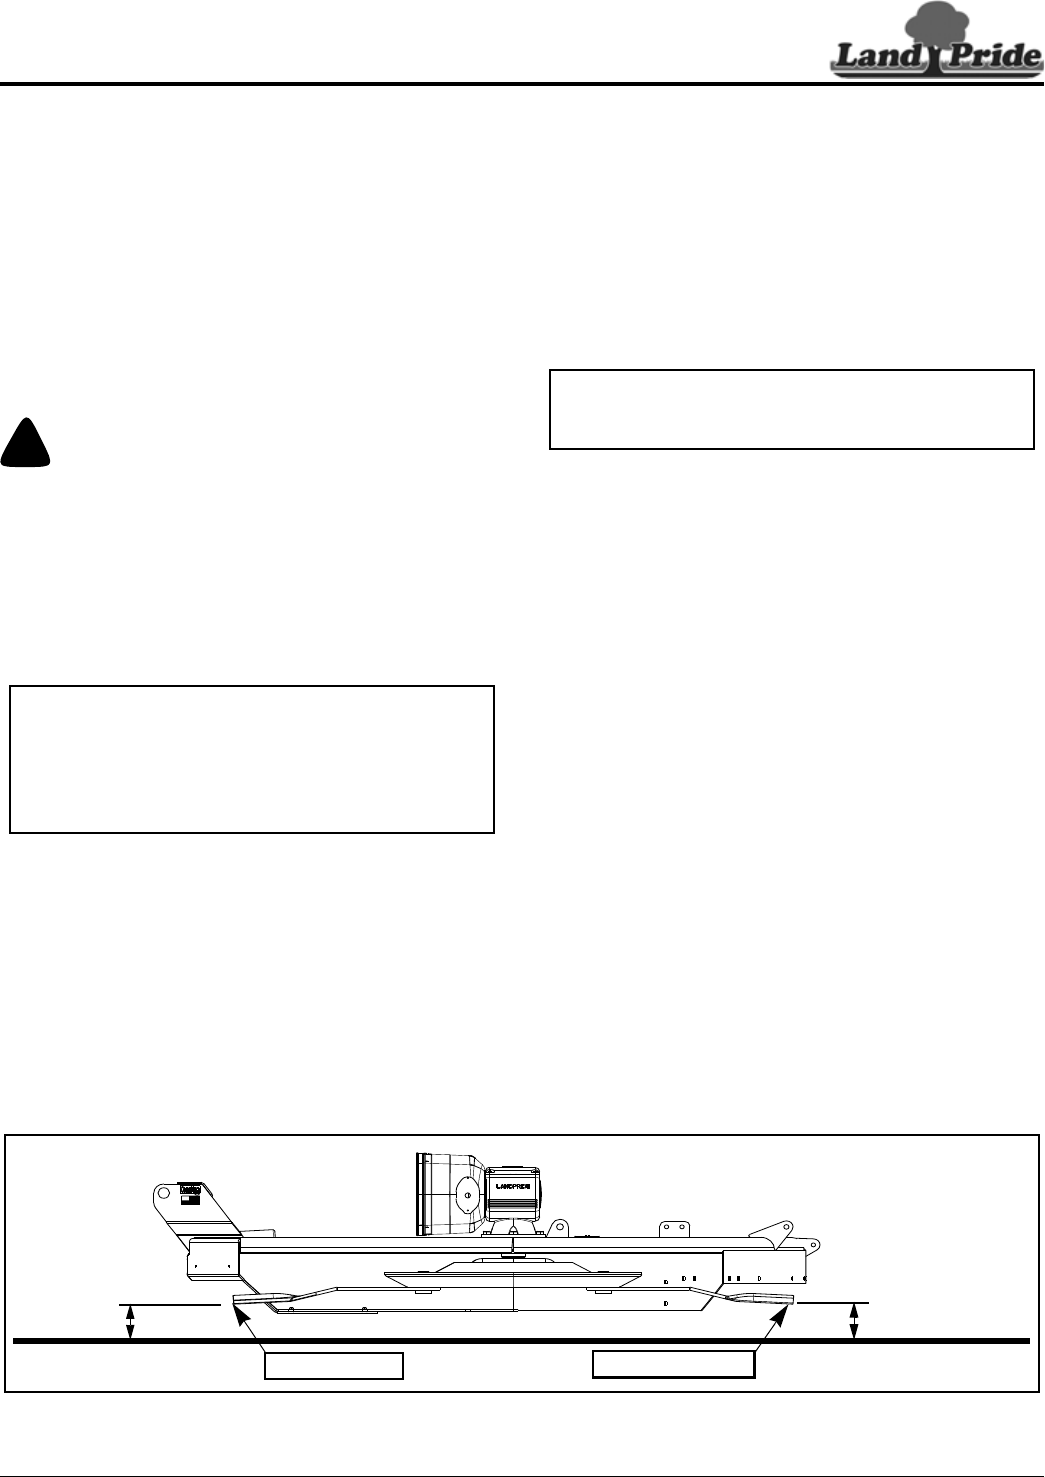
Refer to Figure 2-6:
1. Attach cutter to the tractor that will be pulling the
cutter and position tractor and cutter on level ground.
2. With gloves on, carefully rotate blades and stump
jumper until blade tips are in the position shown.
3. Using tractor control lever, adjust deck height so that
the front blade tip is 3 to 4 inches above ground.
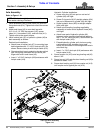
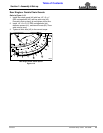
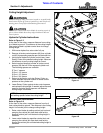
Refer to Figure 2-7 on page 23:
4. Measure distances the front blade and rear blade tips
are off the ground. The deck is properly leveled when
rear blade tip is slightly higher than front blade tip but
not by more than 1".
If rear blade tip is too low:
a. Loosen jam nut (#4) several turns.
b. Unscrew hex coupler nut (#5) clockwise (direction
shown by arrow) to raise cutter rear.
c. Re-tighten jam nut (#4) against coupler nut (#5)
when height of rear blade tip is acceptable.
If rear blade tip is too high:
a. Loosen jam nut (#4) several turns or more.
b. Tighten hex coupler nut (#5) counterclockwise
(opposite direction shown by arrow) to lower cutter
rear until height of rear blade tip is acceptable.
c. Re-tighten jam nut (#4) against coupler nut (#5).
NOTE: Lengthen leveling rods (#1 & #2) to lower
front of cutter and shorten leveling rods (#1 & #2) to
raise front of cutter.
Pull-Type Deck Leveling & Cutting Height
Figure 2-6
Set Front Blade Tip
At Cutting Height
Front Blade
Rear Blade Tip
Set Rear Blade Tip Slightly
Higher Than Cutting Height
33039


