16
Section 1: Assembly & Set-up
RCF2784 Rotary Cutters 326-364M
12/15/15
Table of Contents
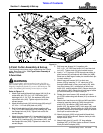
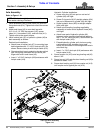
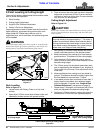
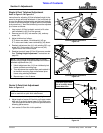
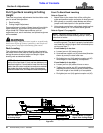
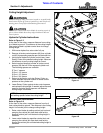
Trail-Type Axle Assembly
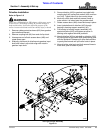
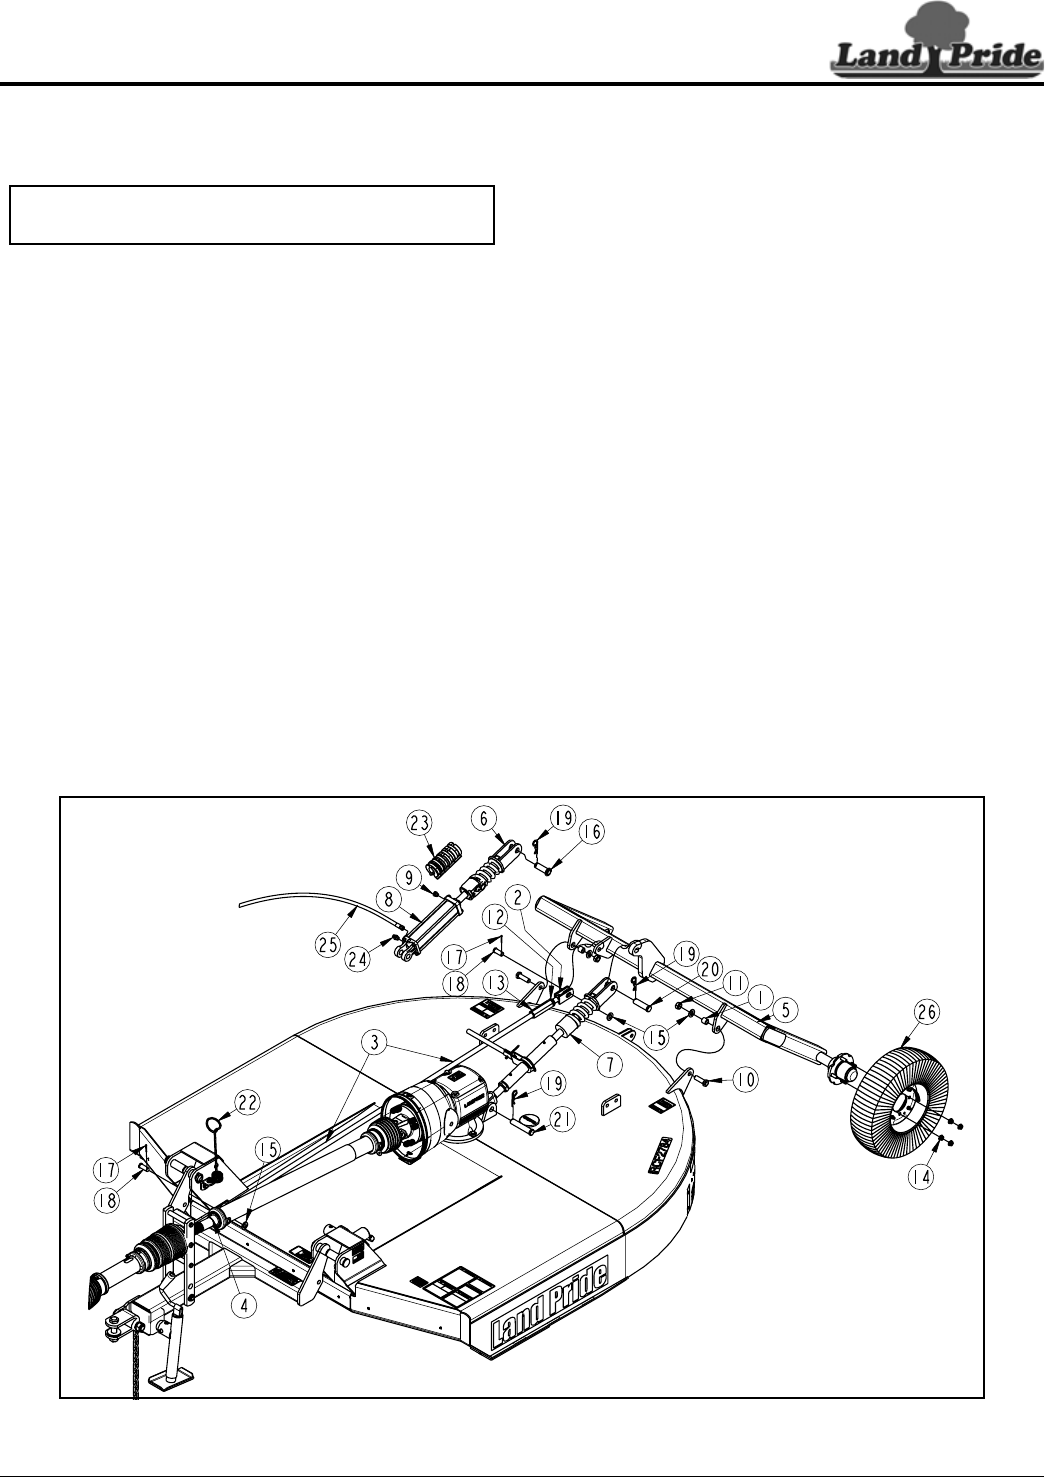
Figure 1-10
33269
Axle Assembly
Refer to Figure 1-10:
1. Install tailwheels (#26) to axle frame (#5) with hex
flange lock nuts (#14). Tighten lock nuts to the correct
torque.
2. Attach axle frame (#5) to rear deck lugs with
3/4"-10 x 2 1/2" GR5 cap screws (#10), spacer
tubes (#1), flat washers (#15), and lock nuts (#11).
Tighten nuts to the correct torque.
3. Install ratchet jack (#7) or hydraulic cylinder (#8) to
deck assembly as follows:
Ratchet Jack Installation:
a. Attach base of ratchet jack (#7) to mounting lugs
behind gearbox with 1" x 4 3/4" clevis pin (#21) as
shown. Secure clevis pin with hairpin cotter (#19).
b. Operate ratchet lever to extend or shorten ratchet
jack until spring cushioned end of ratchet jack
aligns with hole in axle frame (#5).
c. Insert 1" x 3 3/16" clevis pin (#20) and secure with
hairpin cotter (#19).
NOTE: Tailwheel on right-hand side is not shown to
allow easier viewing of balloons.
Hydraulic Cylinder Installation:
a. Screw vent plug (#9) into port on rod end of
cylinder (#8) until tight.
b. Screw O-ring end of 9/16" straight adapter (#24)
into port of base end of cylinder (#8) until tight.
c. Screw hydraulic hose (#25) to straight adapter
(#24) until tight.
d. Attach quick coupling (coupling supplied by
customer) at tractor end to hydraulic hose (#25)
until tight.
e. Attach base end of hydraulic cylinder (#8)
between and to mounting lugs behind gearbox
with 1" x 4 3/4" clevis pin (#21). Secure clevis pin
with hairpin cotter (#19).
f. Extend hydraulic cylinder until clevis on spring
cushioned end (#6) straddles lug on axle
frame (#5) and holes in clevis aligns with hole in
axle frame lug.
g. Insert 1" x 2 3/4" clevis pin (#16) and secure with
hairpin cotter (#19).
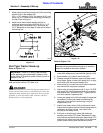
4. Screw coupler nut (#13) onto long leveling rod (#3)
about 1 3/4".
5. Screw jam nut (#12) onto the short leveling rod (#2) a
distance of about 1 3/4".
6. Screw short leveling rod (#2) into coupler nut (#13)
until coupler nut is against jam nut (#12).


