


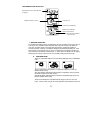

7
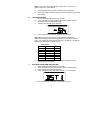
Note: There are 8 LCD contrast levels to choose from—“Lcd 0” is the
lightest, and “Lcd 7” is the darkest.
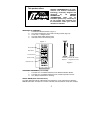
3. Press and release the IN button to select the level you desire.
4. Press and release the SET button to confirm and advance to the Time
Zone setting.
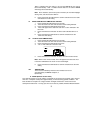
IV. TIME ZONE SETTING
1. Press and hold the SET button for 5 seconds.
2. “LCD” will show in the time LCD and the number setting will flash.
3. Press and release the SET button again.
4. The time zone will flash in the date LCD.
5. Press and release the IN button to select your time zone.
Note: When a time zone for the U.S. is selected the corresponding
abbreviation will appear above the time (please see the table on the next
page). It is possible to select any time zone from –12 GMT to +12 GMT (for
example to see the time in another country)
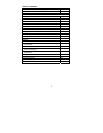
TIME ZONES
GMT 0
Atlantic -4
EST; Eastern -5
CST; Central -6
MST; Mountain -7
PST; Pacific -8
ALA; Alaska -9
HAW; Hawaii -10
6. Press and release the SET button to confirm and advance to the
Daylight Saving Time setting.
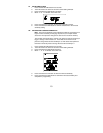
V. DAYLIGHT SAVING TIME (DST) SETTING
1. Press and hold the SET button for 5 seconds.
2. “LCD” will show in the time LCD and the number setting will flash.
3. Press and release the SET button twice.
4. “DST” will appear in the date LCD and either “1” or “0” will flash.
5. Press and release the IN button to select DST on or off.