


15
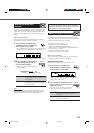
Selecting the Analog or Digital Input
Mode
When you have connected digital source components using both the
analog connections (see page 6) and the digital connections (see
page 9) methods, you need to select the input mode correctly.
Before you start, remember...
There is a time limit in doing the following steps. If the setting is
canceled before you finish, start from step
1
again.
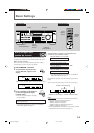
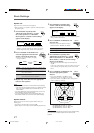
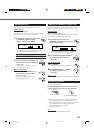
1
Press one of the source selecting buttons—DVD,
TV SOUND/DBS (TV/DBS on the remote
control), CD, or TAPE/CDR*—for which you
want to change the input mode.
Note:
*
Among the sources listed above, you can select the digital input
only for the sources which you have selected the digital input
terminals for. (See “Setting the Digital Input (DIGITAL IN)
Terminals” on page 14.)
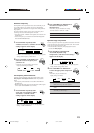
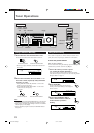
2
Press INPUT ANALOG/DIGITAL
(or ANALOG/DIGITAL INPUT on the remote
control) to select the digital input mode.
• Each time you press the button, the input mode alternates
between the analog input (“ANALOG”) and the digital input
(“DIGITAL AUTO”).
DIGITAL AUTO : Select this for the digital input mode. The
receiver automatically detects the
incoming signal format. (The DIGITAL
AUTO indicator lights up on the display,
then the digital signal indicator for the
detected signals lights up.)
ANALOG : Select this for the analog input mode.
(Initial setting when shipped from the
factory.)
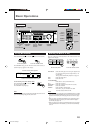
DVD VCR
TV SOUND/DBS
CD TAPE/CDR
SOURCE NAME
FM/AM
DVD MULTI
PHONO
SOURCE NAME
DVD MULTI
DVD
CD
TAPE/CDRTV/DBS VCR PHONO
FM/AM
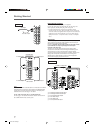
On the front panel
From the remote control
INPUT
INPUT ATT
ANALOG / DIGITAL
INPUT
ANALOG/DIGITAL
On the front panel
From the remote control
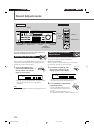
If the following symptoms occur while playing Dolby Digital
or DTS Digital Surround software with “DIGITAL AUTO”
selected, follow the procedure below:
• Sound does not come out at the beginning of playback.
• Noise comes out while searching or skipping chapters or
tracks.
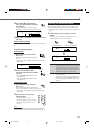
1
Press INPUT ANALOG/DIGITAL (or
ANALOG/ DIGITAL INPUT on the remote
control.)
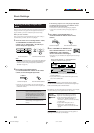
2
Press CONTROL UP 5/DOWN ∞ to
select “DOLBY DIGITAL” or “DTS
SURROUND” while “DIGITAL
AUTO” still remains on the display.
• Each time you press the button, the digital input mode changes
as follows:
• To play back software encoded with Dolby Digital, select
“DOLBY DIGITAL.”
• To play back software encoded with DTS Digital Surround,
select “DTS SURROUND.”
Note:
When you turn off the power or select another source, “DOLBY
DIGITAL” and “DTS SURROUND” are canceled and the digital input
mode is automatically reset to “DIGITAL AUTO.”
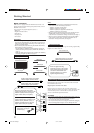
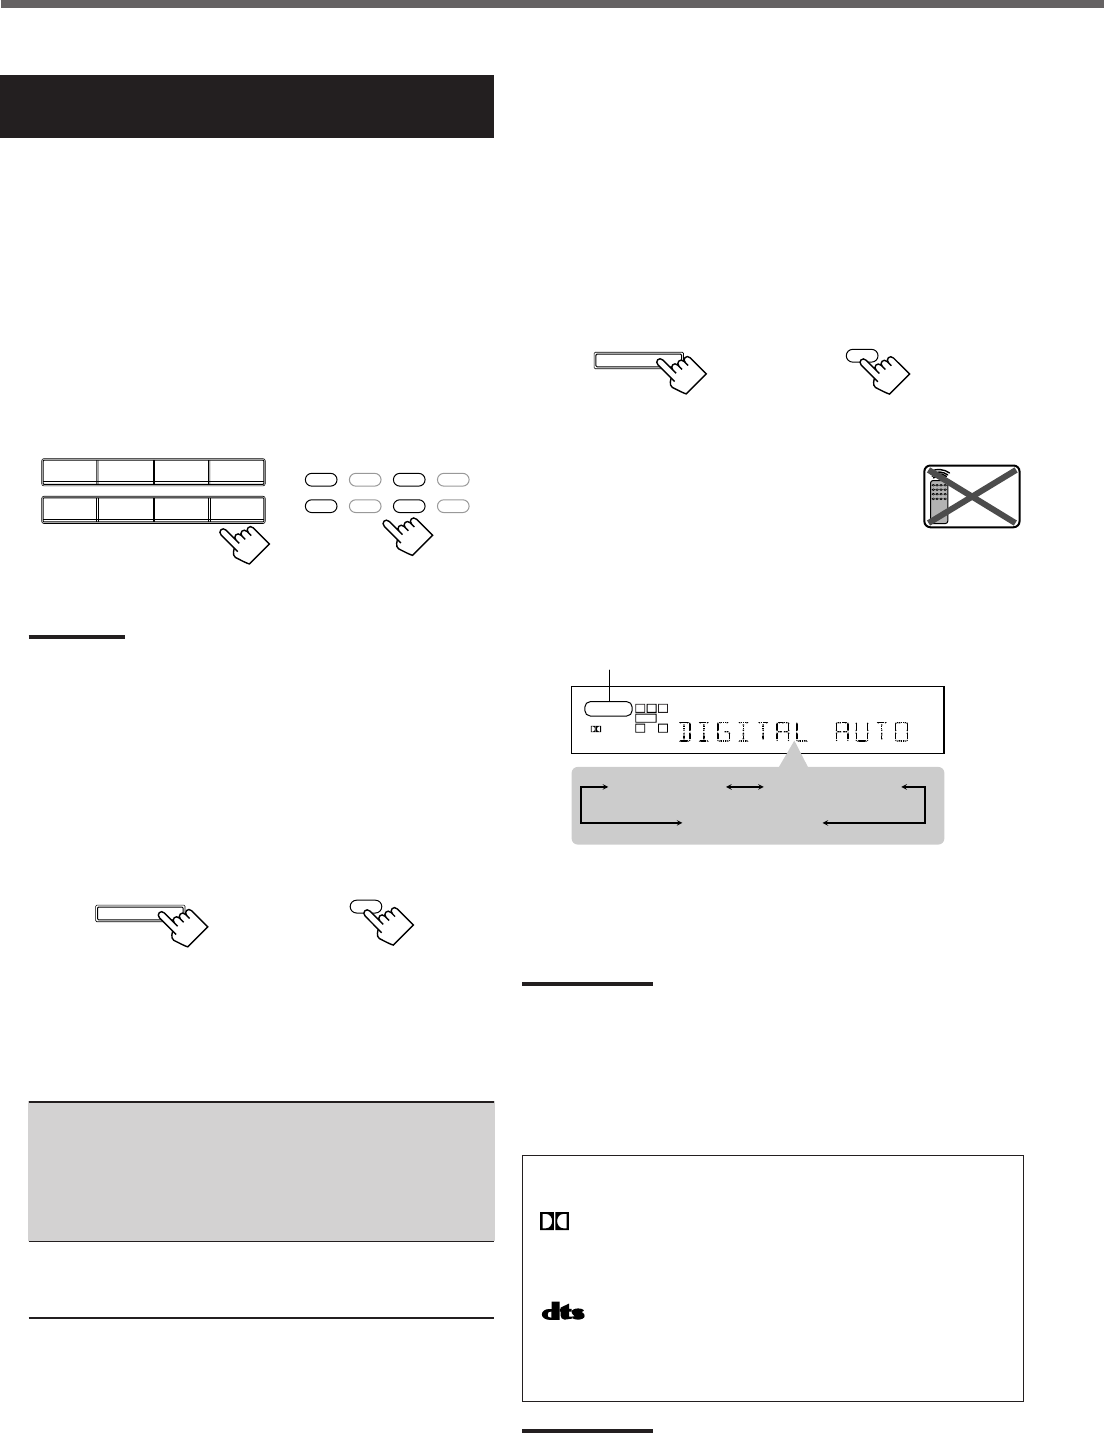
The followings are the analog/digital signal indicators on the display
to indicate what type of the signal comes into the receiver.
ANALOG : Lights when the analog input is selected.
LINEAR PCM : Lights when Linear PCM signals come in.
DIGITAL : • Lights when Dolby Digital signals come in.
• Flashes when “DOLBY DIGITAL” is
selected for software not encoded with Dolby
Digital signals.
: • Lights when DTS signals come in.
• Flashes when “DTS SURROUND” is
selected for software not encoded with DTS
signals.
Note:
When “DIGITAL AUTO” cannot recognize the incoming signals, no
digital signal indicators light up on the display.
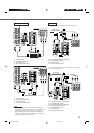
On the front panel
From the remote control
INPUT
INPUT ATT
ANALOG / DIGITAL
INPUT
ANALOG/DIGITAL
LC
S.WFR
LS RS
CH-
S
LFE
SPK
DIGITAL AUTO
DIGITAL
R
DIGITAL AUTO
DTS SURROUND
DOLBY DIGITAL
When “DOLBY DIGITAL” or “DTS SURROUND”
is selected, “DIGITAL AUTO” goes off.
Basic Settings
Remote
NOT
EN10-22.RX-7020V[A]3 02.4.17, 5:15 PM15