Removing - 6
REMOVING
Removing
Remove Blade
1. Park machine safely. (See Parking Safely in the Safety
section.)
2. Put blocks of wood or a board under blade.
3. Push machine lift lever down lowering blade onto blocks
or board and lock lever in lowest position.
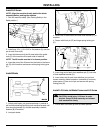
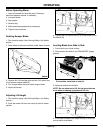
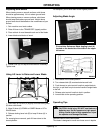
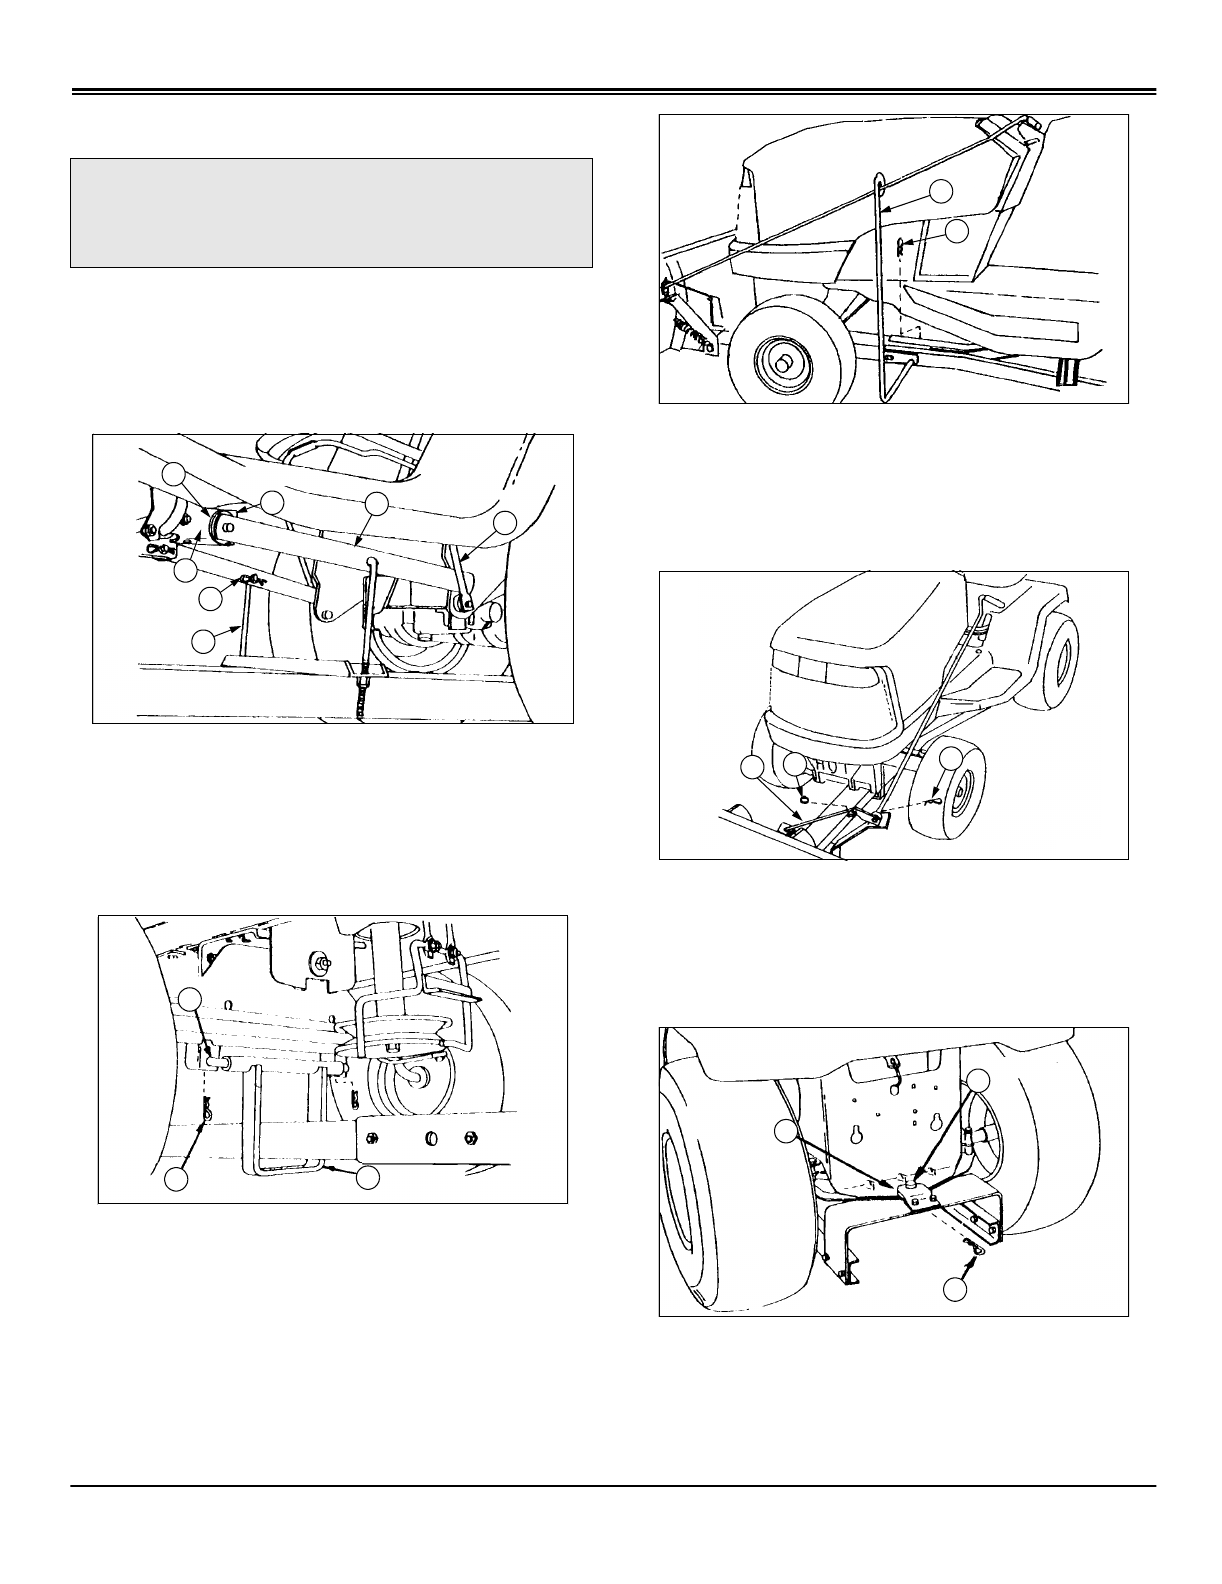
4. Remove spring locking pins (A) and remove lift links (B)
from lift straps (C). Install locking pins back to lift links.
5. Remove spring locking pins (D) and washers (E).
Remove lift straps (C) from behind guide rods (F) and
frame rails (G). Install spring locking pins and washers
back to lift links.
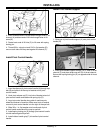
6. Remove spring locking pins (H), spacers, and front
stabilizer pins (F) from tube of front stabilizer bracket (G).
Install spring locking pins back into stabilizer pins.
7. Remove spring locking pin (I) from pivot control handle
support (J) and install spring locking pin back to handle
support.
8. Remove rubber handle grip and slide pivot control
handle support off of pivot control handle.
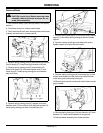
9. Remove spring locking pin (K) and spring clip (L) and
unhook pivot release rod (M) from pivot control handle.
Install spring clip and spring locking pin.
10.Remove pivot control handle and install rubber handle
grip to handle.
11.Remove spring locking pin (N) and clevis pin (O) from
drawbar (P). Lower frame assembly to the ground.
12.Remove blade assembly from under machine.
c
CAUTION: Avoid injury! Before removing frame
assembly: Make sure hands and arms are not
under frame assembly.
E
G
A
B
D
C
F
F
G
H
M92907
J
I
M92906
K
M
L
N
P
O


