7
INSPECTION AND SET-UP
• Follow the instructions in the lubrication section of this manual to make sure the chipper
is greased properly. The initial grease is applied at the factory, but a routine maintenance
schedule is the user’s responsibility.
• Check all bolts and nuts to make sure everything is tight. All hardware is checked at the fac-
tory, but sometimes it will vibrate loose during shipment. Also check all fasteners periodically
between uses. A wood chipper produces high vibration levels which can cause hardware to
loosen.
• Check the position of the knives in relation to the chip anvil. The recommended setting is
1/32” (.8mm) between the anvil and the closest knife. You may notice the rotor has a slight
wobble which will cause some of the knives to run closer than others. This is normal. See
page 9 for instructions on adjusting the anvil depth.
• Check the chip chute locking device to make sure it locks the chute securely into position
when the handle is in the locked position. This adjustment is also made at the factory but
needs to be readjusted after the chute is “worn in”.
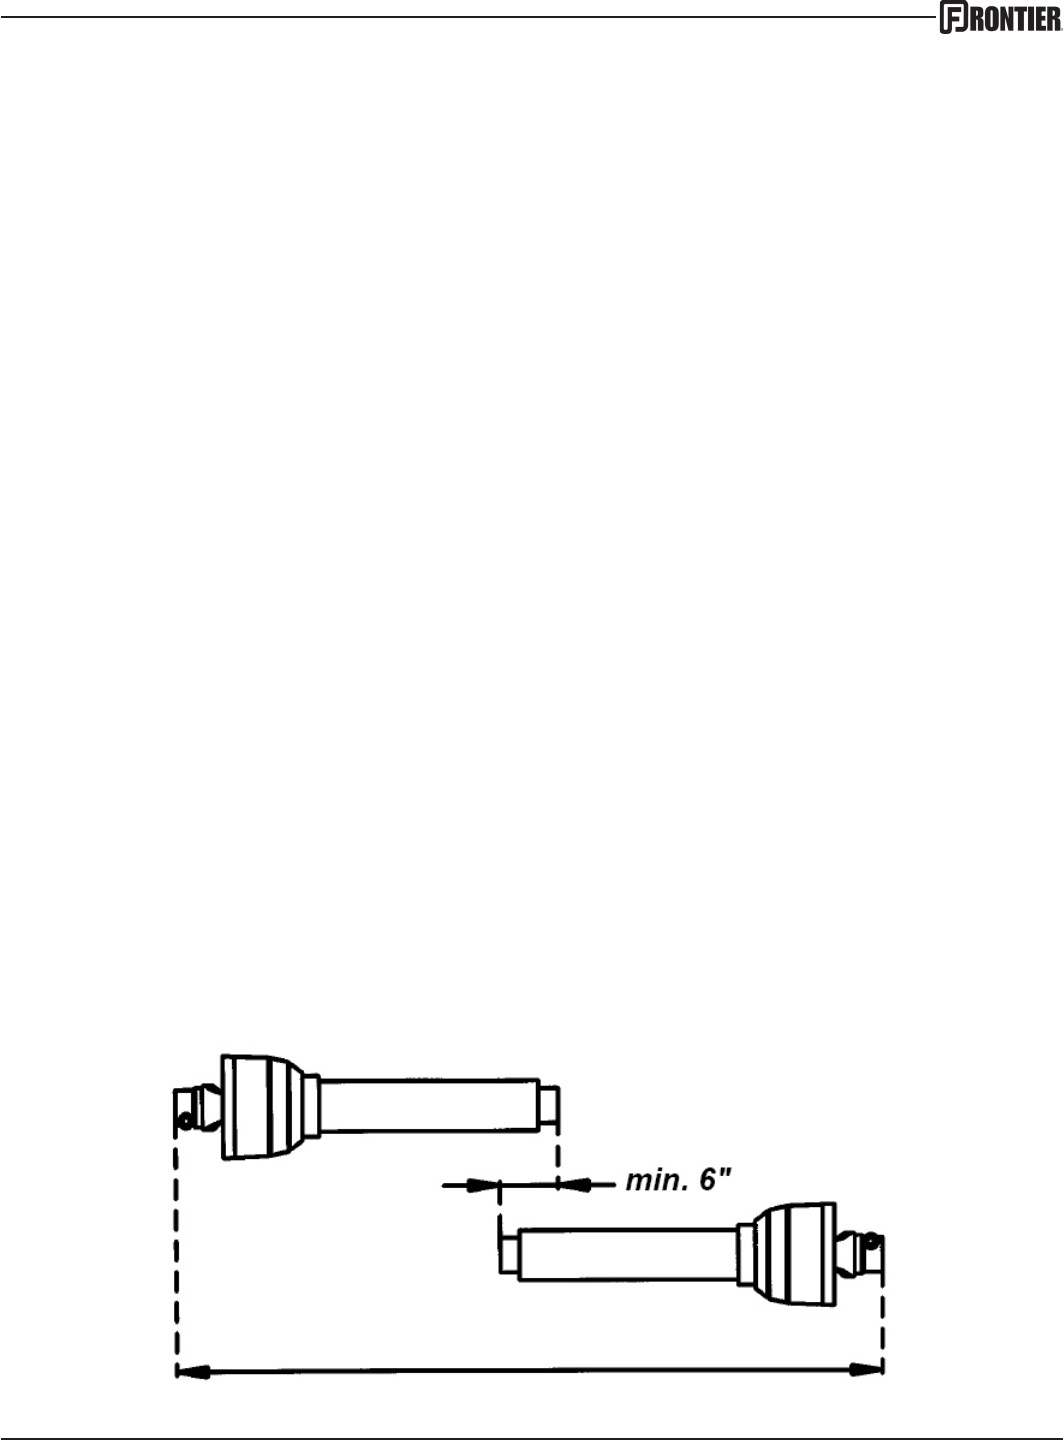
• Check the length of the PTO shaft. Some tractor 3-point hitch arms are shorter and require
a shorter PTO shaft. To determine whether your shaft needs to be cut down to t you will
need to connect the 3-point arms to the chipper, connect the PTO shaft to both the tractor
and chipper, and slowly raise the 3-point hitch. Watch closely to make sure that the PTO
shaft does not fully retract. If it does, you will need to remove it and cut it down accordingly.
If the PTO shaft is not tted properly it can “bottom out” and cause damage to the PTO shaft
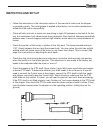
or the chipper. Also check the PTO to make sure the tubes overlap at least 6 inches (15cm)
(see illustration below) when the chipper is in the operating position. (sitting level on the
ground)


