601396_0109 4-7
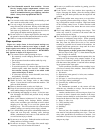
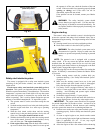
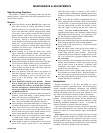
Direct grass discharge to right, away from unmown area.
Select a mowing pattern that directs grass discharge towards the
outside, not towards center, of mowing area. Generally, this
means using a pattern utilizing left turns because side discharge
is to right. In any case, avoid throwing grass discharge onto
unmowed area because grass is then mowed “twice”. Mowing
twice puts an unnecessary load on the unit and reduces mowing
efficiency.
When mowing a lawn for the first time cut grass slightly
longer than normal to avoid scalping uneven terrain. When
possible, it is best to use the cutting height that was used in the
past. When cutting grass taller than six inches, you may want to
mow the lawn twice to achieve a better quality of cut.
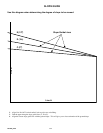
During normal mowing cut only about 1/3 of the grass
blade. Cutting more than that is not recommended unless grass
is sparse or it is the end of the mowing season.
Alternate mowing direction to keep the grass growing
straight and better dispersion of the clippings.
Remember, grass grows at different rates at different time
of the year. Mow more often in the early spring to maintain the
same cutting height. As the growth rate slows in mid summer,
mow less frequently. If you cannot mow at a regular interval,
mow at a high cutting height; then mow again two days later at a
lower cutting height.
Raise the cutting height of the mower if the cutting width of
the mower is wider than the previous mower. This ensures that
uneven turf is not cut too short.
Raise the cutting height of the mower if the grass if slightly
taller than normal or if it contains a high degree of moisture.
Then mow it again with the cutting height set lower.
If the machine’s forward motion must be stopped while
mowing, a clump of grass clippings may drop onto your lawn.
To avoid this, move onto a previously cut area with the blades
engaged.
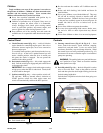
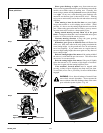
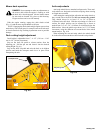
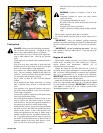
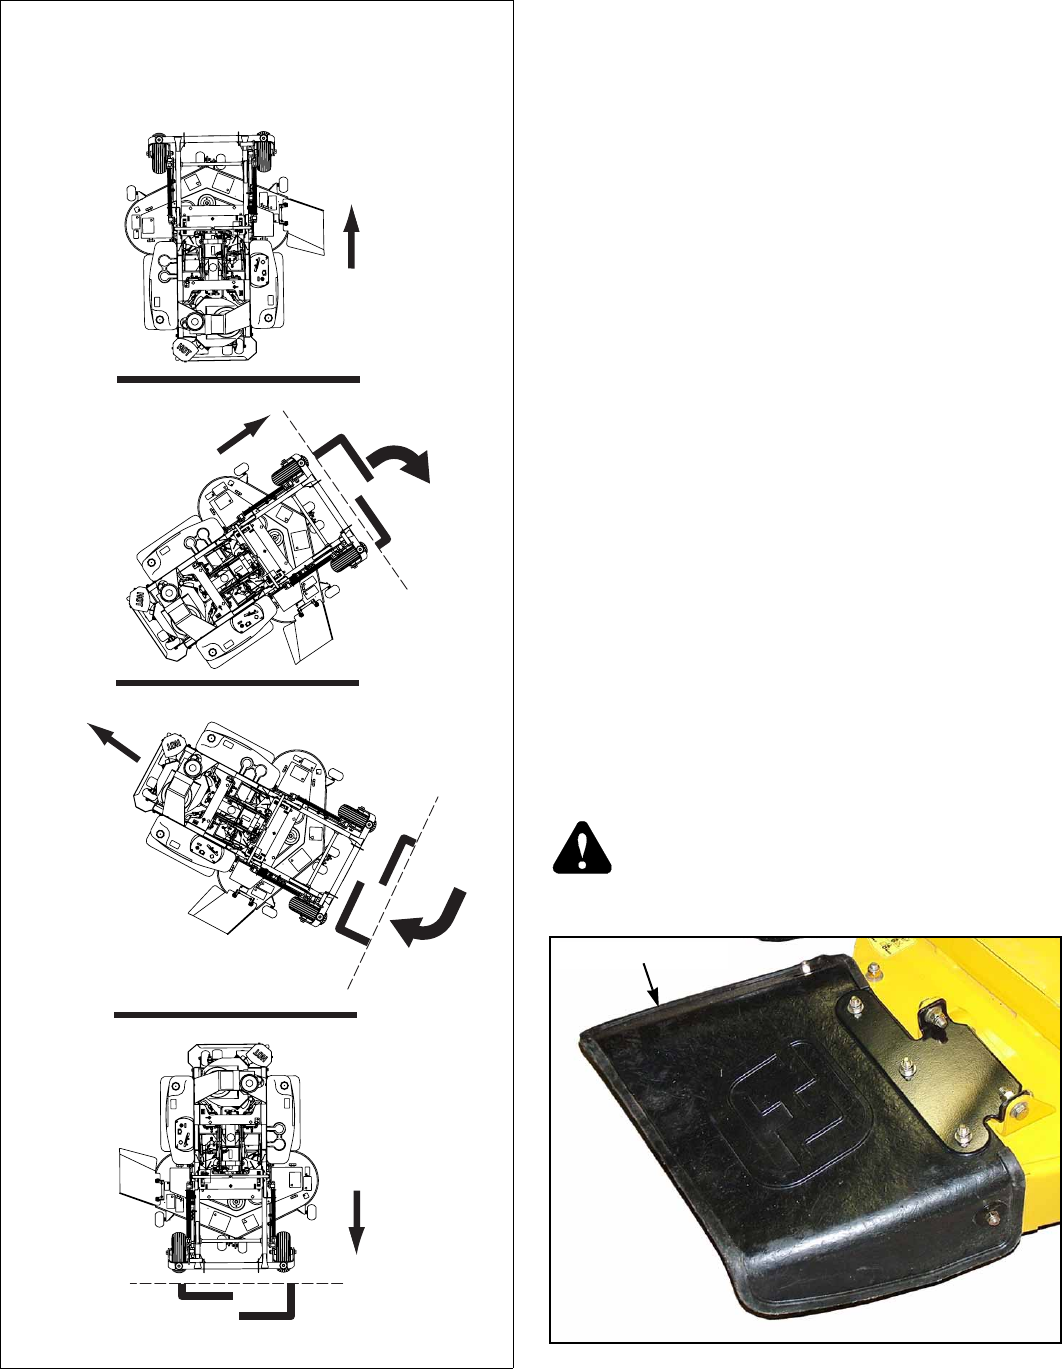
WARNING: Never direct discharge of material from
mower deck towards bystanders. Do not operate the
mower without either the discharge chute or the entire
grass collection system in place. Fig. 4-8
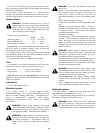
Fig. 4-7
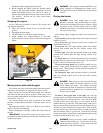
Step 1
Three point turn
Step 2
Step 3
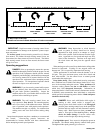
R
ig
h
t
c
o
n
t
r
o
l
le
ve
r
L
ef
t
co
n
t
r
o
l
le
v
er
N
e
u
t
r
a
l
R
i
g
h
t
c
o
n
t
r
o
l
l
e
v
e
r
L
e
f
t
c
o
n
t
r
o
l
l
e
v
e
r
N
e
u
t
r
a
l
Neutral
Left control leverRight control lever
Fig. 4-8
Side discharge chute


